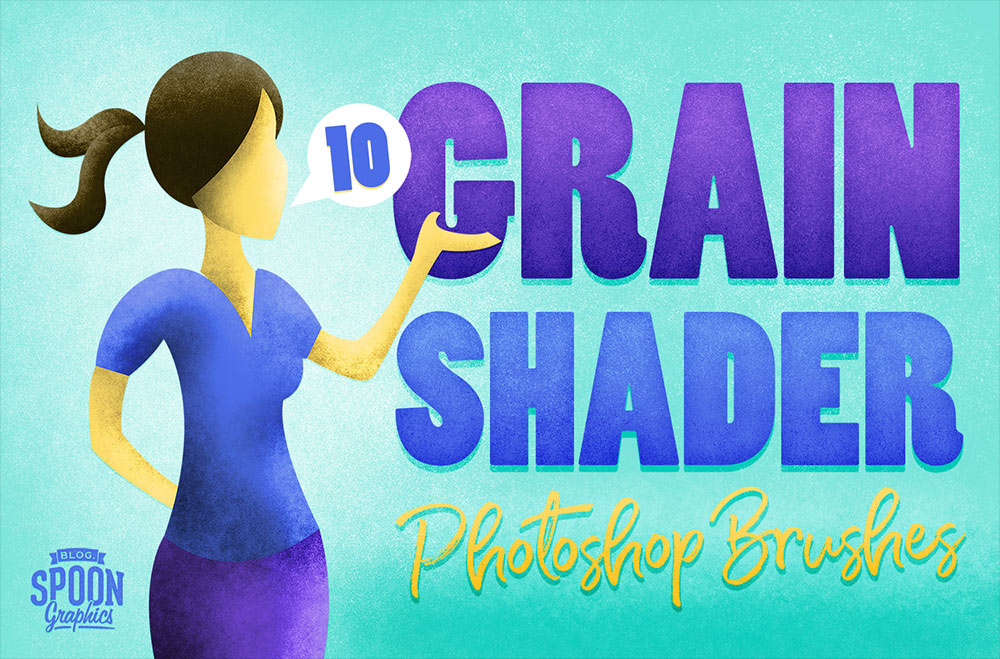
Many of the Photoshop Brush packs I’ve created have just been configured as single-click brushes to stamp a texture into your artwork. Recently I’ve been experimenting with more advanced brush settings that allow the brush to be painted with, using continuous motions and varying pressure with a pen tablet. My new set of Grain Shader Brushes for Adobe Photoshop makes it easy to add shading and texturing to your illustrations. Choose from 10 brush presets with different levels of grain, then build up the texture and tone exactly where you want it within your artwork.

This pack of Grain Shader Brushes contains 10 brush presets that have been configured to paint a continuous flow of grainy texture. They’re compatible with the pressure sensitivity of pen tablets, so the harder you press, the darker the texturing will be. My favourite technique is to add a layer above your artwork, set as a clipping mask and the Overlay blending mode. You can then paint with black or white to bring your illustration to life with highlights and shadows that have a sought-after textured appearance.
Buy ‘10 Grain Shader Photoshop Brushes’ for $10
OR
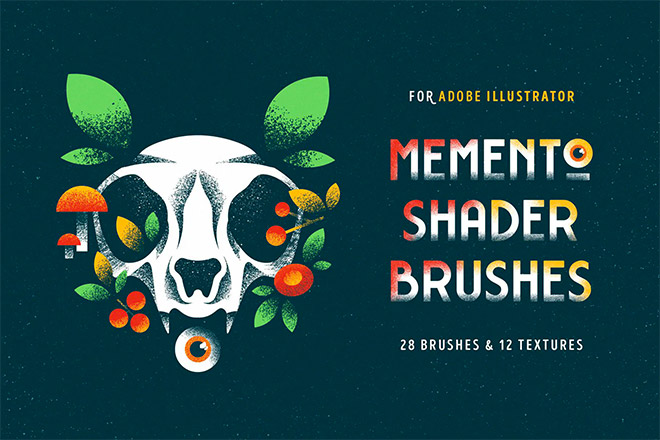
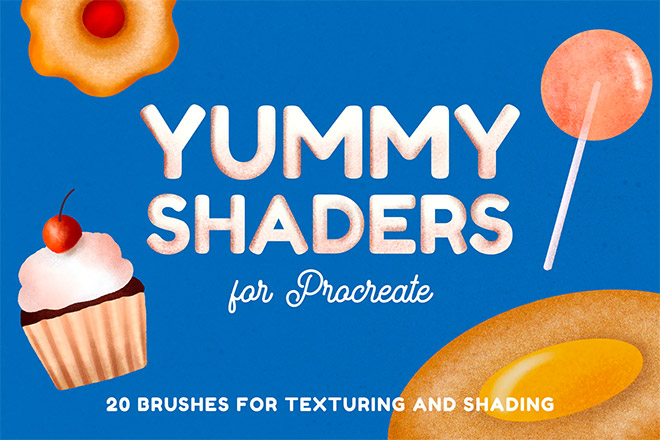
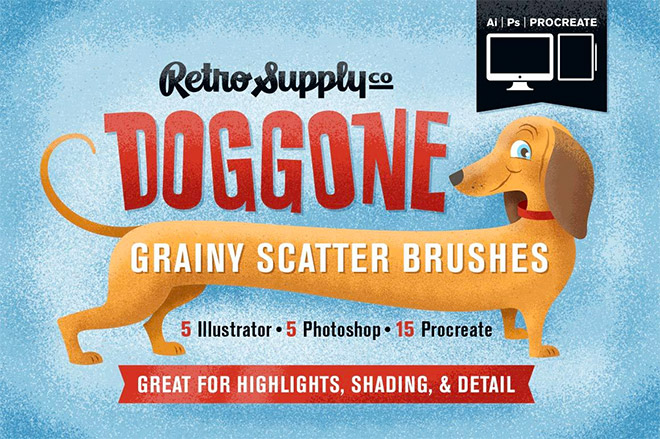
Want more? Check out these great related products
The following resources cost a little money, but I definitely recommend checking these related products out to complement my Grain Shader brushes.


