How to Create a Retro Logo Design with Texturing Effects
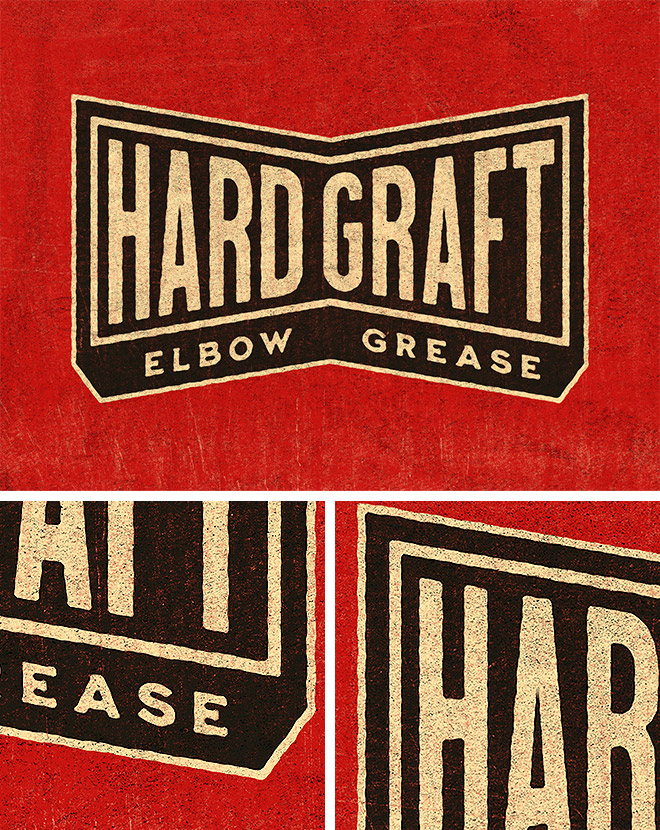
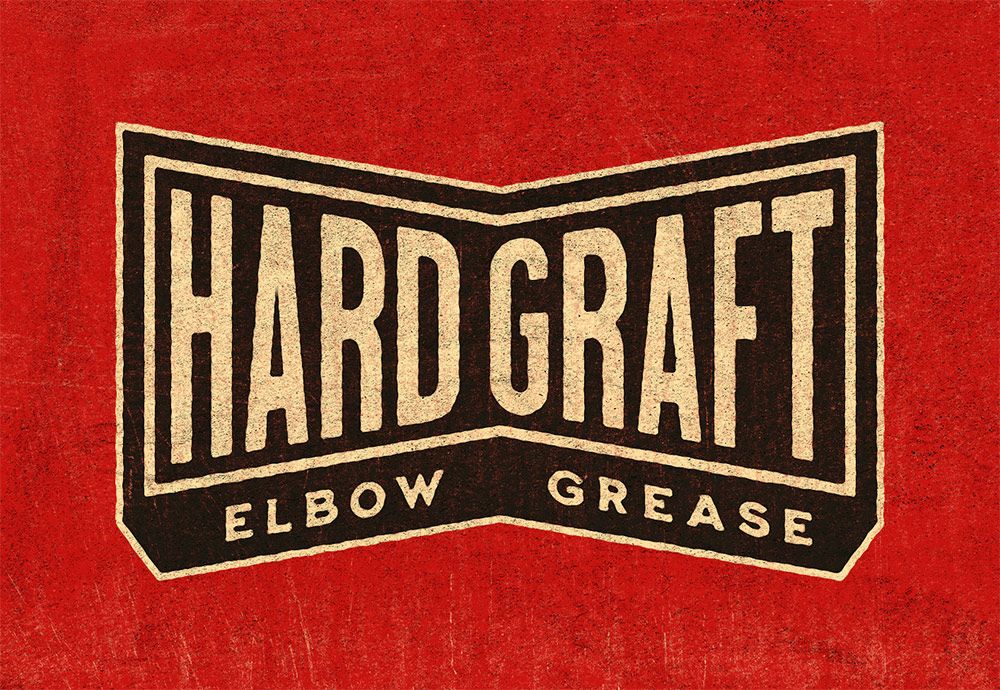
I recently came across the website Junk Type, which is a compilation of nostalgic labels and packaging designs from various antique household products. Seeing all those old brand logos gave me the inspiration to make my own, so in this tutorial I’ll take you through the process of creating a retro logo design for the fictional brand ‘Hard Graft Elbow Grease’. Many of those original logos contained the brand name within a geometric shape, so we’ll use Illustrator’s type and shape tools to construct a similar layout. After decades of wear and tear those old product boxes are aged and damaged, so watch until the end to discover some additional techniques to add distressed effects to your design to give it a true retro look in both Photoshop and Illustrator.

Assets Used
⭐️ Get 20% off The Milkstore Font Collection with the code SPOONER-MILK-20 – https://spoon.graphics/milk
► Check out the Junk Type website – https://junktype.recapturist.com
► Download my FREE Dirty Surface Textures – https://spoon.graphics/3brJkOt
► Download the Subtle Grit Textures Pack – http://spoon.graphics/2j6XE2C


Hey there!
A few suggestions to make the workflow even better:
– Paste the vector logo asset in Photoshop as a smart object from the get go, so you can go back and forth between PSs/Ai to adjust vector effects directly from your Ps file
– Paste the raster textures as smart objects as well, so you can maintain a certain amount of non destructive editing. You’ll have to play with levels using clipped adjustment layers though
– When working in Ai, work at a larger scale to even better control to intensity of the roughen effect
Great tips Simon! It’s an engrained habit of mine to paste in objects from Illustrator as pixels… Often times I will then convert it to a Smart Object anyway, which makes no sense at all!