Search results for photoshop brushes
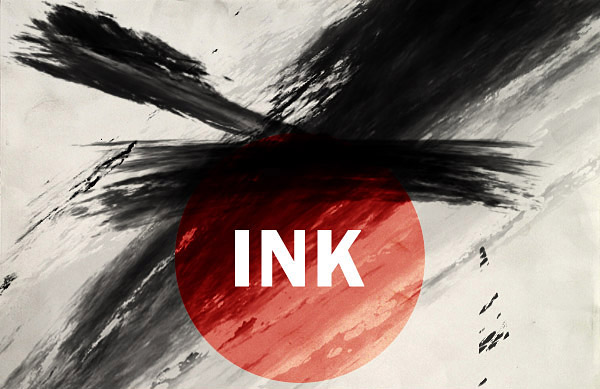
The folks at Fan Extra have supplied some amazing goodies for Access All Areas members in the past, and today another super useful resource is being donated. Members can download this detailed set of ink brushes for Photoshop. They’re high resolution and perfect for creating edgy designs or roughing up your artwork.
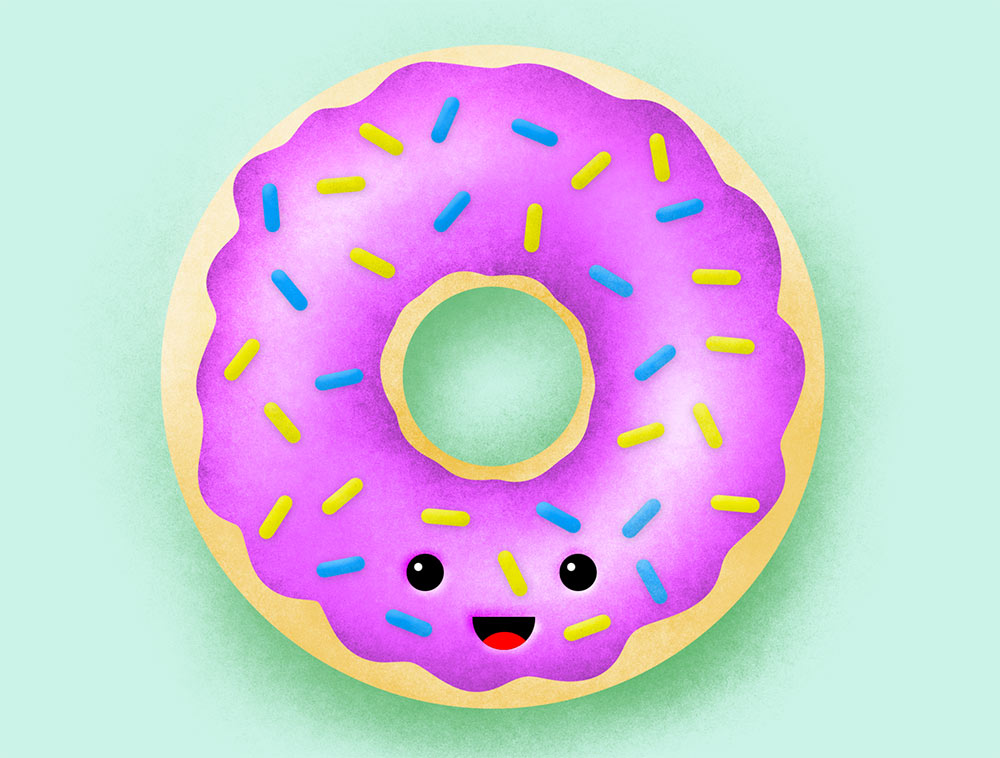
By adding grainy shading to your illustrations, you can bring your flat artwork to life with depth and the sought-after noisy textured appearance. In this Photoshop tutorial I’ll show you how to create a delicious donut illustration. Along the way I’ll show you my favourite technique for easily painting in highlights and shadows, and apply grainy shading effects with the help of my Grain Shader brushes.
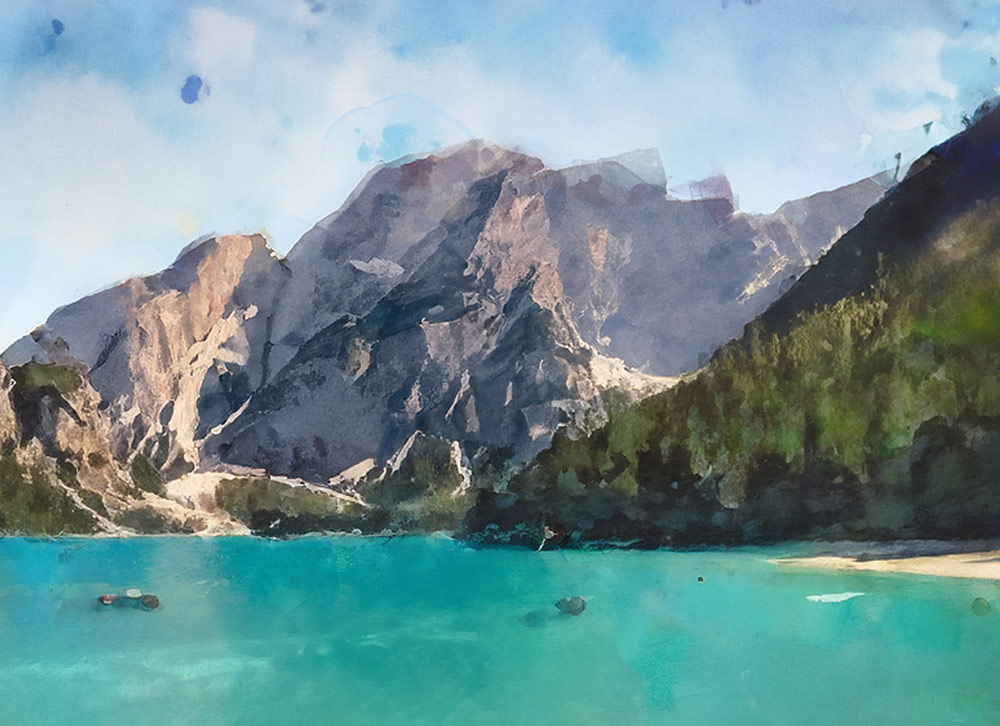
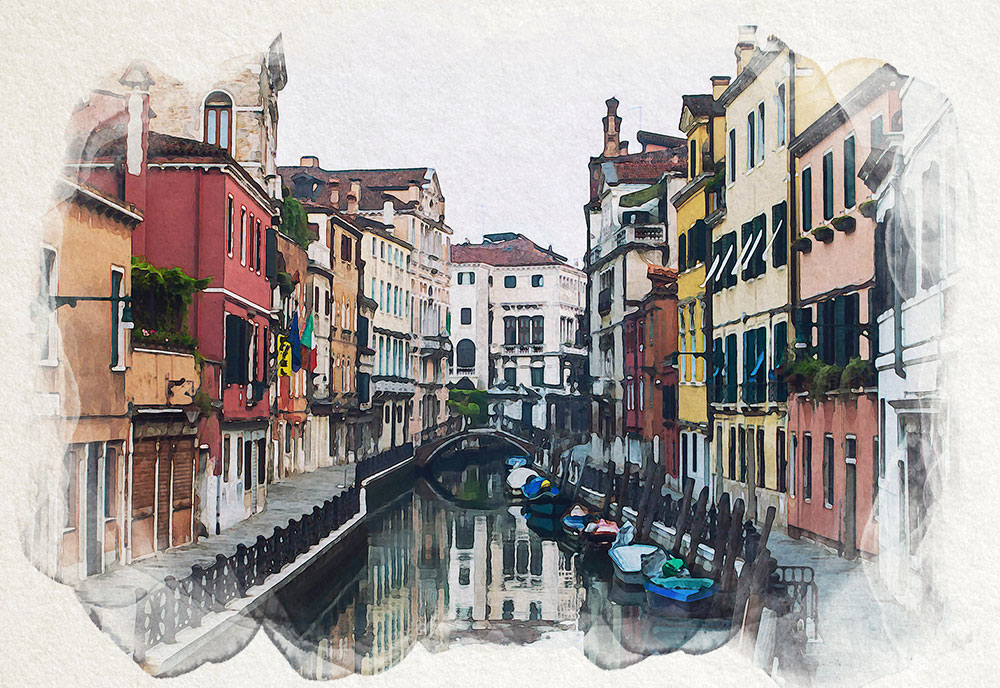
One of my most-watched videos every day on the Spoon Graphics YouTube channel is my tutorial showing how to create a watercolor effect in Photoshop. That tutorial uses a combination of Photoshop filters to transform an image with a painterly appearance. Since the addition of the Generative Fill tool to Photoshop, there’s a whole new way of creating a realistic painting effect with the help of AI.
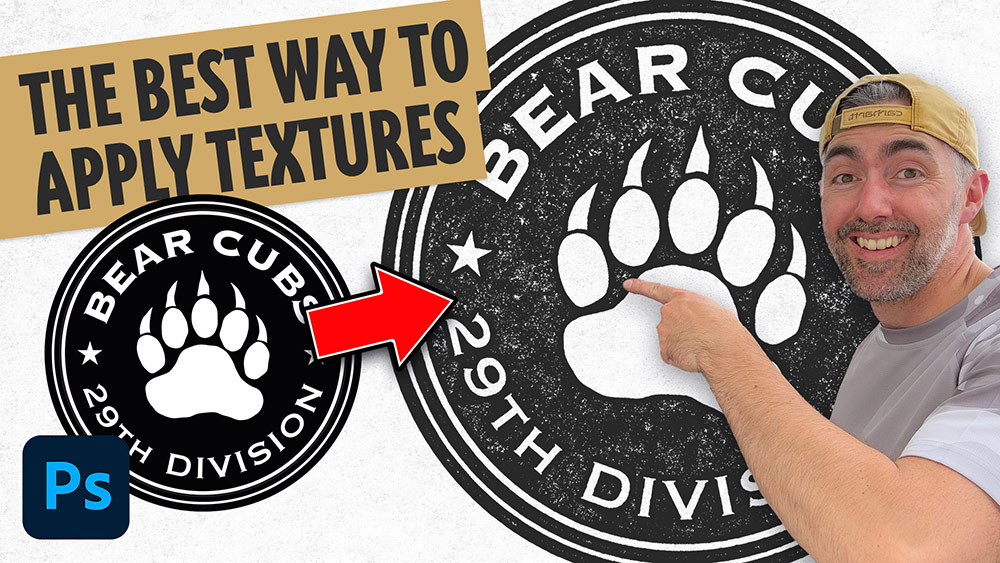
There are several ways to add texturing to your logo artwork in Photoshop, you could apply textures using brushes, add a texture image to a layer mask, apply a texture with a clipping mask, or even using a pattern overlay. All methods have their benefits, but my favourite technique is what I call the ‘knockout’ method. Using this technique to apply textures to your logos means you can easily layer up multiple textures non-destructively without it being permanently applied, so you can still edit and change the artwork if necessary.
In today’s Photoshop tutorial I’m going to show you a clever combination of Photoshop filters that converts an image into a realistic looking watercolour painting effect. A range of built-in filters will produce the foundations of the effect, then the addition of a paper texture and some finishing touches with a watercolour Photoshop brush pack adds an extra level of realism to produce a convincing final result.
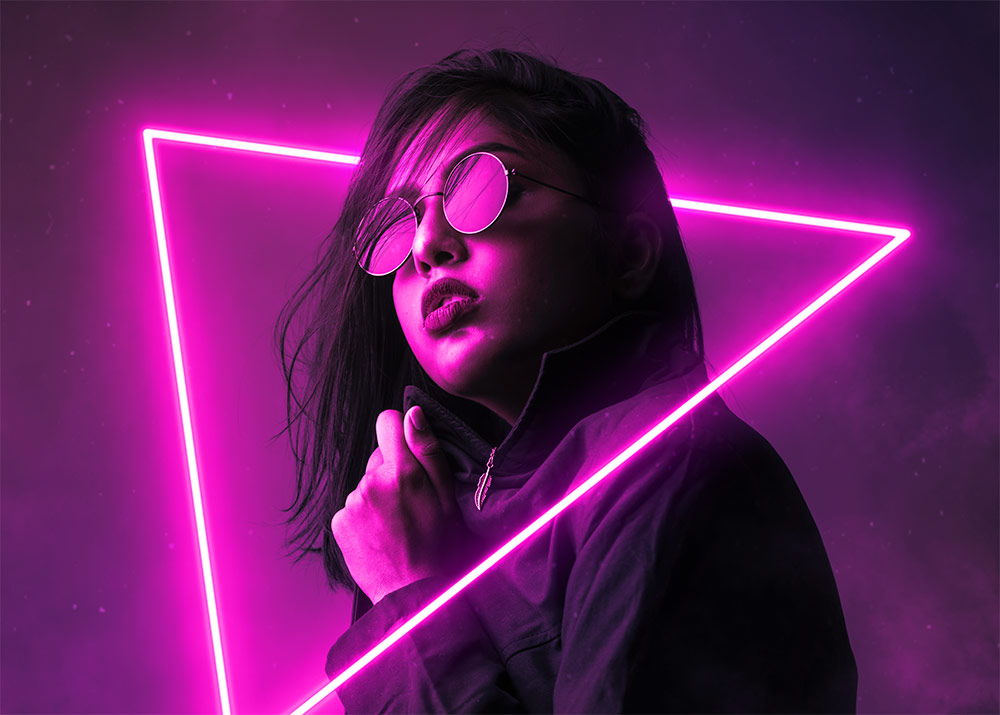
In today’s Photoshop tutorial I’m going to show you how to create a vibrant visual effect by adding neon lights to a photo. This popular art style often incorporates simple shapes or text for the neon lights, which are illuminated in bright colours. I’ll explain how to use Photoshop to draw a custom shape and give it a vibrant glow with the help of Photoshop’s Layer Style options, then we’ll use a clever technique to apply a colourful ambience to the original photo as if it is being illuminated by the new light source. As a finishing touch, we’ll also add some smoke and particle effects to create a neat cyberpunk art piece with a futuristic vaporwave style.