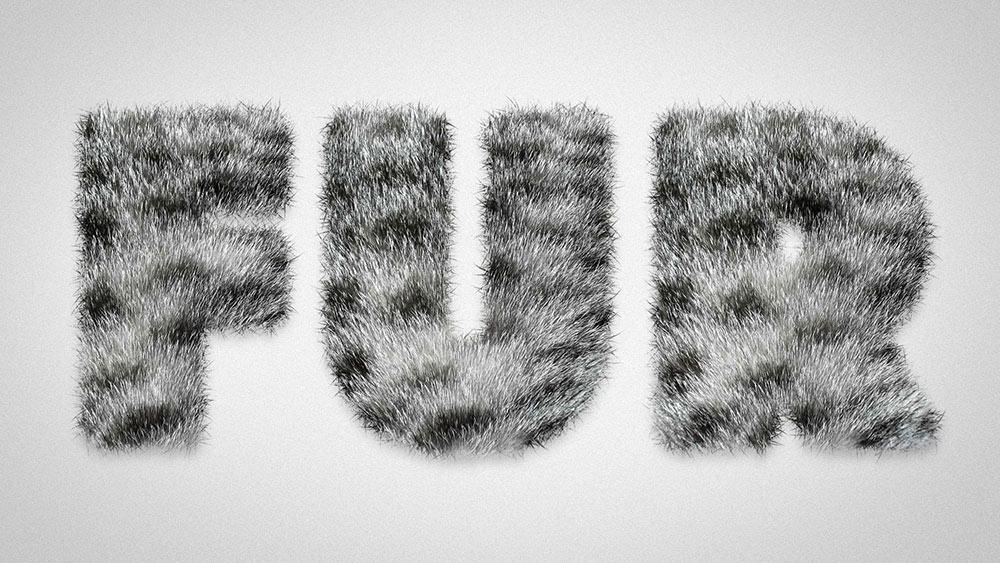
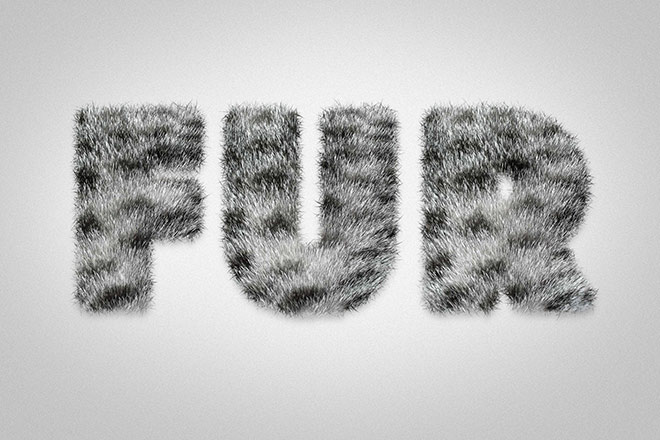
How To Create a Furry Text Effect in Photoshop
In today’s Adobe Photoshop tutorial we’re going to create a furry text effect by combining a real fur texture image with type, then we’ll use a clever Photoshop Brush trick to eliminate the hard edges from the type to give it a fuzzy appearance with lots of tiny hairs. My example uses the fur of a tabby cat, but you can use the same process with any animal pattern, such as Cheetahs, Zebras and Tigers for a cool safari themed type style.
► Cat Fur Texture – http://spoon.graphics/2iT8Gs4

You saved the best for last! I’ve sat in front of photoshop for over twenty years and picked up something new about brushes in this. I’m amazed. Thanks Chris
Great tutorial but I wish you’d go a little bit slower :)
Annette…you can click on settings, bottom right, and slow
down the video.
It will also give you an idea of what Chris sounds like
after a few pints at his local pub. :~)
Always impressive how you figure out all the steps needed to do the complete effect. I too, would like to see it put together slower and be able to see the tools you use much closer, Thanks for unique tutorials!!
Thank you Chris!
Thank you very much for your quality content.
I learned a lot with you!
Thank you so much Christ. Great post, as ever.
Superb tutorial – given me a few thoughts on some illustrations I’m doing!! many thanks!
You are the best! Very useful tutorial and just in time :)
This is great Chris. Pretty amazing the effects a few simple techniques can accomplish. I’ve really enjoyed your tutorials and always pick up a few good tips and tricks. Thank you!
You are the best Chris! So generous of you to share. Thank you.
Thanks again Chris, you always come up with such interesting/fun/useful tutorials..
Such a great tutorial and invaluable time saving tips. Thanks Chris this is awesome!!
Chris, great tutorial but I’m having some problem with creating the stoke path at 3:41 in the tut. Stoke Path is greyed out so I can’t add my fur brush effect :( . Any clues on what I’m doing wrong?