
This post was originally published in 2013
The tips and techniques explained may be outdated.
I’ve received a few questions recently about how I create the letterpress style texturing that appears on pretty much every retro/vintage design I make. Today’s tutorial will show you a quick and easy way to give your logos and typography that ink stamp style effect that originated from the old letterpress style printing technique.
Letterpress printing is an old printing method that transfers ink from a press onto paper, essentially like a rubber stamp. As we all know from playing with rubber and potato stamps as kids this kind of basic printing technique can result in some cool texturing, especially if areas of the printing surface lacks ink. Originally this would be seen as a mistake or flaw in the print, but nowadays we actively seek to fake this kind of texturing to give our artwork an aged and nostalgic appearance.
Letterpress Texture Effect in Photoshop

I’m going to be using one of my freely downloadable hipster logos as the base of this tutorial. Download this design and 5 other customizable retro/vintage logos & emblems.
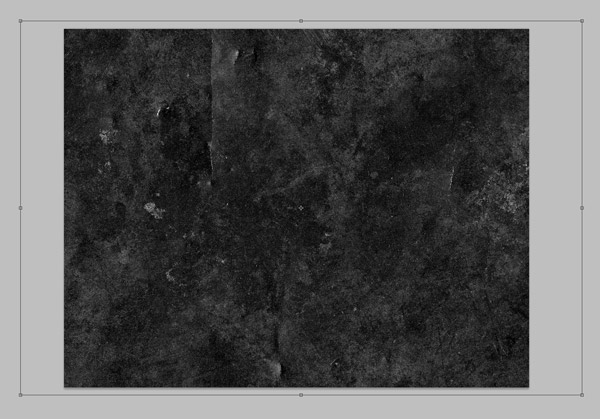
The actual letterpress effect is created from a texture file. The subject of the texture can really be anything with plenty of fine grainy detail. Concrete, rust or grunge textures all work well. Here I’m using a free dark grunge texture from LostandTaken. Paste the texture onto a new layer and scale it to size.
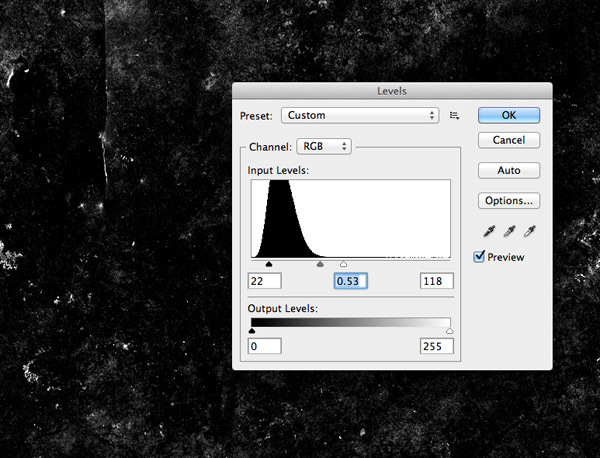
Press CMD+Shift+U to Desaturate the texture then open up the Levels window (CMD+L) and alter the handles to increase the contrast of the image. The aim is to generate harsh white details that will represent the paper showing through the ink.
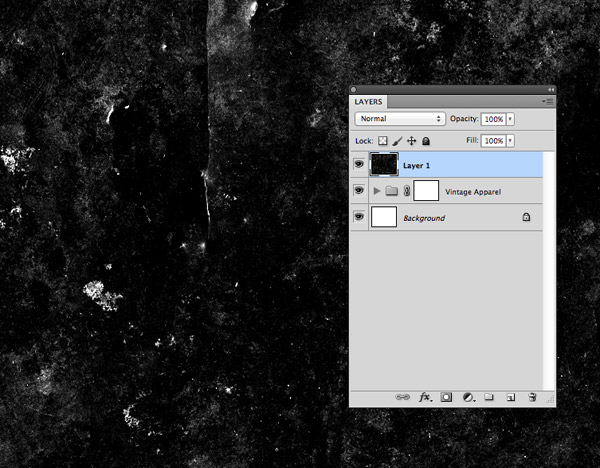
Select your main logo layer or group of layers and add a Layer Mask.
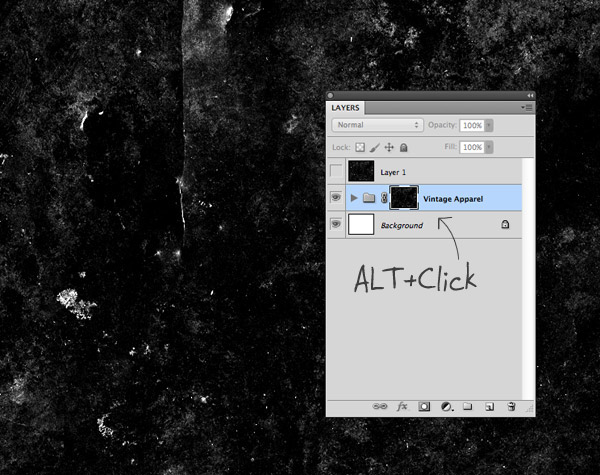
Select the texture layer and press CMD+A to Select All, then CMD+C to Copy. Toggle off or delete the texture layer then ALT+click the Layer Mask’s little thumbnail. This will take you into the Layer Mask in order to edit its contents. Press CMD+V to paste the texture then click elsewhere in the Layers palette to exit out of the layer mask.

The texture has now been applied as a mask and is rendering black areas of the mask transparent and white areas opaque. Depending on the original texture file you might need to Invert the mask. Too much of the artwork is currently being erased so inverting it from ‘white on black’ to ‘black on white’ will result in a much better effect.
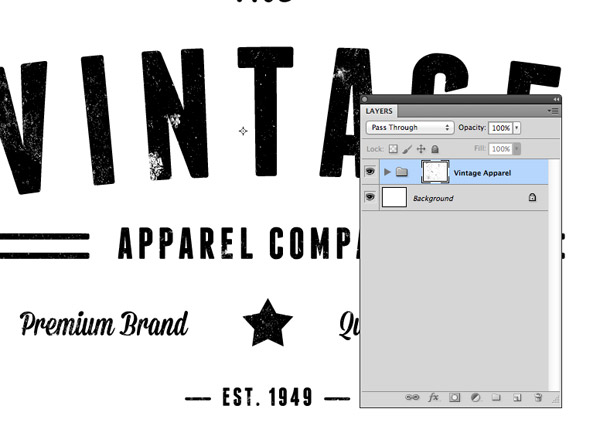
You can even unlink the mask from its layer and move the texture around independently to fine tune the placement over your artwork.
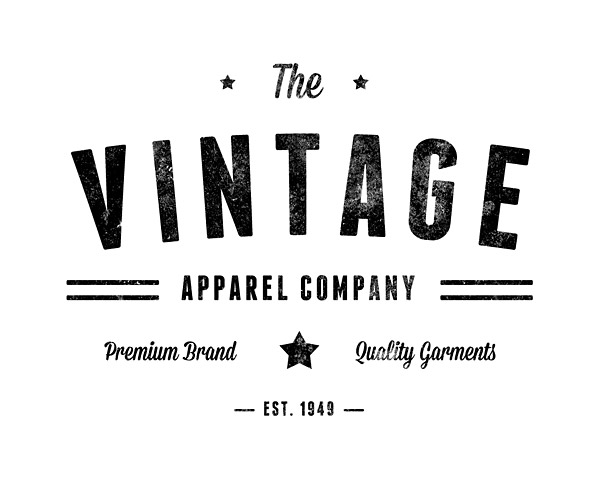
The final effect gives the artwork that popular vintage look by mimicking the pressed ink appearance of those old letterpress prints.
What about Illustrator?

Texturing in Photoshop offers you the most detail and realistic effects, however similar effects can certainly be created in Illustrator to maintain a complete vector format. Check out my older tutorials such as How To Create a Vector Sponge Art Effect in Illustrator or how to use the textures from my Vector Bumper Pack to create an aged vintage style logo design.
Unless I’m specifically creating a vintage style logo with texturing as part of the design, I’ll often copy across my artwork to Photoshop and quickly use this textured Layer Mask technique.
Update: Illustrator Opacity Masks
I’ve just discovered another technique that can be used texture your artwork directly in Illustrator: Opacity Masks. Just like Photoshop Layer Masks, Opacity Masks render your artwork’s visibility according to the black and white areas of the contents of the mask. Raster texture or vector textures can be used as Opacity Masks, but more impressively they’re non-destructive, unlike my previously mentioned Pathfinder process.
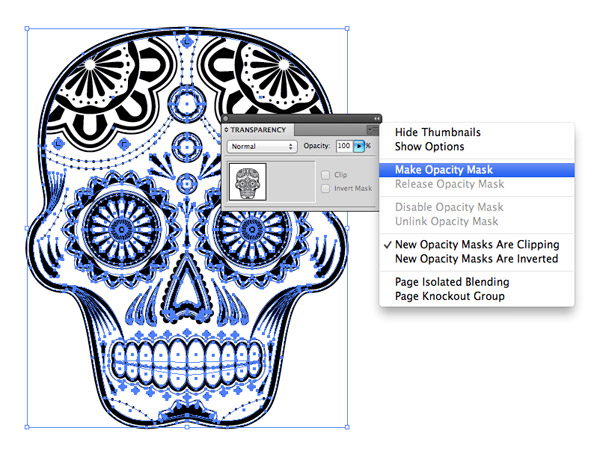
Select your artwork in Illustrator and head to the Transparency panel. Open up the slide out menu and select Make Opacity Mask.
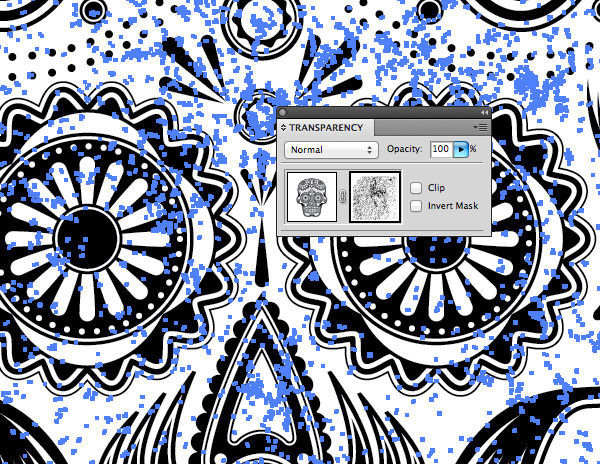
Deselect the Clip option, then click the thumbnail of the mask to activate it. Paste in any kind of texture file to erase out portions of your design. Raster textures can be used for fine details, but remember they won’t be scalable. Use vector textures to maintain that scalability while preserving your original artwork.

cool… thanks
Hi! Chris Spooner, Great Tuts thanks for this.
Excellent tutorial as usual, Chris. Thank you!
Great work Mr. Eyebrows
Nice, i love the letterpress effect, thanks for sharing this!
Awesome, going to try this out soon.
Great tutorial. Thanks Chris! for sharing your ideas.
Nice. Thanks for this tutorial (and all others!).
Alternatively instead of doing the CMD+A, CMD+C, ALT+click, CMD+V + click elsewhere…
you could also CMD+click the channel of your choice (within the channels pane) then click the add layer mask icon (within the layers pane)
Great tutorial, thanks!
i’ve been wondering on how to do this for a long time! thank you so much for posting this! :)
Interesting, ALT+Click was an eye opener for me! Thanks dude
Awesome tutorial! Thanks!
Cool! Thanks..
creative, simple and catchy effect you made in this tutorial, that appreciated.
Hello, we are from Brazil. I liked the Vintage.
I am new at this and feel a little lost. The step at which I am to “paste in any kind of texture file” is throwing me off. I don’t see how this is possible.
can anyone offer any guidance?
Thank you
Nice post. I be taught something tougher on completely different blogs everyday.
Great article. I can create more creative vintage work through following your way. But I want to know that How can I did this type of vintage through using Illustrator.
thanks,I’v made this effect.simple and great.
thanks for sharing, awesome tutorials
I have been using the pathfinder “minus front” forever… Thank you for sharing the opacity layer mask option.. cannot believe it took me this long to use that.
This is the easiest tutorial with the best result that I’ve seen. My only problem–when I inverted the mask, my artwork just went back to solid black. Thoughts?
If only he made a step by step video instead. these instructions are not clear at all!