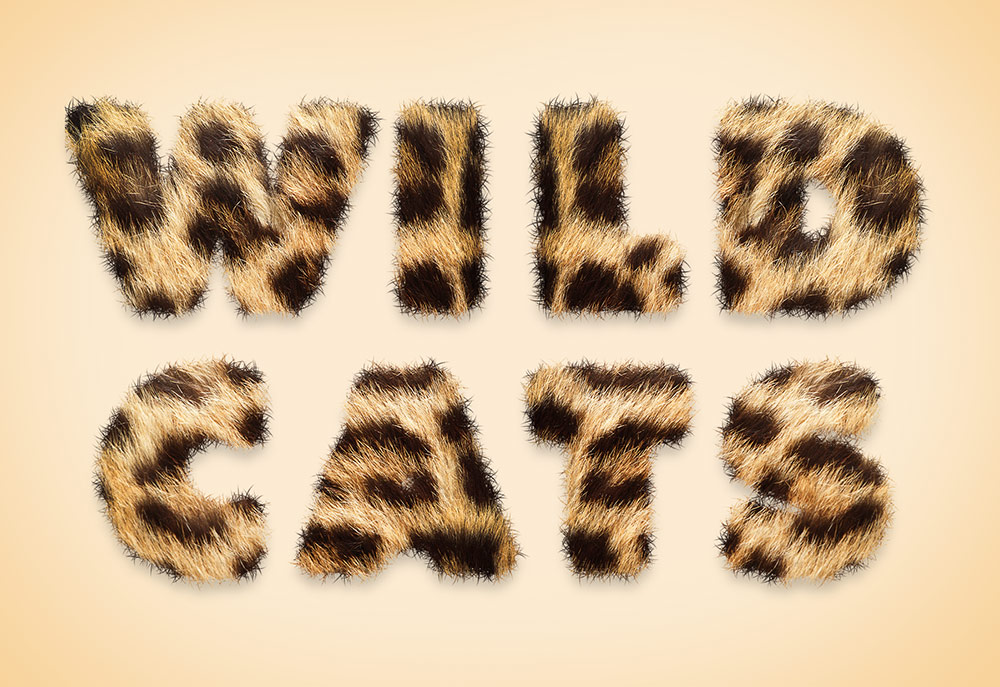
How to Create an Animal Fur Text Effect in Adobe Photoshop
In today’s Photoshop tutorial I’m going to show you some simple steps to create an animal fur text effect. The process makes use of a real animal fur texture for maximum realism. In my example, I’m using Leopard spots to create the wording ‘Wild Cats’, but a variety of results can be achieved by using source photos of different furry animal skins. The fur photograph will take care of the realistic furry effect in the centre of the text, but I’ll also show you how to create a custom Photoshop brush to apply the soft hairs around the edges of the text to eliminate the hard letter edges. Depending on the animal your source texture is from, the result can depict a variety of colours and common animal prints to create a range of safari or zoo themed text styles.

Check out Envato Elements for Unlimited Design Asset Downloads and Get 50% off Annual Membership – https://spoon.graphics/envato
Subscribe to the Spoon Graphics YouTube Channel


LOVE your video tutorials! Thanks so much!!!
Loved the tutorial – I have Adobe CC and for some reason, I could not make the brush – after using the Pen Tool, and right-clicking, the “STROKE PATH” selection was not active – so – I made it in Illustrator and pasted the brush into Photoshop and made the brush from there!
I love your post here!
¡¡Muy buen tutorial!, la verdad es que se le puede sacar partido y aplicarlo con diferentes pinceles creado por nosotros. Gracias, buen tutorial, saludos.