This post was originally published in 2013
The tips and techniques explained may be outdated.
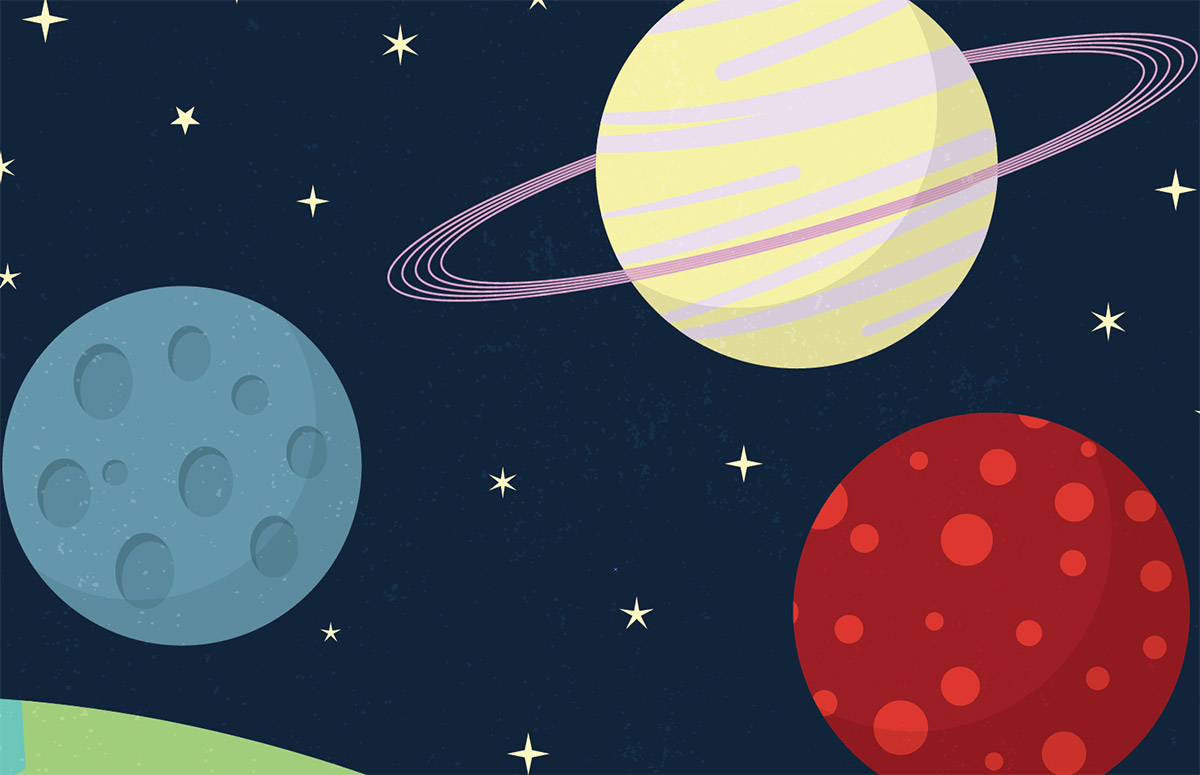
In today’s Adobe Illustrator tutorial we’re going to create a cute cartoon style space scene illustration using simplified vector shapes and solid bold colours. We’ll be using a variety of tools and techniques which makes this a great tutorial for Illustrator newcomers. See how complete illustrations are built by combining lots of individually drawn elements.
The illustration we’ll be creating features a flat cartoon like style with all the planets and moons being decorated with bold patterns. The process for creating this illustration involves lots of different processes to design each pattern and trim the various shapes to size, which are all crucial techniques needed to master Adobe Illustrator.

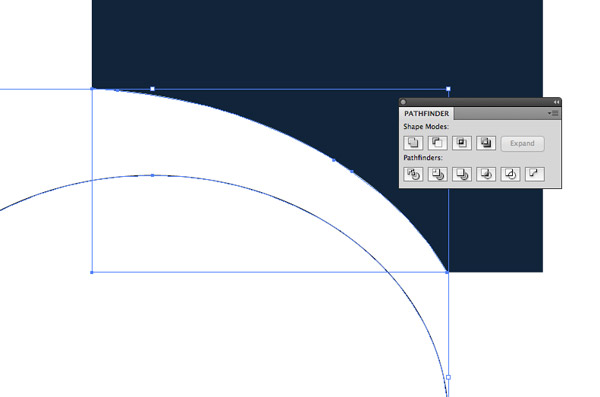
Create a new document at any dimensions and go to View > Hide Artboards. Vector artwork can be scaled to any size, so unlike Photoshop the initial document size doesn’t matter too much. Select the Rectangle tool from the toolbar and drag out a shape onto the artboard. Hold Shift to constrain the dimensions into a perfect square. Add a deep blue as a fill colour by selecting a swatch, eyedropping a colour or adjusting the CMYK sliders.

Draw a large circle to overlap the lower left corner of the rectangle. Give this shape a turquoise fill then select both shapes. Choose the Shape Builder tool and hold the ALT key while hovering over the larger portion of the circle. Click this area to erase it, leaving the smaller circle trimmed to the edges of the square. We’re finished with the square for now, so press CMD+2 to lock it. This will prevent us from accidentally moving it out of place later.

Select the Pen tool and change the fill colour to a brighter green. Single-click a series of points to rough out some countries/continents to form an Earth illustration.
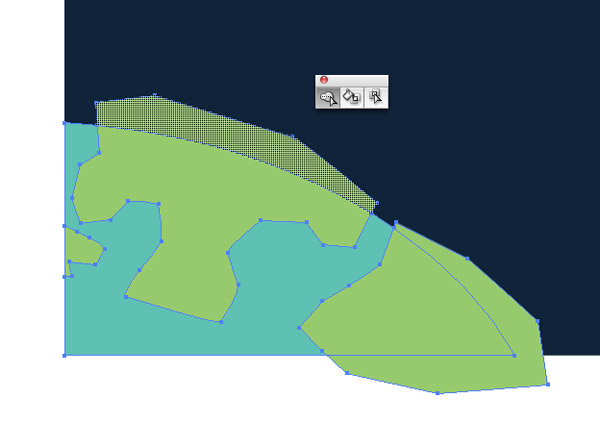
Select all the green and turquoise shapes and use the Shape Builder to trim away the excess areas from the green elements.
Click anywhere on the empty artboard to deselect everything, then select just the turquoise shape. Press CMD+C to Copy then CMD+F to Paste in Front. Change the fill colour to white then draw a random circle to overlap a large portion of the white area. Select both elements and click the Minus Front option from the Pathfinder palette to punch out the temporary circle shape from the white element.
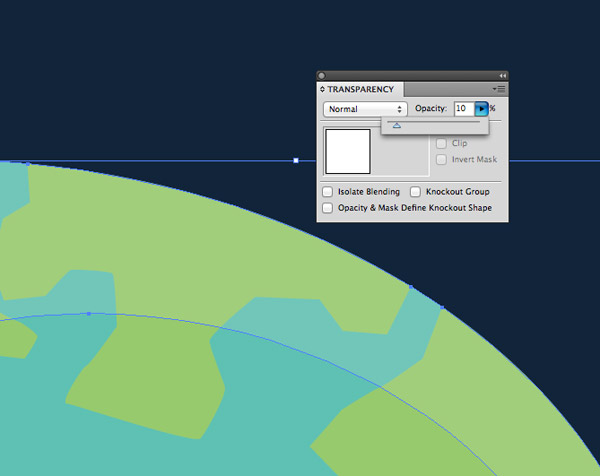
Change the Opacity of what’s left of the white element to 10% to create a subtle highlight around the Earth.
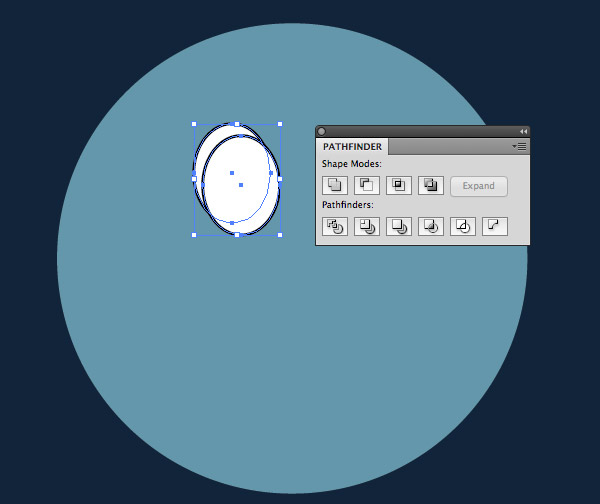
Draw a smaller circle with a mid blue fill to represent the moon then begin drawing an oval to represent a crater. Copy/Paste this oval shape and nudge it diagonally right. Select and copy the original oval shape then add the duplicate to the selection and hit Minus Front from the Pathfinder palette.
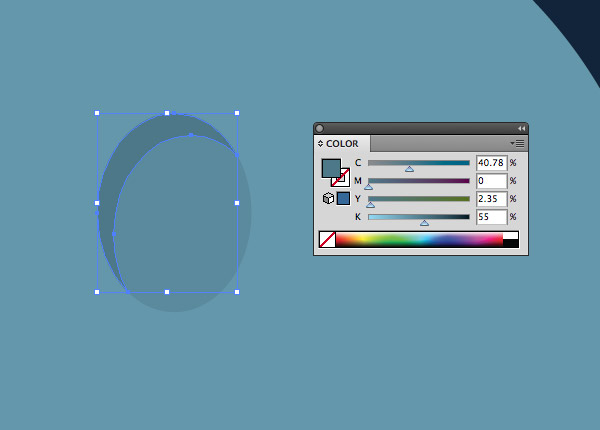
Press CMD+B to Paste Behind the original oval behind the newly created crescent shape. The fill of these two shapes can then be altered to darker shades of blue, giving the crescent shape the darkest blue to give the impression of an inset shadow.
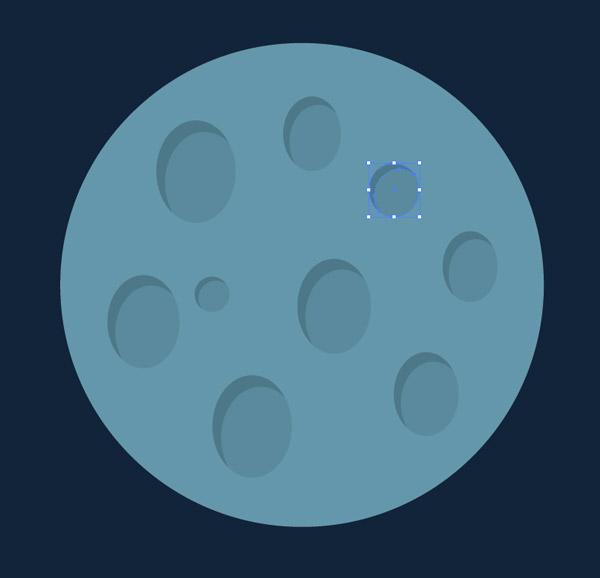
Select both shapes and press CMD+G to Group, then hold the ALT key and drag a few duplicates around the moon. Scale and squash the shapes into different sized ovals and circles.

Copy the background circle of the moon and paste in a duplicate. Give it a black fill then duplicate it again. Move this temporary duplicate diagonally left and use the Pathfinder tool to punch out the overlap to leave a crescent shape, just like we did with the craters.
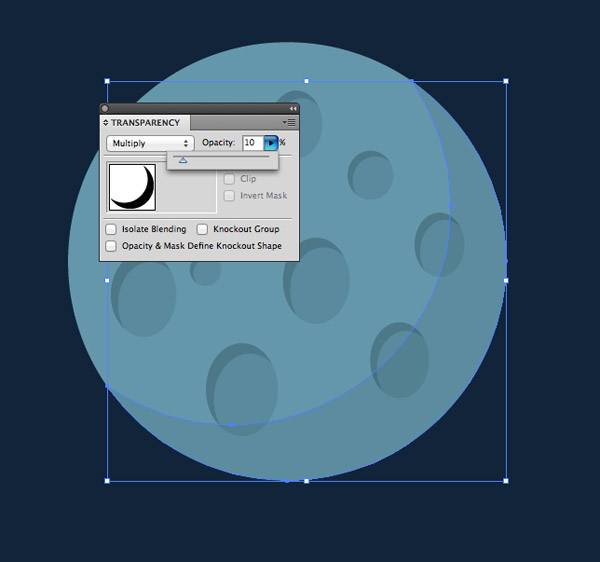
Change the blending mode of the black crescent to Multiply and reduce the opacity to 10% to create a subtle shadow.
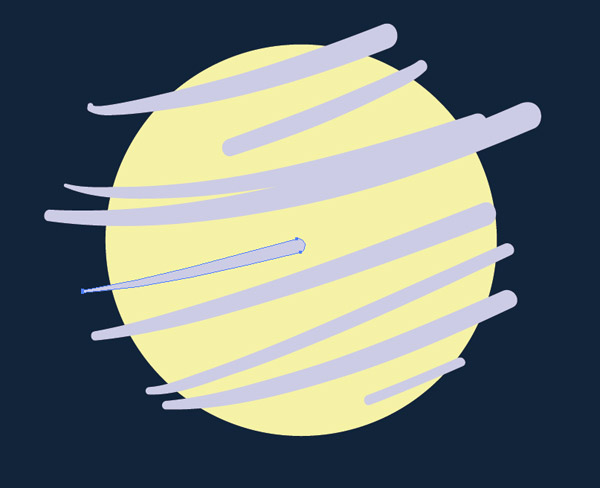
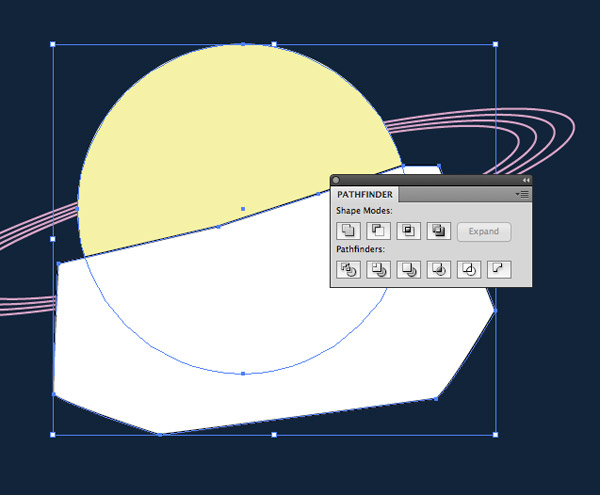
Draw a yellow circle, then select a pale lilac colour and draw some random strokes over the circle using the Blob brush tool. A Wacom Tablet really helps with the pressure control to alter the thickness of the lines.
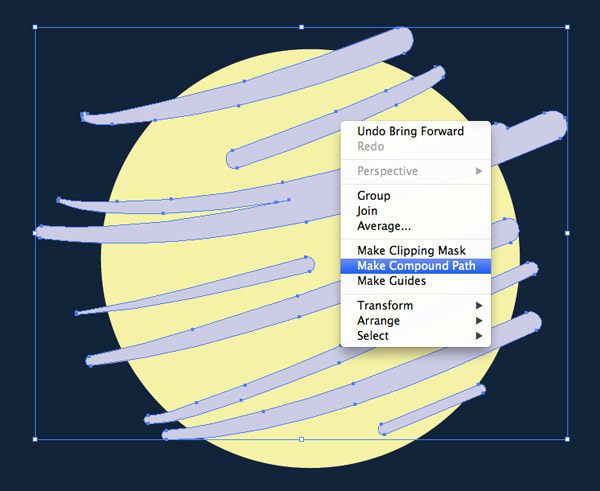
Hold Shift and make a selection of the all the blob lines. Right click and select Make Compound Path (or press CMD+8). This creates a special group which can be affected by the Pathfinder tool (without the Compound Path it throws up an error).
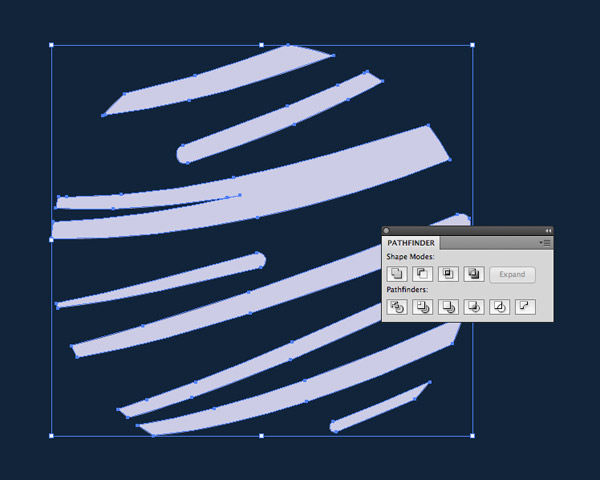
Make a quick copy of the yellow circle, then select both the circle and the blob lines and click the Intersect option from the Pathfinder palette. We needed to copy the circle beforehand because it has now disappeared. Press CMD+B to Paste Behind and replace the missing background.
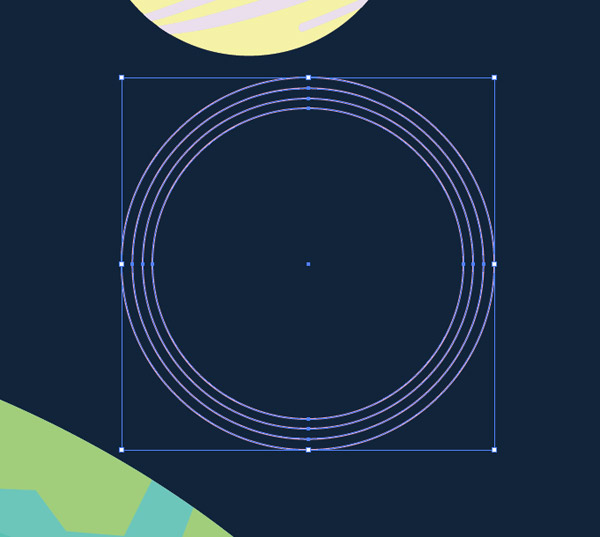
Draw a circle elsewhere in the document and clear out its fill colour. Switch over to the stroke and add a light pink. Hold ALT and Shift while scaling the circle down to create a slightly smaller duplicate. Press CMD+D to Transform Again to automatically create a third circle.
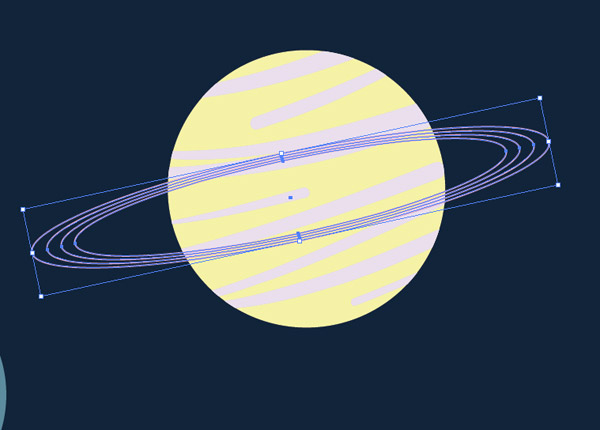
Squash, stretch and rotate these circles into place to create a series of rings around the yellow planet.
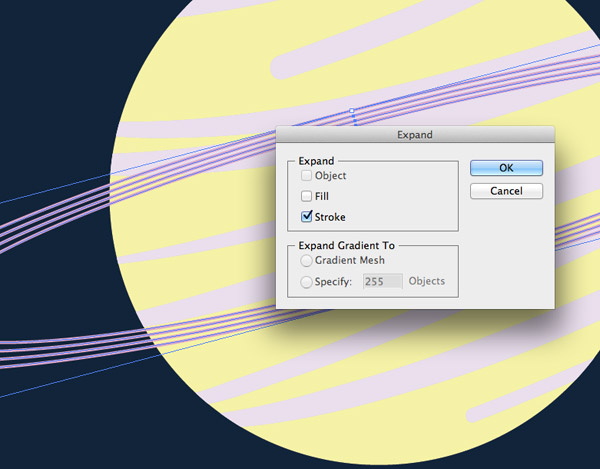
Before trimming the rings with the Pathfinder they first need to be converted to solid shapes. Go to Object > Expand and select just the Stroke option.
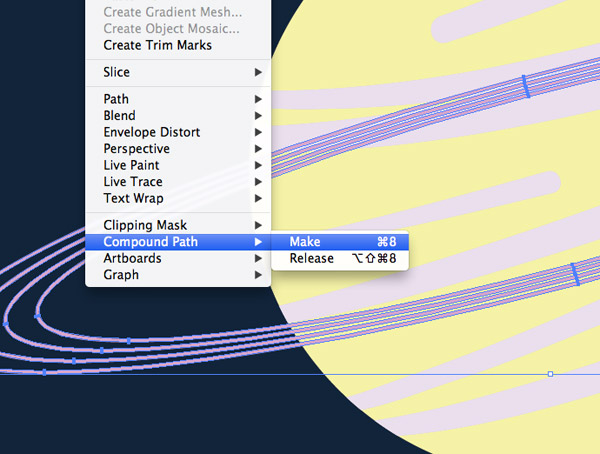
These three rings will also need to be combined into a Compound Path so they can be manipulated with the Pathfinder tool.
Copy and Pate a duplicate of the yellow circle, then draw a random shape to cover the lower half. Punch out this shape using the Pathfinder Minus Front option. This leaves a yellow shape that only covers the top half of the rings.
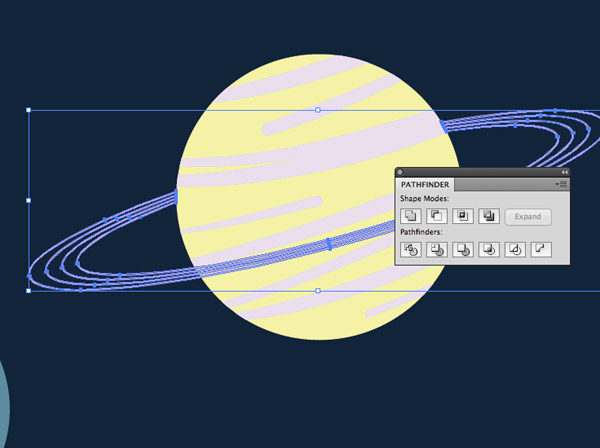
Punch out the temporary yellow shape from the rings to give the impression that they are flowing all the way around the planet.
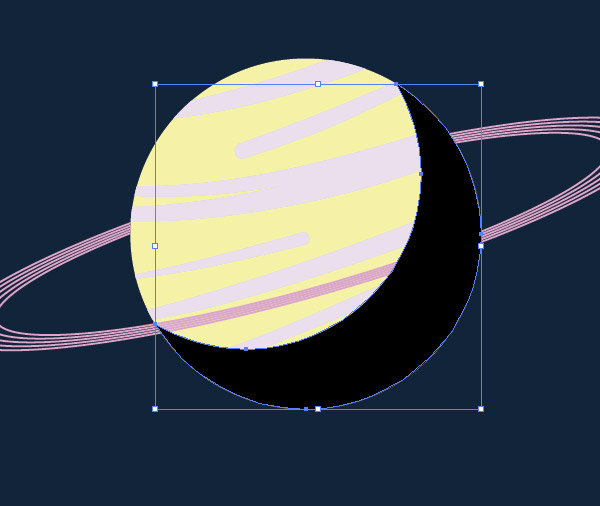
Paste in another copy of the planet circle, then give it a black fill and repeat the Pathfinder process to create another crescent shadow shape.
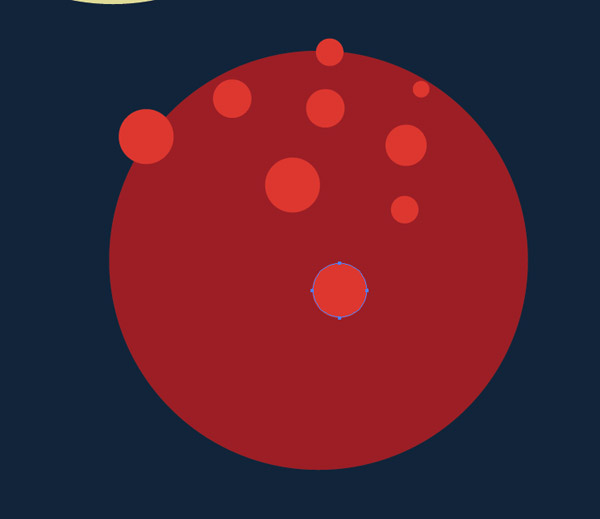
The same Pathfinder techniques can be put to use to create our third planet. This time draw a red circle and add a series of random circles, some extending beyond the edge of the planet outline.
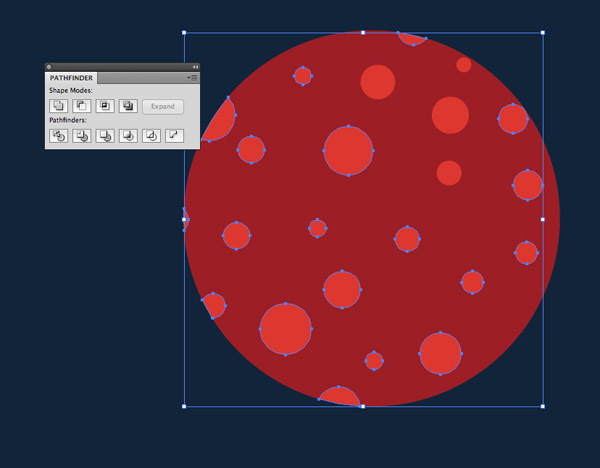
Make a Compound Path from all the individual circles, make a quick copy of the background circle then Intersect to trim them down to size. Paste back in the background using the CMD+B shortcut.
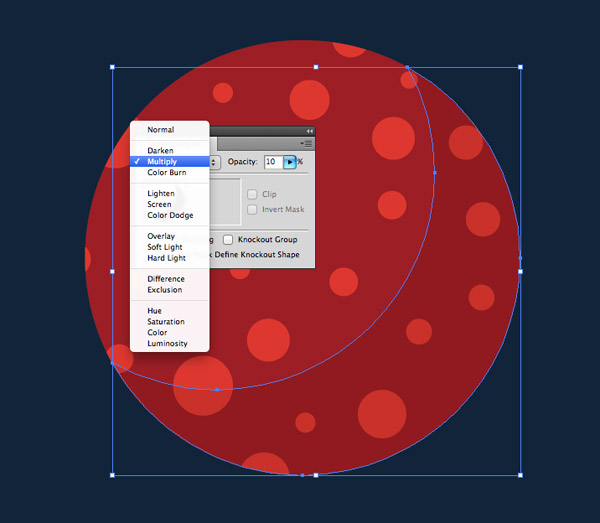
Repeat the steps to create a shadow, adding the same Multiply blending mode and reduced opacity of 10%. Draw a selection around all the elements that make up each planet and press CMD+G to Group.
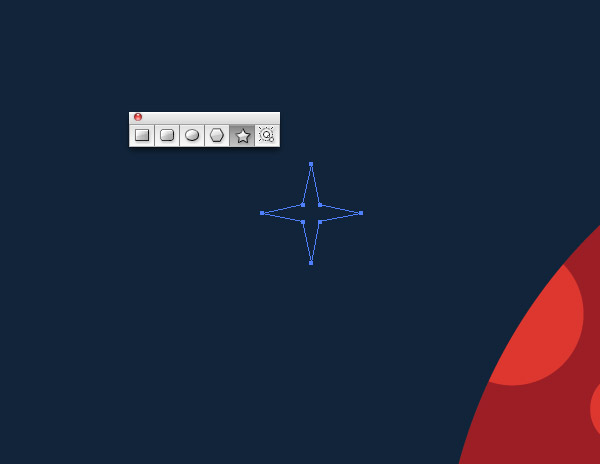
Select the Star tool from under the shapes tools collection. Hold the Shift key to keep the shape straight, then alter the number of points using the cursor keys before releasing the shape. Also hold the CMD key while dragging the shape to alter the size of the points.
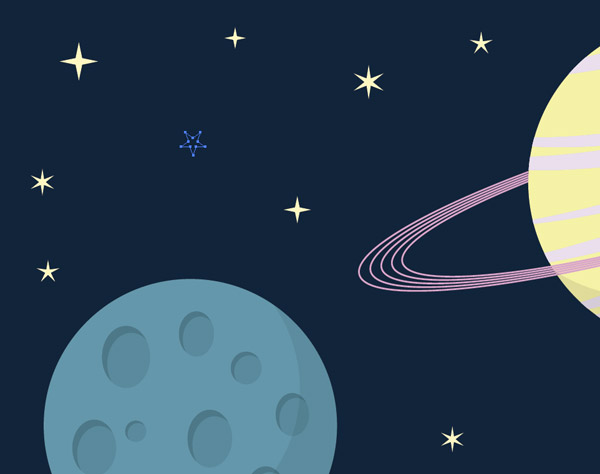
Give the star a yellow fill then continue to add randomly sized shapes to the design to fill out the empty space. Alternate between stars with 4, 5 and 6 points for diversity.
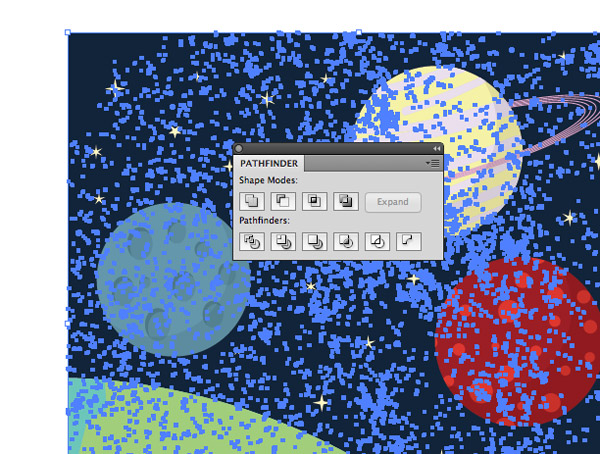
Solid colour illustrations work perfectly well, but I always love adding subtle textures to my artwork. Copy a vector texture from my Vector Bumper Pack, give it a white fill and place it over the artwork. Press CMD+Alt+2 to unlock the blue background square. Use this shape with the Pathfinder Intersect option to trim the texture to size, then paste the square background back in.
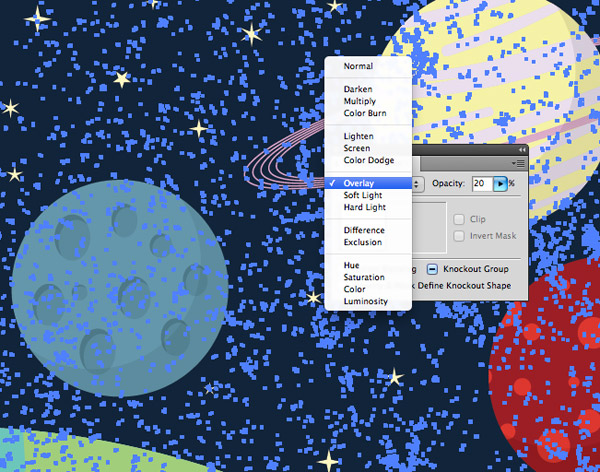
Change the blending mode of the texture to Overlay and reduce the opacity to 20% to allow the little grains to subtly alter the colour of the underlying shapes.
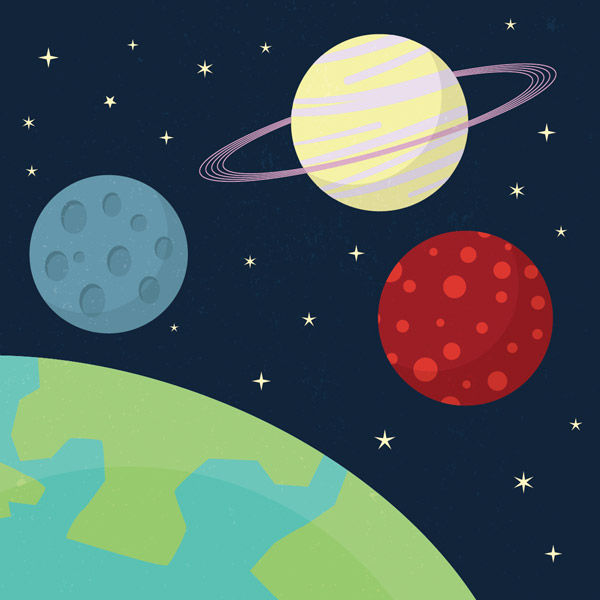
This leaves our vector space illustration complete. The use of bright bold colours and simple shapes helps achieve that cartoon like Illustration style, while the subtle shading and texturing provides that extra eye pleasing details.
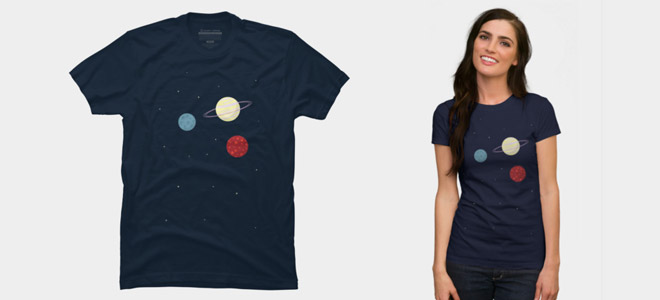
Love this design? Get the T-shirt!

Wow, great stuff…I will definitely be an avid reader of this blog!!
Love all of the alternative techniques worked into this Chris.
Good selection of tools and concepts!
Chris,
I haven’t tried this one yet, but my wife has been itching to learn Illustrator. So, this should be a good introduction for her.
Love the style and colours, reminds me of the good old cartoons from back in the day :)
Thank you so much Chris! I’m starting this tutorial right now. Let’s see how I tread through Ai waters! Thanks again! It looks super fun! :)
Thank you so much Chris,it’s imazing.
Great techniques, really beautiful scene and tutorial.
Great tutorial! I actually did something very similar for an organization at UC Berkeley. Check it out here! http://www.behance.net/gallery/The-Compass-Lecture-Series-Fall-2013/11282223
This leaves our vector space illustration complete.
Great beginners tutorial. Thanks for the share.
Amazing job. I recently found this blog and I´m certainly gonna follow your tutorials. Thanks for this!
Another great tutorial. However, can you tell me how you export your images from illustrator to look so crisp and smooth? When I use the save for web option text in particularly looks jagged even though I am using type optimised. Do you have a particular method you use when exporting for the web?
Im sort or new to web design coming from a print background! Loving your tuts on Illustrator keep them coming bud…
I am newbie and thanks for your great tut :D
thank you spooner it’s soo good.
Good tutorial, thanks for sharing. You used a couple commands that I wasn’t aware of, like CMD+D to Transform Again. Also the vector texture is a good resource. Thumbs up :)
Fantastic tutorial – has helped me greatly lately! Thanks Chris.
This was excellent. Easy to follow… touched upon just the right amount of illustrator skills without being overwhelming or too easy.
Dear Chris,
May I have your permission to use the completed vector space illustration for a public poster?
Hope to hear from you.
Thanks!