
This post was originally published in 2014
The tips and techniques explained may be outdated.
I recently received a great tutorial suggestion from a reader named Brigid who asked if I could create a guide to creating an origami style illustration. We’ll use Adobe Illustrator to tackle this design for its advanced shape editing abilities and make particular use of Smart Guides to perfectly align our vector paths. Once the outline of our origami inspired design is complete we’ll then bring it to life with vibrant colours, resulting in a modern graphic that would look great as part of a logo design.

The design we’ll be building in this tutorial is an origami inspired graphic that makes use of hard angled lines to create intersecting shapes which mimic paper folds.
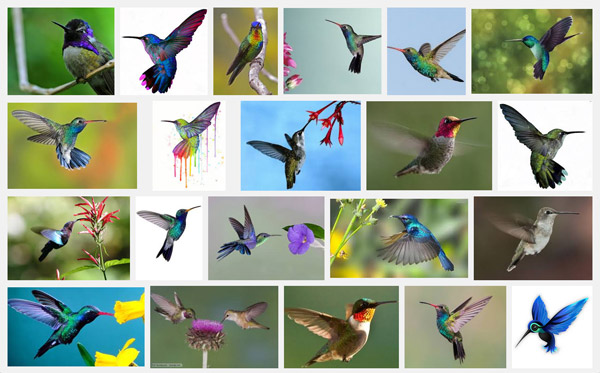
A good place to start is Google Images to gain an idea of the shapes we’ll need to use create a simplified outline of our subject, which in this case is a hummingbird. It’s also a good idea to familiarise yourself with the general shapes of real life origami creations.
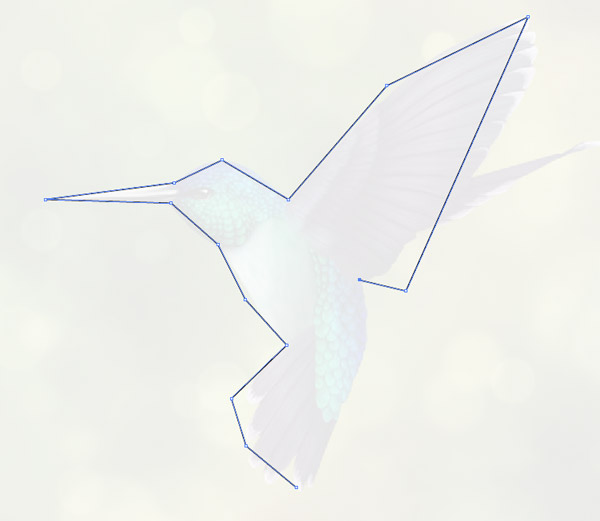
Using an image as reference, use the Pen tool to draw a simplified outline using just single clicks to create straight lines. Complete the shape by closing the path at the start point.

Turn on Smart Guides (CMD+U) to make it easy to align the next series of paths to the existing anchor points. Smart Guides will show little green notifications when you’re snapped to an anchor point, so use the Line tool to intersect the shape between various corners.
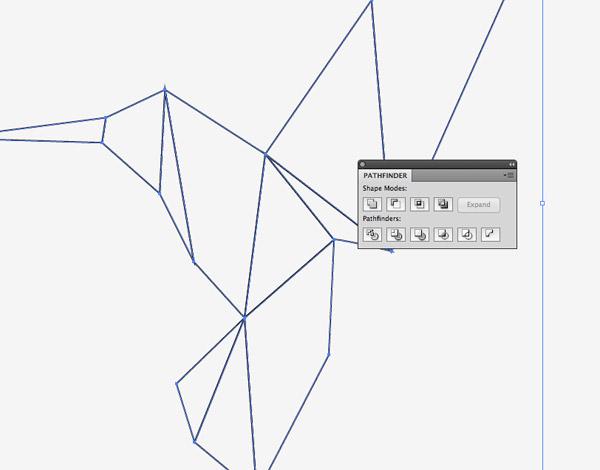
When you’re happy with the number of segments draw a selection across the entire illustration and click the Divide button in the bottom left of the Pathfinder panel.
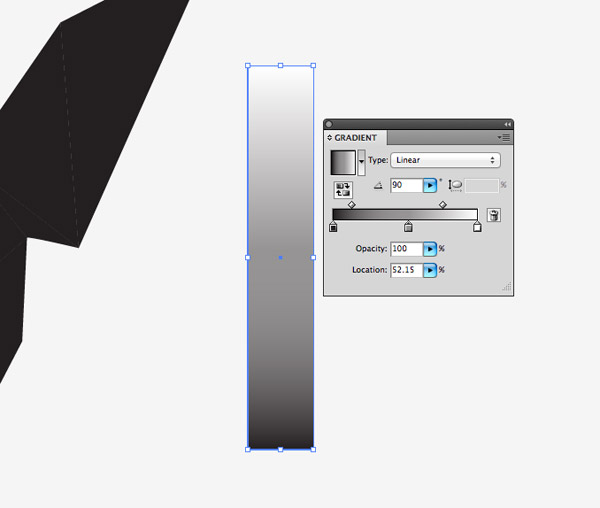
Once the artwork has been divided, all those segments are now selectable as individual shapes so they can be given a solid fill colour. A plain fill is a little boring though, so set up a linear gradient on a temporary shape.
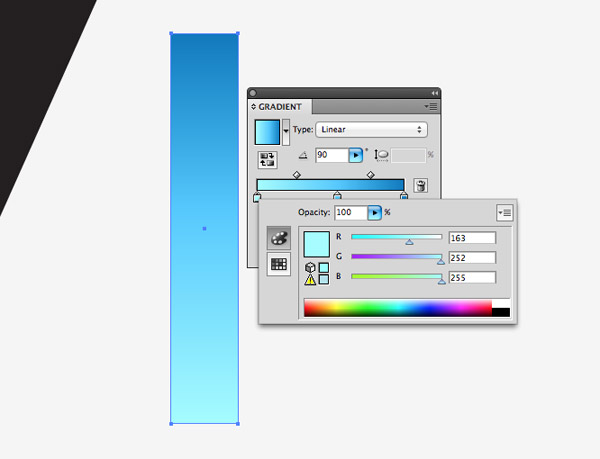
Tweak the Gradient Sliders to produce a vibrant blend of colour ranging from dark to mid to light tones. Setting up this gradient on a separate element makes it easy to fine tune the colours before being applied to the small pieces.
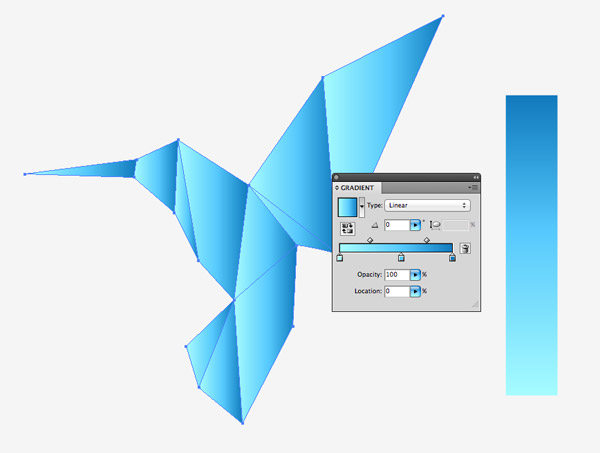
Drag a selection over all the shapes of the design then use the Eyedropper tool to sample the gradient and apply it to all the elements.
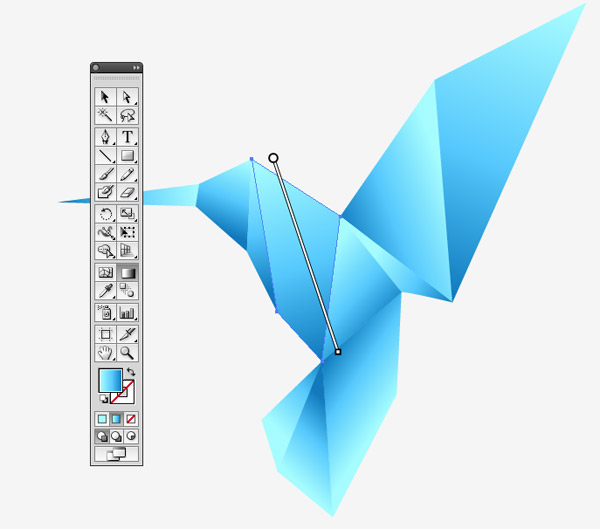
Currently all the gradients are flowing in the same direction. Use the Gradient tool to alter the flow, giving each shape a different direction.
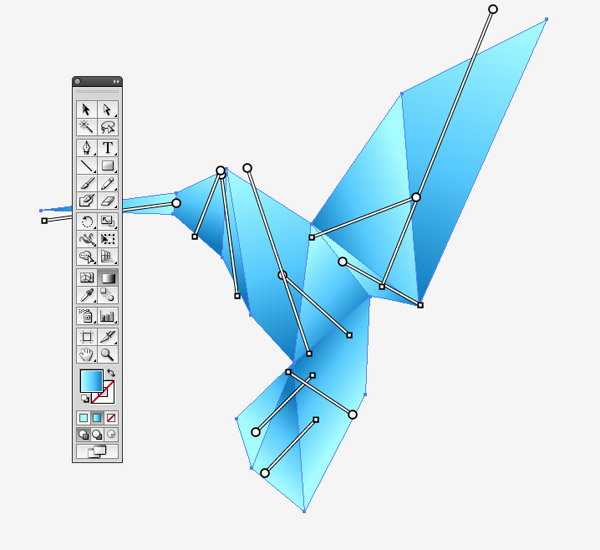
Tweak and adjust the gradients so there’s no harsh contrasts between each gradient. Use the darker tones to simulate folds between the different sections of paper.
The final design looks great with the simplified lines and intersecting shapes which produce a modern origami effect. This style of artwork is popular with logo designers, the bright colours and simple graphic makes a cool design that works well at different sizes.

Basically the same concept as your ‘How To Create a Cubist Style Logo’ tutorial, but that’s not a bad thing! This polygon effect helped me create a rather graphic branding for a agricultural advisor. And he loved it!
Itsn’t origami style but poligonal
It was origami last year. This year the hipster designers re-branded it low-poly or polygonal (somebody learned 3D processing I guess).
@tutorial… not as in-depth as I expected… I have a 2 years old draft on my blog about origami logo construction. You can contact me and I’ll send it to you, clean it and publish it if you want.
Would u be able to send me a copy please, as it won’t allow me to download the tutorial files & this tut skips loads of parts (in between & GUI in PShop shots etc).
Pls Contact me [twt]Code_Collective for email address… or put websitecollaborative then gmail’s .com (this should through off bots)
Thanks.
I love your tutorials! You have taught me amazing things about graphic design that I couldn’t find anywhere else. Thank you so much for taking the time to share it with all of us! I have been sharing your website with my designer friends and they love it as well! Good luck with everything!
Hello, I’m starting with origamis, and I loved your tutorial, I will try soon to make it.
This is great . Thanks for sharing this article. . I must admit I am not good in vector graphics but with this tutorial I can try it by myself .
Hi Chris,
Thanks for another great tutorial, easy to follow and really effective. I’ve made a purple hummingbird with a nice background texture, a song lyric and drop shadow for extra effect.
Laura
The idea is simplistic and thats a good thing. Its something similar to the logo of freelancer. The idea is the same as in this tutorial – Abstract geometric text – photoshop tutorial.
http://www.makesimpledesigns.com/2013/11/01/abstract-geometric-text-photoshop-tutorial/
It has a similar aproach, its a text effect tutorial but it can be used for logo designs to.
Any way good tutorial
Great tutorial ! Your tutorial is very helpfuly for me because I’m begginer in Illustrator. Thanks for share with it :)
Lovely man
thanks for the share :)
Ok, but how to create book mark now ?
Thanks so much for this! I learned things that are useful for lots of other applications too.
Ahh easier than I feared. Great tutorial, thank you :)
innovative tutorial forme
ahaha love it! Thank you!, You’re great for share your tutorials and help us!, have a great day!