This post was originally published in 2012
The tips and techniques explained may be outdated.
I love creating designs based on vintage Americana and being a bit of a hot rod and motorcycle fan the 50’s Greaser culture particularly captures my interest. I’ve been admiring logos, posters and t-shirt designs from the racer and custom scene and decided to have a go at designing my own t-shirt graphic based on an old school garage logo. Follow this step by step Illustrator tutorial to create a vintage logo and t-shirt design for Greaser Customs complete with distressed textures and aged effects.
The design we’ll be creating is based on an old school customs garage named Greaser Customs. The logo is made up with vintage style type layouts and features a skull graphic with a classic pompadour. To take the edge off the clean vector lines a couple of textures are added to create that old aged appearance .
View the final Greaser Logo/T-Shirt Design
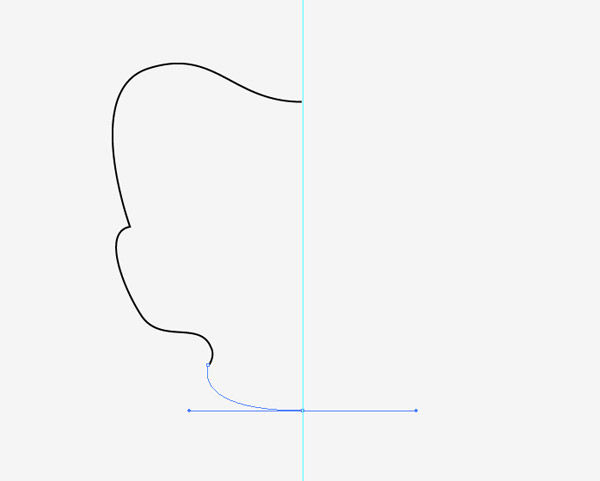
Open up Adobe Illustrator and drag a guide onto the artboard. Use this guide as a centre line to create one half of the skull graphic using the Pen tool. Toggle on Smart Guides (CMD+U) to make it easy to snap to the guideline.
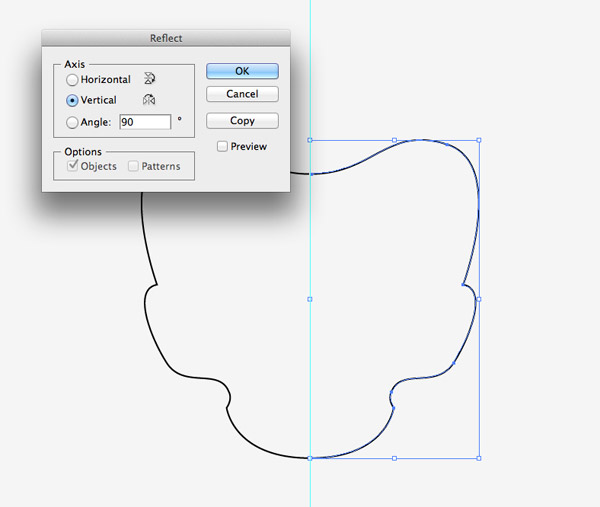
Select the whole path then Copy (CMD+C) and Paste in Front (CMD+F). Go to Object > Transform > Reflect and select the Vertical axis. Move this second half into place by snapping it to the guideline.

The skull shape is currently still two separate paths, so drag small selections around the overlapping end points at the top and bottom of the shape and join them together to form one continuous path.
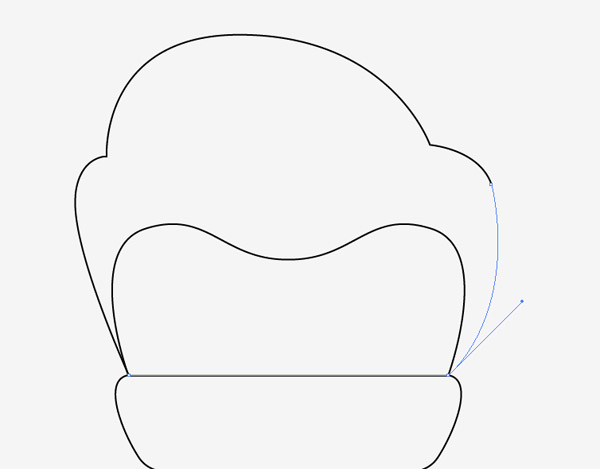
Use the Pen tool to continue a path to represent a pompadour hair outline. Close the path by cutting straight across the main skull shape. Once the shapes are filled this line won’t be visible.
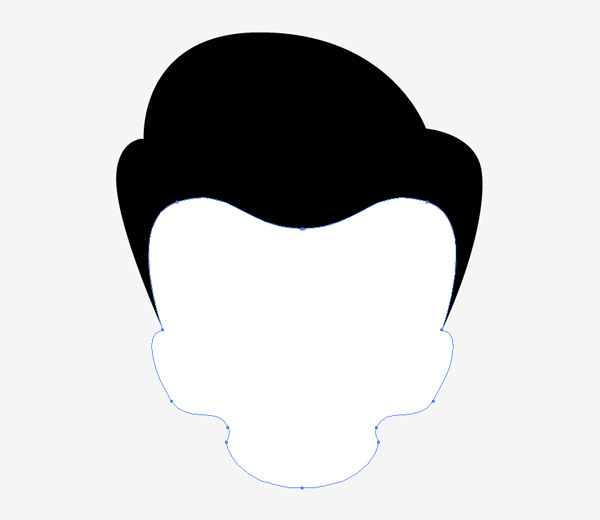
Give the hair a black fill and the skull shape a temporary white fill. Press CMD+] to arrange the stacking order to place the skull on top of the hair.
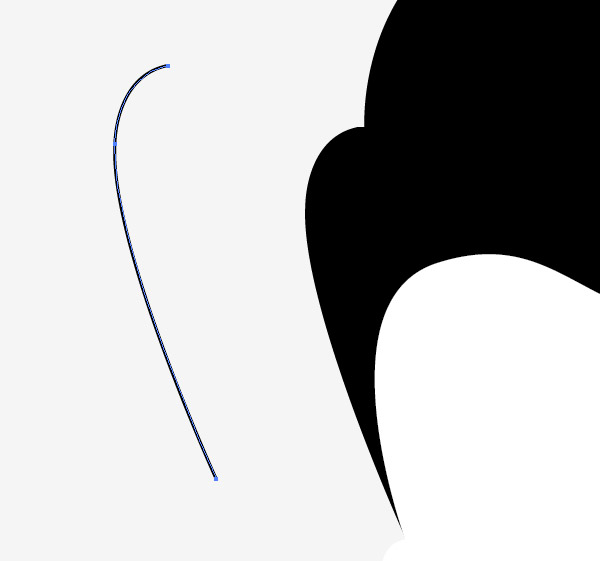
Use the Direct Selection tool to select, copy and paste a portion of the hair outline.
Give this duplicate outline a white stroke then use the Smart Guides to accurately move it back into place.
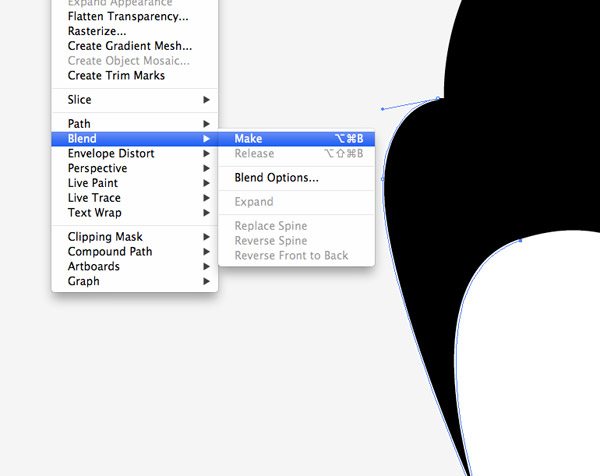
Make a copy of the portion of the outline between the hair and skull shapes, give this path a white fill then move it back into place. With both new paths selected go to Object > Blend > Make.
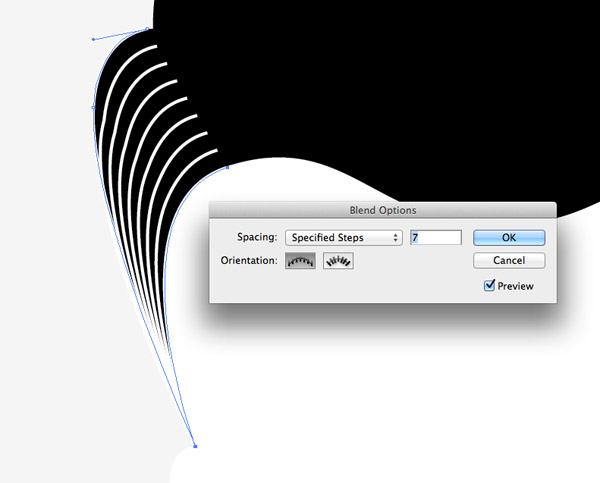
Go back to Object > Blend then select Blend Options. Change the menu to Specified Steps and alter the count to around 7.
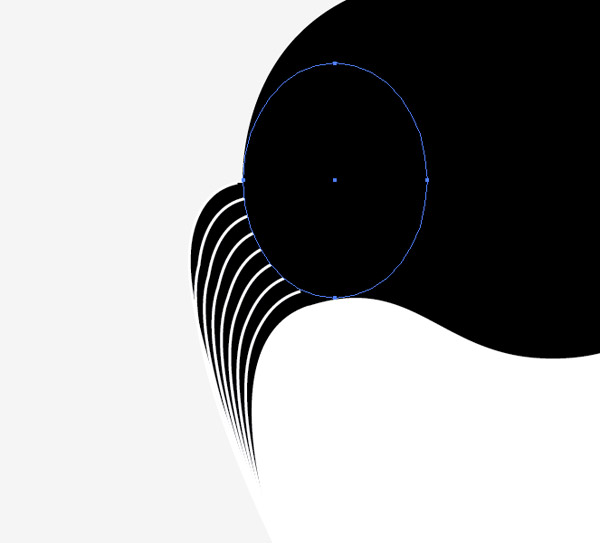
These blended lines overlap the imaginary line between the two sections of hair. Use a black ellipse the mask the excess by following the curvature of the outline.
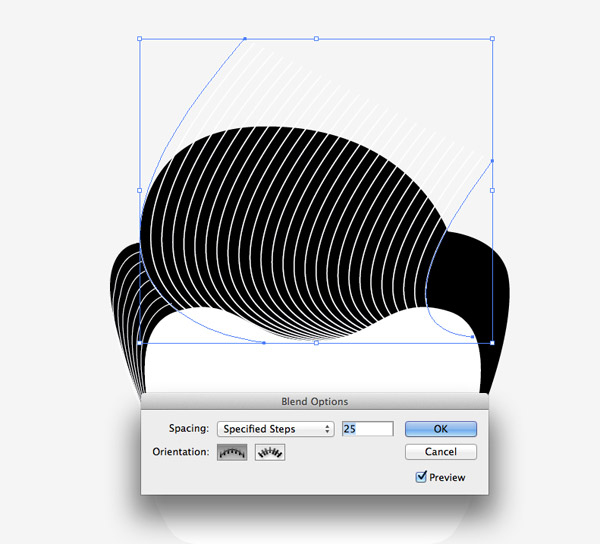
For the main section of hair manually draw two paths that follow the curves of the centre section. Add a blend between them and alter the count to create similar spacing to the first hair section lines.
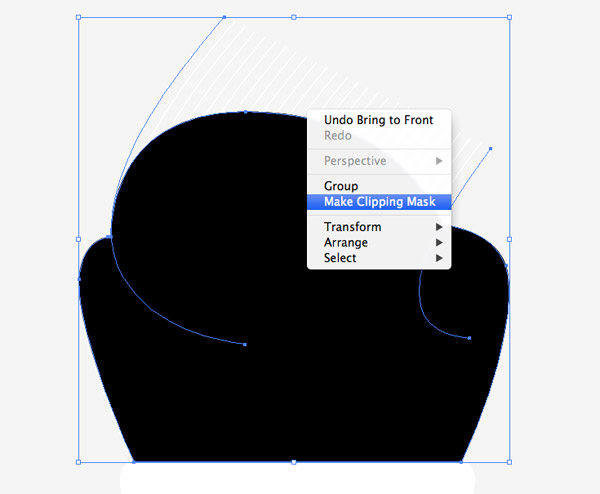
These centre blend lines currently extend way beyond the edge of the design, so make a copy of the hair shape and use it as a Clipping Mask to trim the blend lines to size.
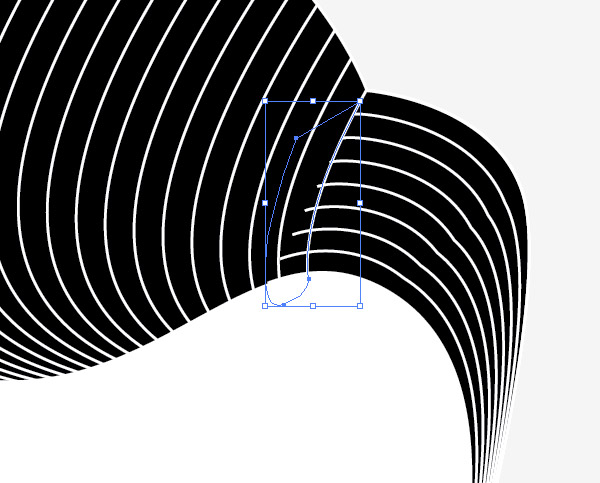
Make copies of existing paths on the third section of hair and create blends just like the first section. Make a random black shape to disguise any lines that overlap.
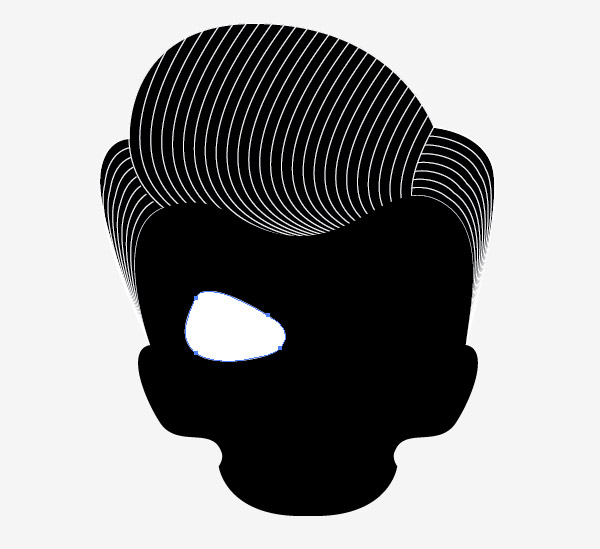
Change the main skull shape’s white fill to black, then begin drawing an eye socket with the Pen tool.
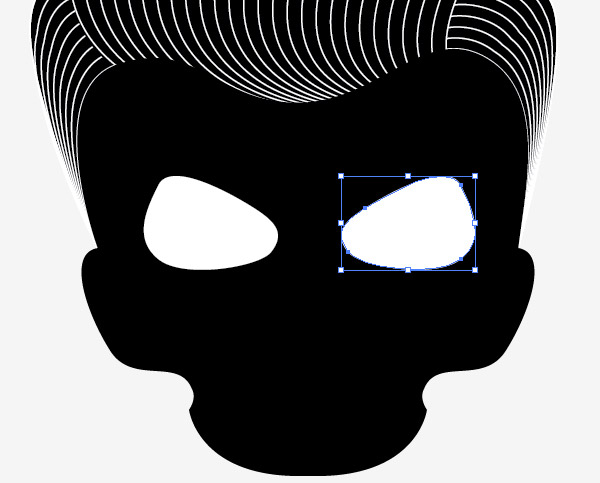
Copy and Paste in Front a duplicate eye, then use the Object > Transform > Reflect option to flip it to the other side.
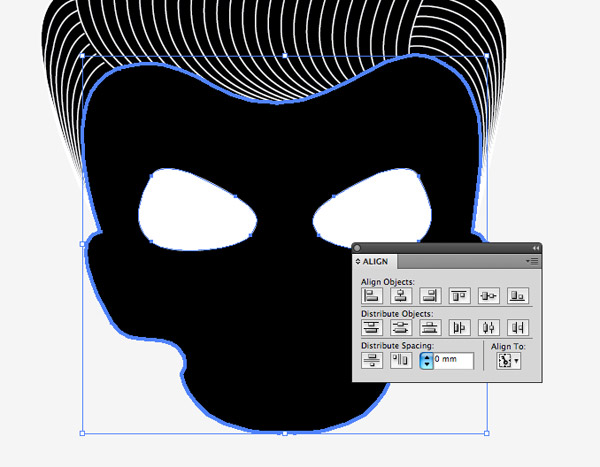
Group the two eye sockets together then add the main skull shape to the selection. Give the skull shape a second click to make this element the key object, then align them vertically with the Align tool.
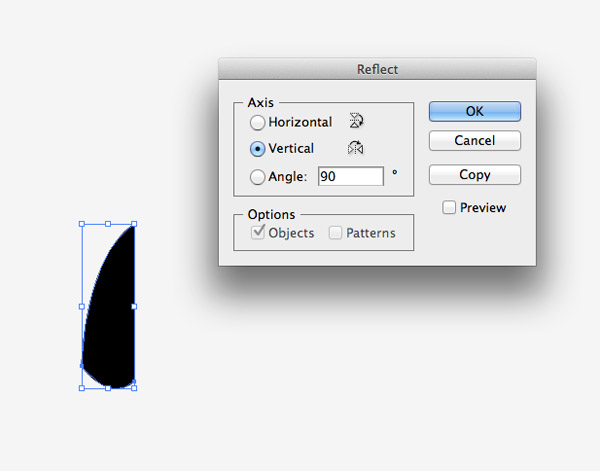
Draw one half of the nose elsewhere on the artboard, then copy, paste and reflect a duplicate for the other side.
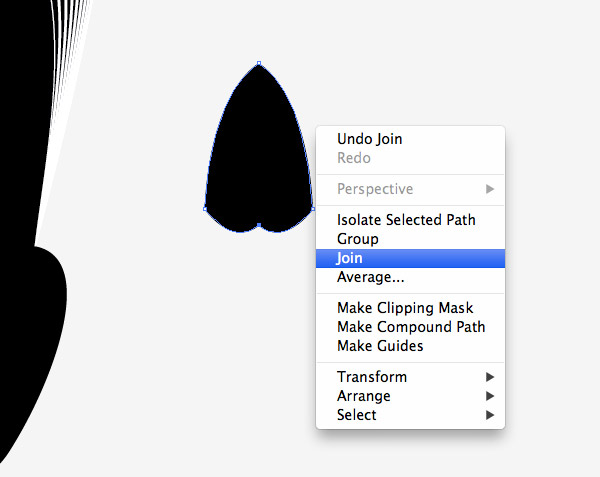
Align the open points of the path then join them together to form a solid shape.
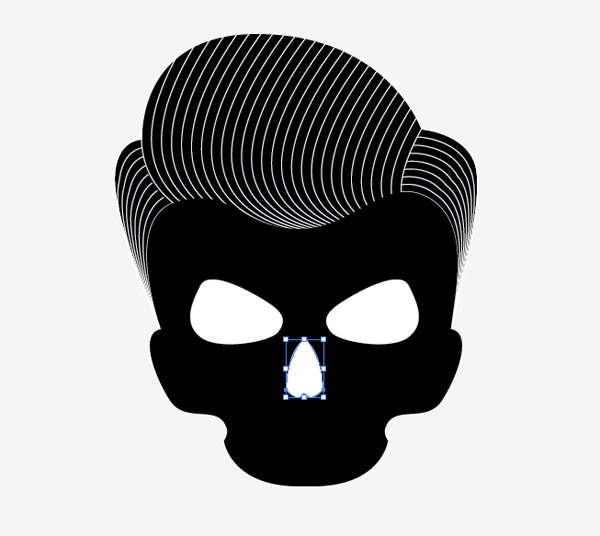
Move the nose into place on the skull, give it a white fill and align it centrally.
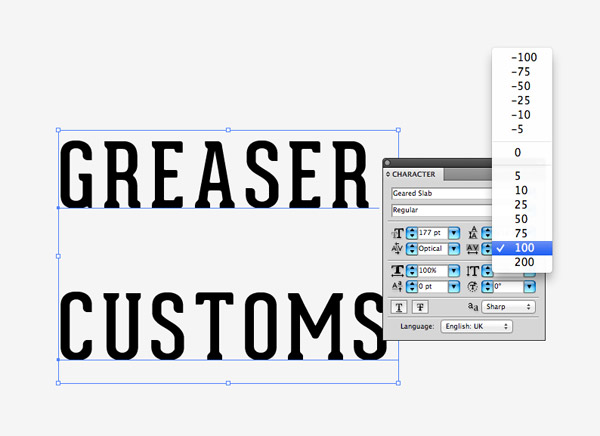
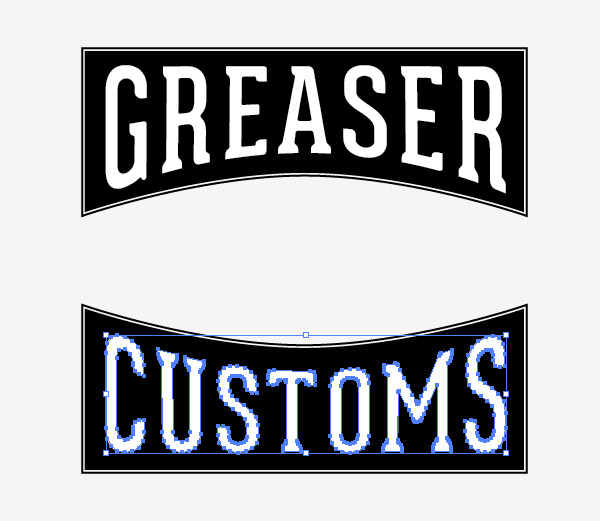
Begin typing out the words Greaser and Customs. Here I’ve chosen the cool free font Geared and set the tracking to 100.
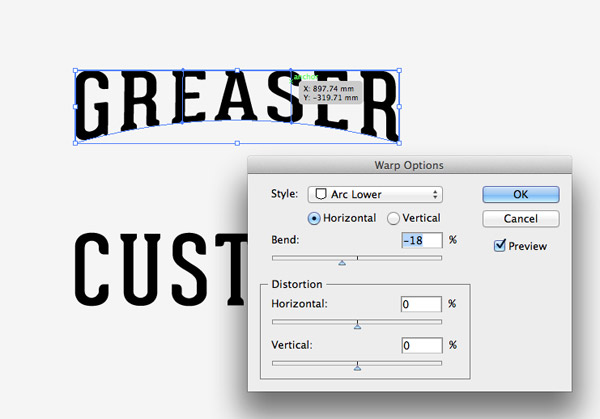
Select the word Greaser and add an Envelope Distort (Object > Envelope Distort > Make). Choose an Arc Lower style and adjust the bend to -18%.
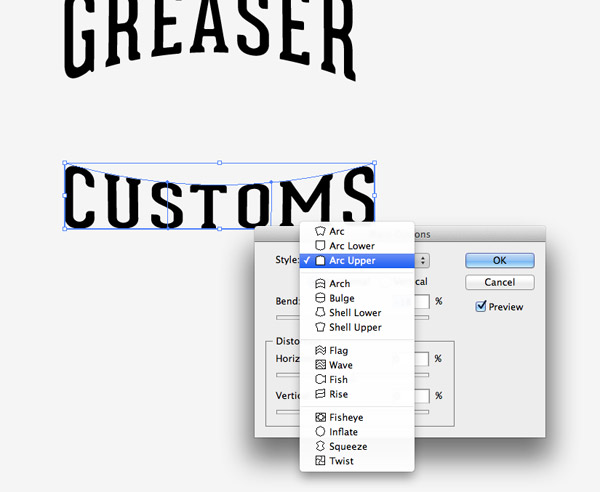
Stretch the text vertically to bring it back to its general proportions, then repeat the process with the Customs text but this time with an Arc Upper style.
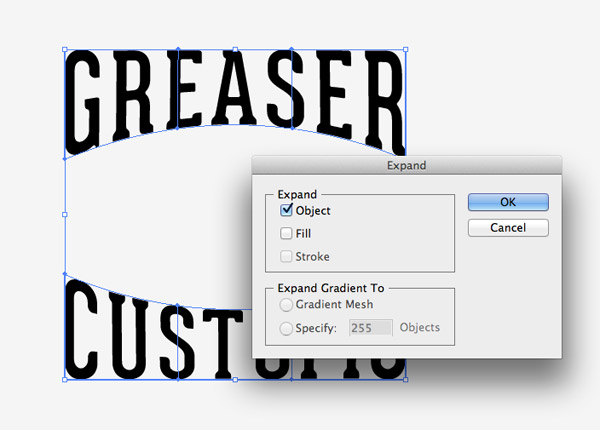
Select both text elements and go to Object > Expand to convert the Envelope Distorts to solid shapes.
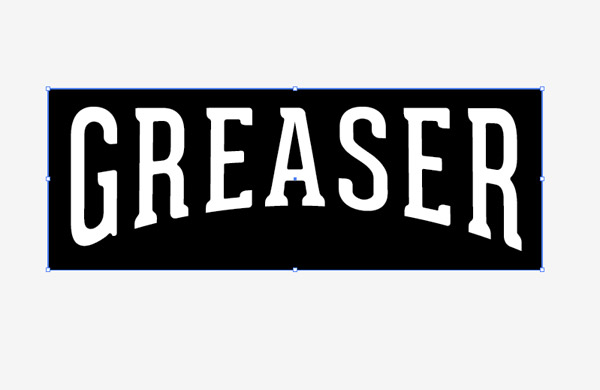
Change the Geared text element to white then draw a black rectangle to surround it. Use the CMD+[ or CMD+] shortcuts to alter the stacking order so the text sits on top of the rectangle.
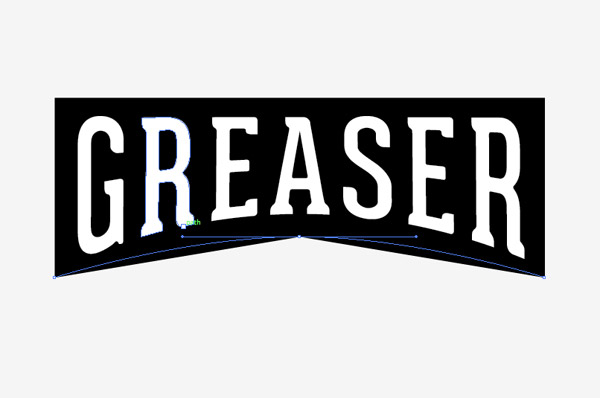
Add a point halfway across the lower edge of the rectangle with the Pen tool, then use the Direct Selection tool to move it vertically. Switch back to the Pen tool, hold Alt and add bezier handles to the point to form a curve.
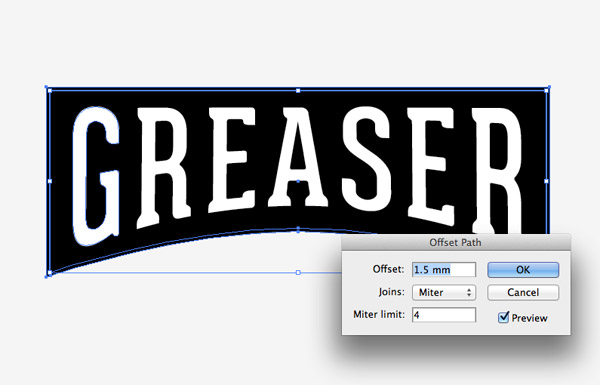
With the whole rectangle selected go to Object > Path > Offset Path. Enter 1.5mm in the options.
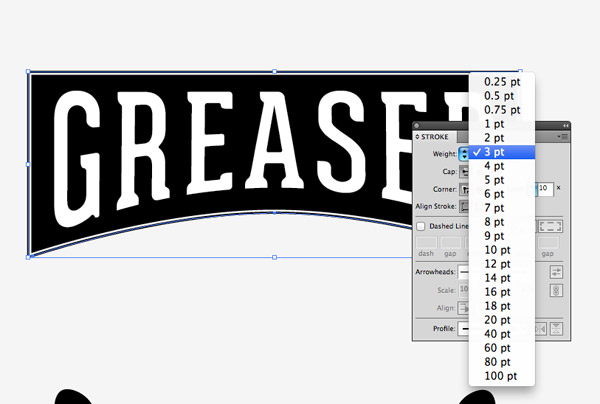
Switch the black fill of the offset shape to a black stroke then increase its size to around 3pt.
Copy, paste and rotate the outline shapes for use with the Customs text. Move them into place then scale the text to fit.
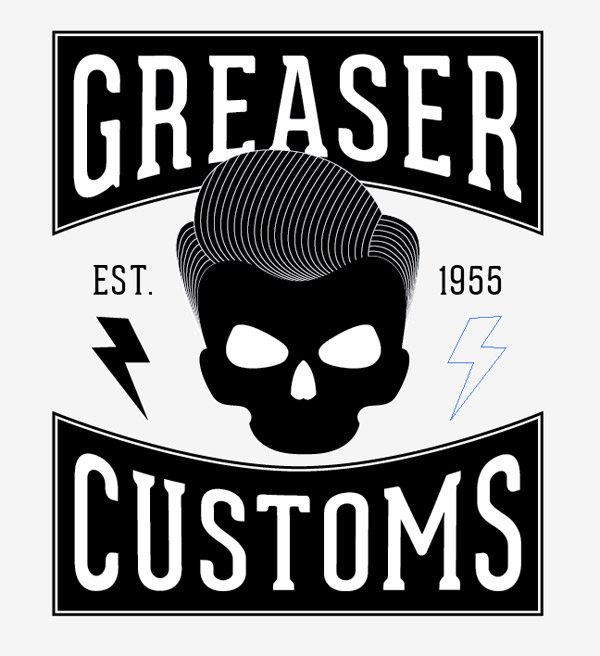
Begin combining the text and skull elements, with the addition of a couple of extra additions to fill the space.
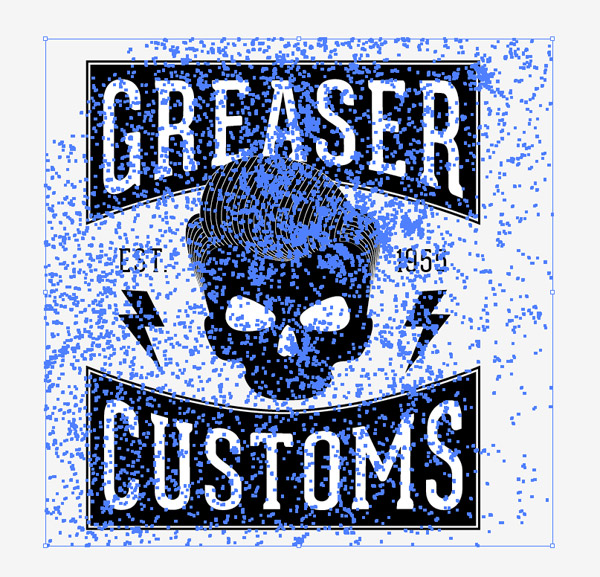
No vintage design would be complete without some ageing textures, so paste in a vector texture from my Vector Bumper pack.
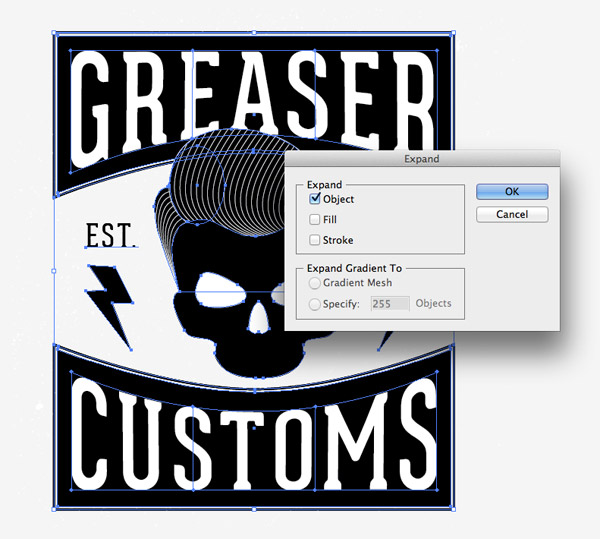
Draw a selection around all the objects and minus the texture from the selection. Press CMD+C and CMD+F to make a duplicate then expand the shapes and convert any text to outlines.
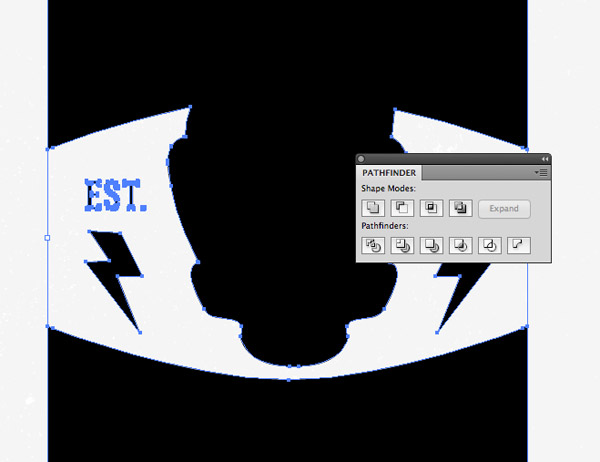
Merge all these shapes together using the Pathfinder tool. Right click and select Ungroup, followed by the shortcut CMD+8 to create a Compound Path.
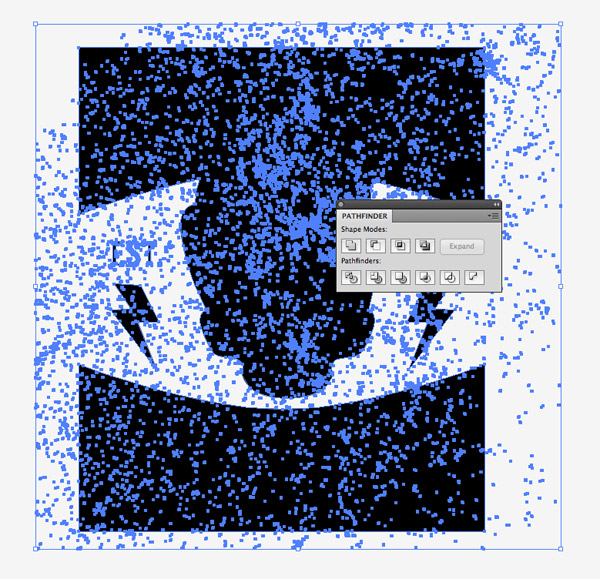
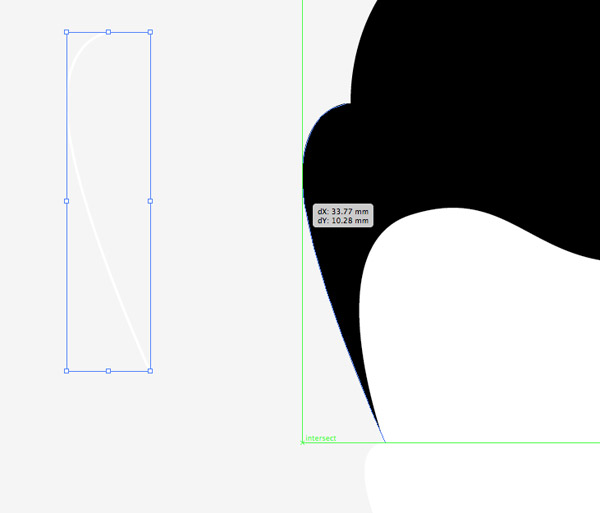
Use this silhouette of the design as a tool with the Pathfinder’s Intersect option to trim the texture element down to size.

Give the texture a white fill to add a distressed effect to the black elements, then repeat the process with another texture, this time with a black fill.
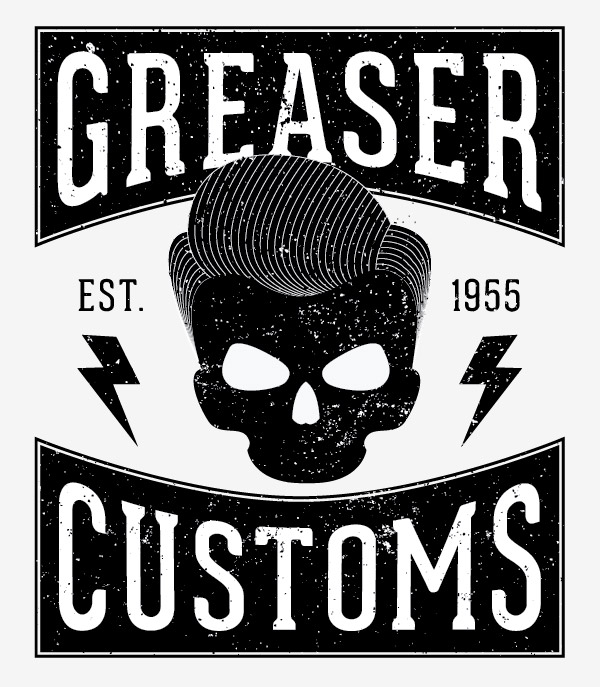
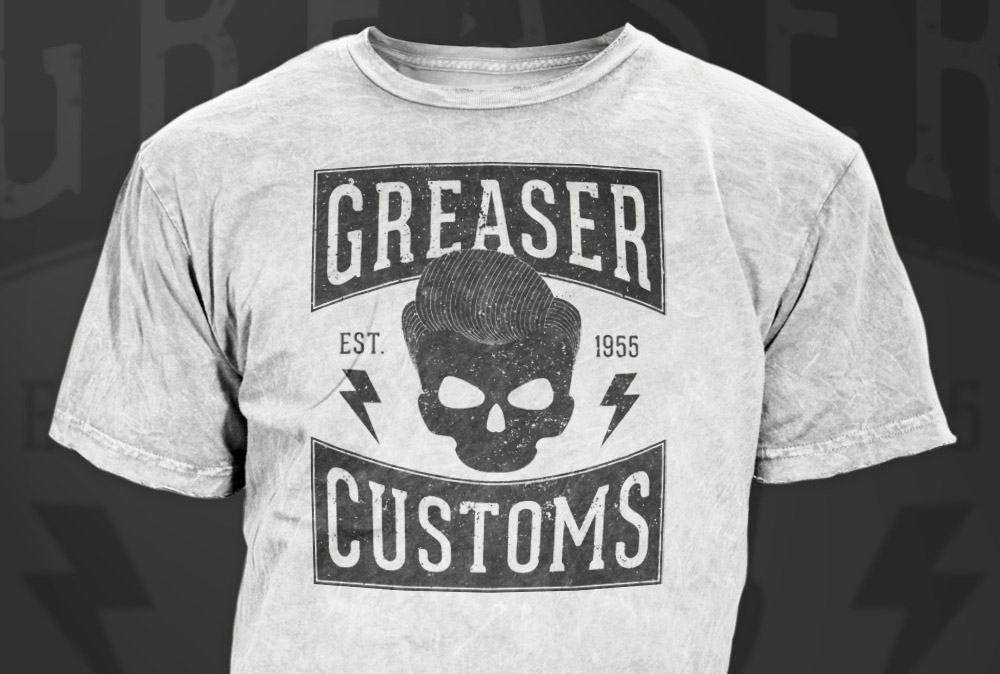
The final logo has that typical vintage style with the stylized text layouts and textures to give that old weathered appearance.
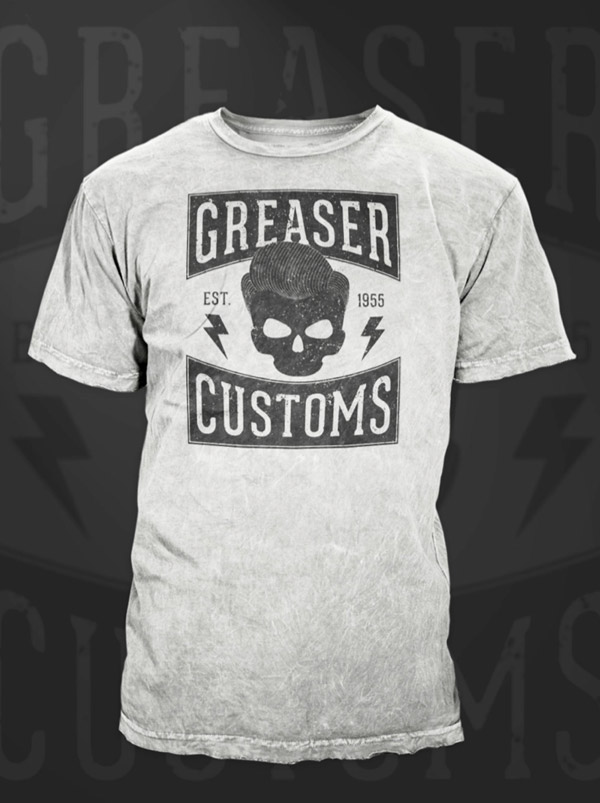
Using solid shapes and linework also makes it perfect for screenprinting with only a single colour to create a super cool old school t-shirt design. Here it is mocked up with GoMedia’s awesome template pack (Available to Access All Areas members!).
Mock up your T-shirt designs with PlaceIt
Upload your artwork to hundreds of ready-made mockups on PlaceIt to simulate how your design will look on a real T-shirt design!
T-Shirt Mockup of a Woman Relaxing

Basic Tee Hanging on a Concrete Wall

Mockup of a T-Shirt with a Copper Hanger


Great tutorial, very detailed and easy to follow, thank you.
What kind of printing you used for the shirt? Transfer?
A great tut!
I’ve recently been trying to get into grips with Illustrator, and interesting tuts are really valuable to keep the motivation for learning running.
Thanks!
I love your tutorials, because even if it’s something I already know / am familiar with, I still really enjoy reading through the process.
You know you’ve mastered writing tutorials when it’s both easy to learn from, and enjoyable to read through. :)
As always – keep up the awesome work, Chris!
Great tutorial. Any tips or ideas on how I would get this on to an actual t-shirt?
WOOW! Excelent work and tuto!! congratulations! and excecelent tips
Great tutorial! I love Illustrator and it’s always good to learn new things. Thank you
This is such an awesome tutorial! Super easy to follow, with a very desirable end result. Nice work!
Finally got around to reading this haha, sites been wonky for me. I just learned about compound paths a few weeks ago, they are so key for vector textures. thanks
Thank-you for a great tutorial :)
Really cool design. Rustic and modern.
Simple but affective tutorial, cheers.
Really like this tutorial and making a vector that has the vintage look. One comment I downloaded your vector texture pack and I find it makes my mac super slow when loading in illustrator, is there a way to just vector a pattern in illustrator to achieve the same effect? Thanks, love your site!