This post was originally published in 2015
The tips and techniques explained may be outdated.
The Sin City movies are modern masterpieces that reimagine the film noir genre from the 40s and 50s. They use black and white imagery with low key lighting to creating striking pictures with high contrast between light and shadow. In today’s tutorial I’ll show you some techniques to transform your static photographs into a Sin City inspired scene with a dark atmosphere and harsh tones.
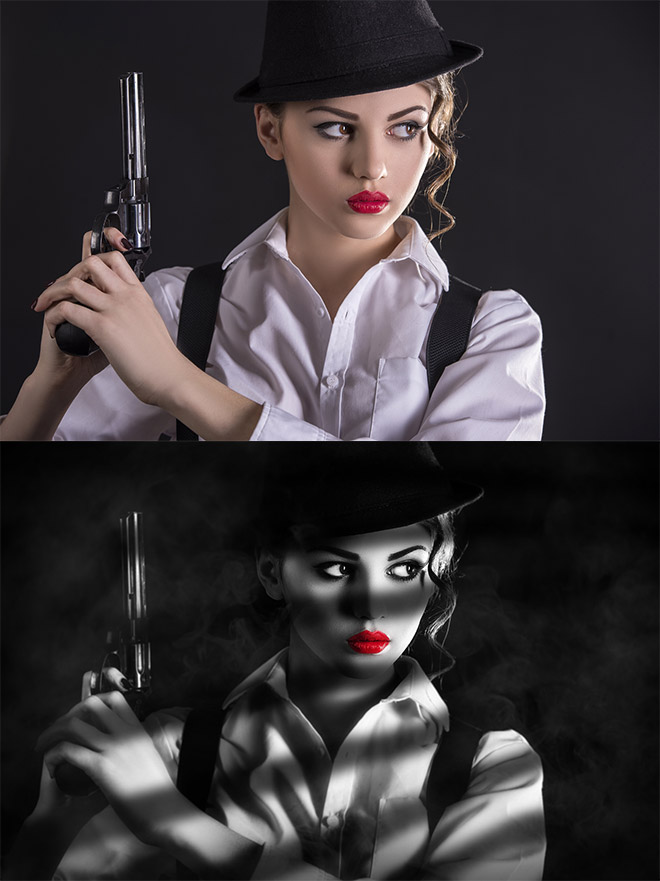
Along with the classic characteristics of film noir, neo-noir movies like Sin City also make use of modern effects like partial colour and post processing tricks to mimic comic book illustrations. We’ll use techniques in Photoshop to replicate these styles and create a dark atmosphere within a static image. What starts as a cheesy stock photograph becomes an intriguing scene straight from a movie with the help of high contrast to achieve the stylised look, the use of colour and focus to draw in the eye, and faux low key lighting to add suspense and drama.
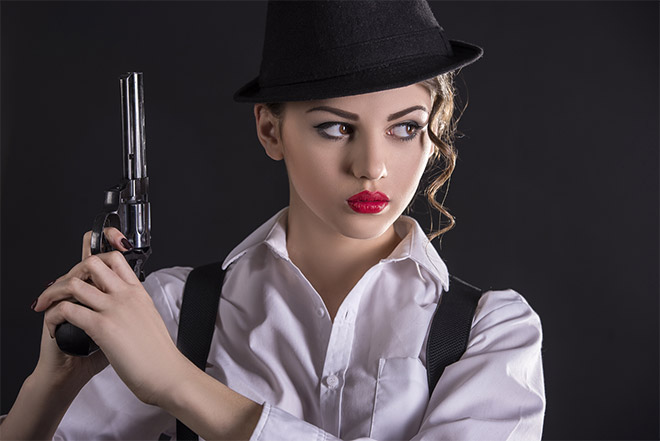
I’m using this stock photograph of a young female gangster from Shutterstock as the base for this tutorial. The original photo has more of a fancy dress vibe than a gritty graphic novel look, but we’ll soon sort that out with some Photoshop tricks!

Converting the image to black and white is the first step for any film noir inspired image. There’s a range of ways this can be accomplished in Photoshop, but a Gradient Map will provide the highest contrast. Select Gradient Map from the Adjustment Layer options and configure to colours to black and white.
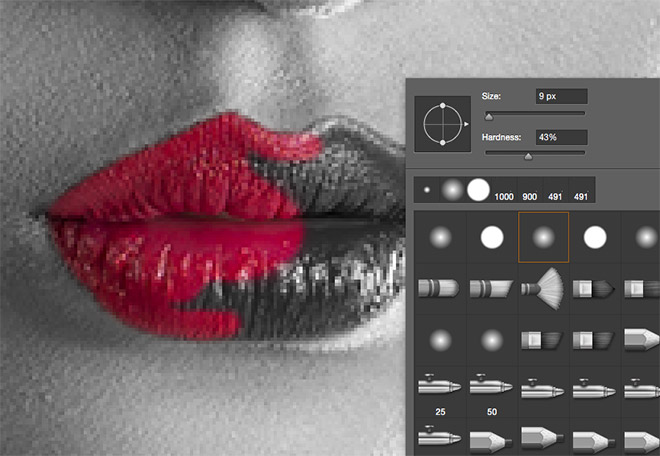
Sin City is famous for its partial colour effects which highlight bright reds or yellows from an otherwise monotone scene. Use a black brush with moderate hardness settings to paint over the lips of the subject in the Gradient Map’s layer mask to remove the effect from this selection.
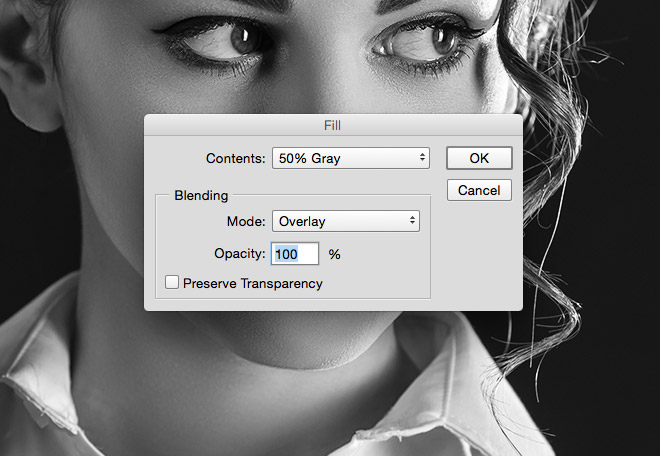
Dodging and burning is a great technique for enhancing the tones of an image. Add a new layer and go to Edit > Fill. Select 50% Gray, then change the blending mode to Overlay.
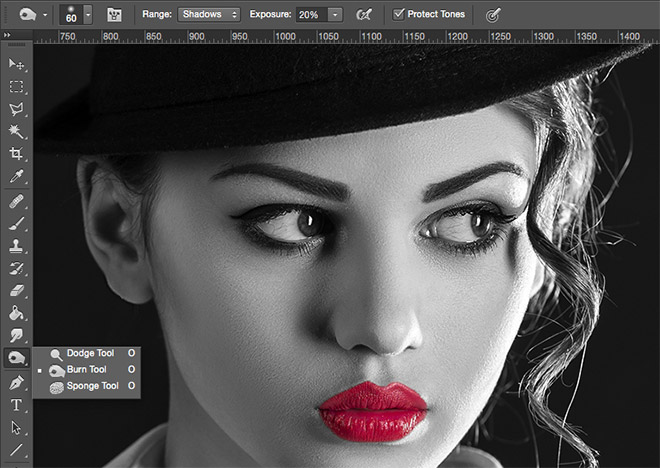
Set up the Burn tool with a soft brush and lower the Exposure value to around 20%. Begin painting over any shadows, paying particular attention to the facial features. Reduce the size of the brush to trace the fine areas around the eyes.
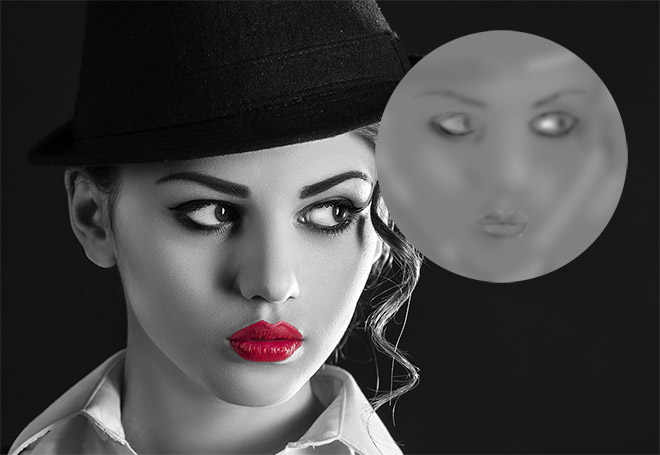
Switch over to the Dodge tool and repeat the process with any highlights. The grey layer without the Overlay blending mode shows how the tones are traced from the original photograph. Usually this Dodge & Burn layer would have its opacity reduced to limit its impact, but at 100% it adds to the comic book style appearance.
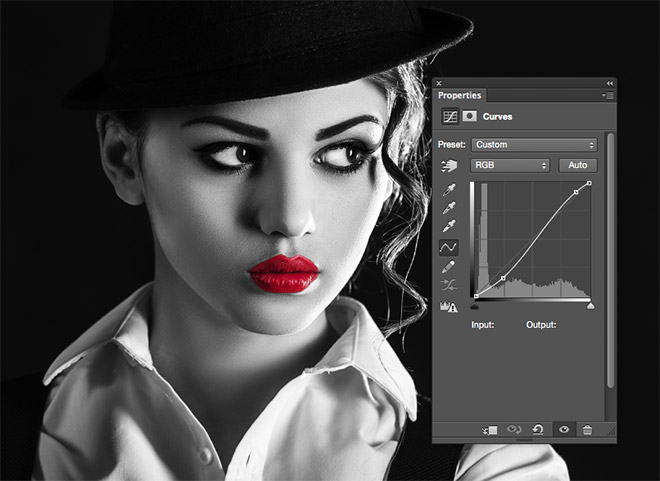
Increase the contrast further with a Curves adjustment layer. Bend the line downwards near the shadows to deepen the blacks and increase the highlights slightly without blowing out the whites too much.
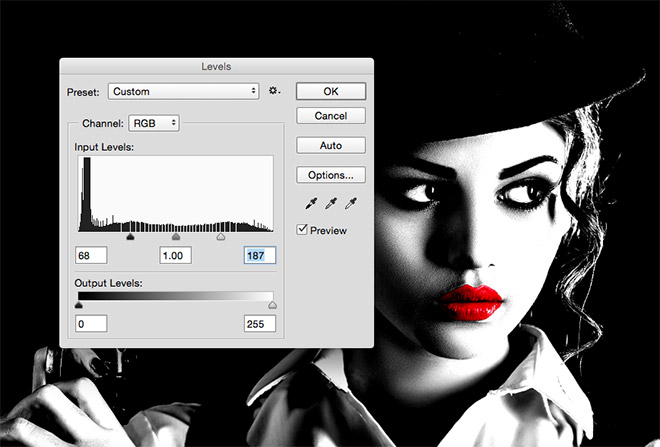
Press CMD+A to Select All, then CMD+Shift+C to Copy Merged. Paste this clipping onto a new layer and alter the Levels (Image > Adjustments > Levels) by dragging the shadows and highlights sliders inwards towards the centre to dramatically boost the contrast. Keep going right until the image almost has a stencil look.
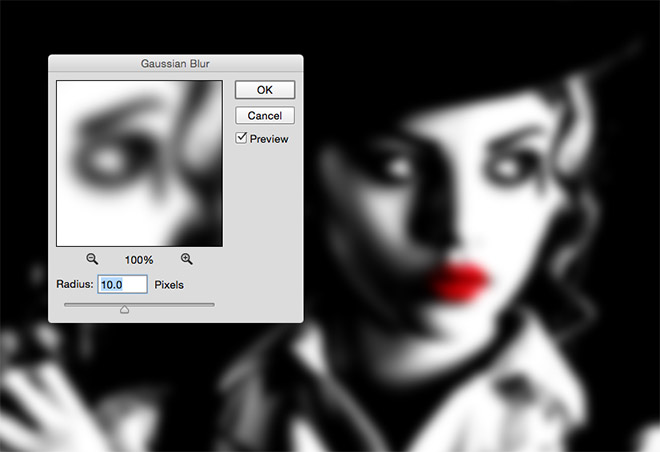
Go to Filter > Blur > Gaussian Blur and enter 10 pixels in the Radius option to remove the hard edges from this high contrast layer.
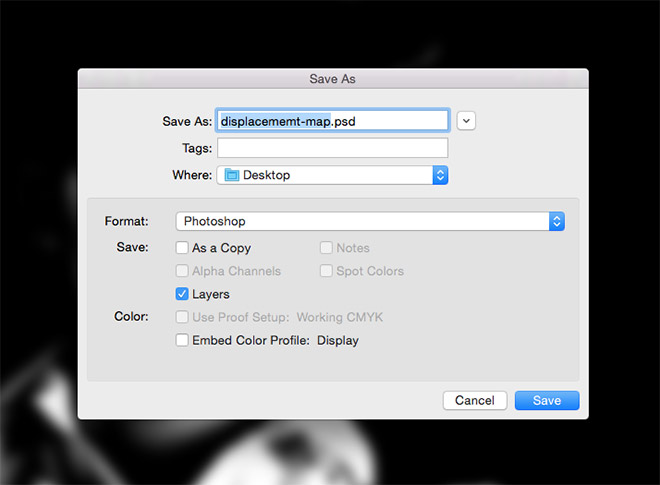
Save the document as a PSD with the name displacement map. You might also want to save a second document so you can differentiate between your working document and this temporary displacement map file.
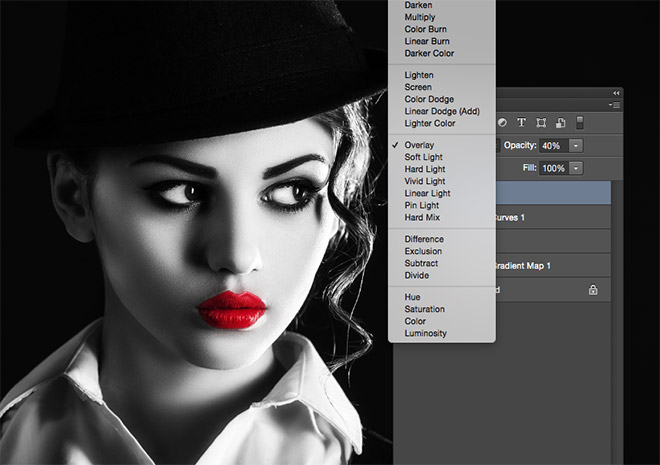
Usually this blurred displacement map layer would be discarded, but it can actually be used to enhance the effect even more by changing the blending mode to Overlay with the opacity reduced to around 40%. The result is an increase in contrast while smoothing out the fine details from the photograph to add to the illustrated look.
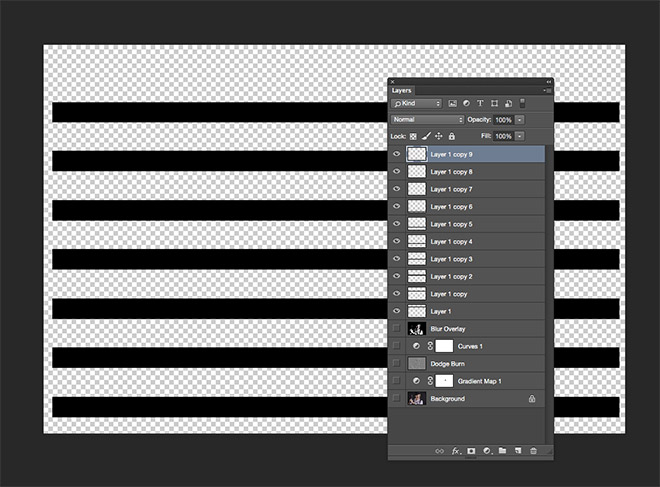
Turn off the visibility of all layers, then fill a long thin rectangle with black on a new layer at the top of the stack. Press CMD+T to Transform, then move the shape vertically, leaving roughly the same gap between where the original shape was positioned. Next, repeatedly press the CMD+ALT+Shift+T shortcut to create a series of evenly spaced duplicates. Select all these layers and merge them with the shortcut CMD+E.
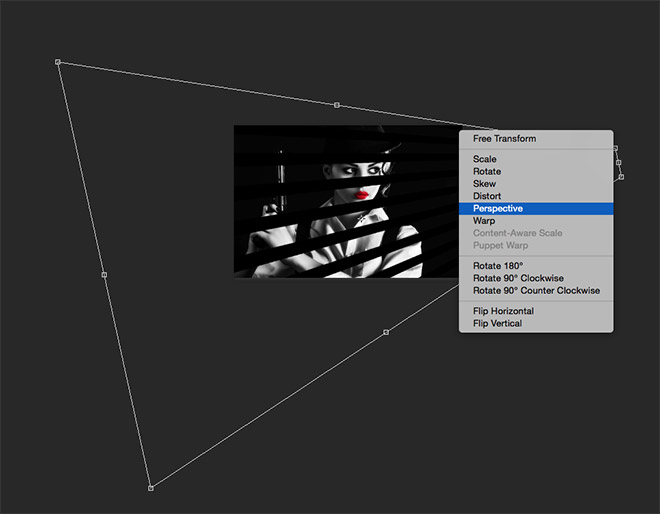
Transform (CMD+T) this lines layer and right click to select the Perspective option. Dramatically distort the layer so the lines span across the subject and mimic the shadow of a window blind.
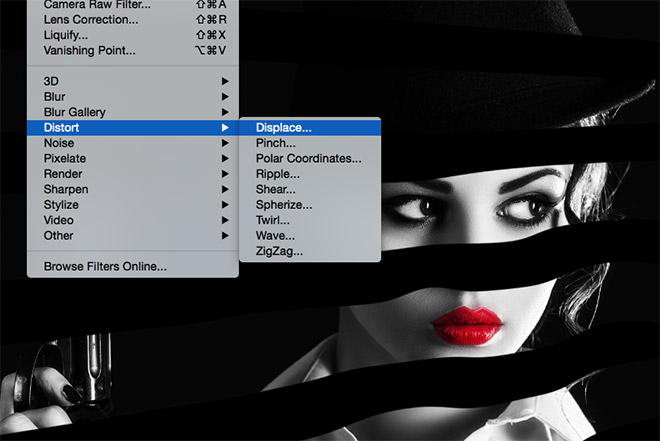
To add some realism, the displacement map we saved earlier can be used to warp the lines so they flow across the contours of the subject’s face. Go to Filter > Distort > Displace. Ok the default settings and navigate to the displacement map PSD we saved earlier.
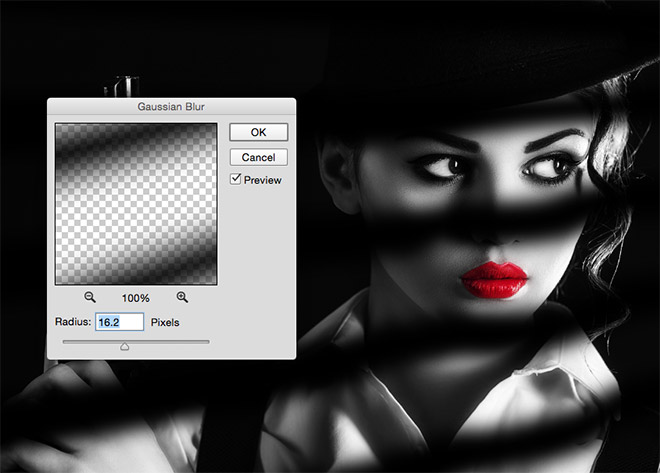
Add a Gaussian Blur filter to eliminate the hard edges to give the lines more of a softer shadow effect, then reduce the opacity to around 70-80%.

Paste a black and white smoke image into the document to add some atmosphere to the scene. I’m using this smoke on black background image from Shutterstock. Change the blending mode to Lighten then add a Layer Mask.

Set up a large soft brush and paint over the subject to erase the smoke. Reduce the opacity to around 15% to leave a subtle effect.
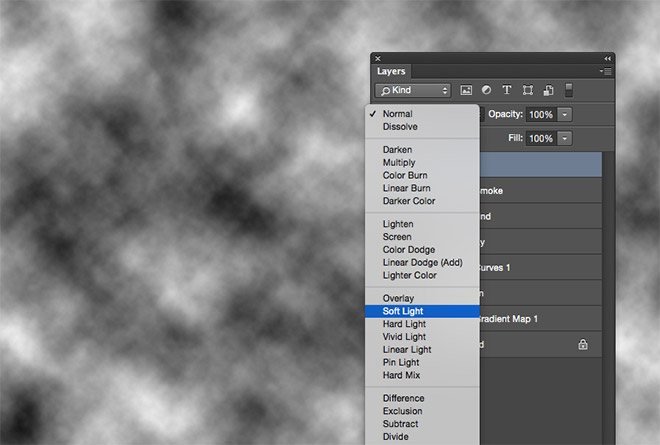
Create a new layer and go to Filter > Render > Clouds. Change the blending mode to Soft Light and reduce the opacity to 25%. This quick technique helps enhance the smoke effect by highlighting random areas.
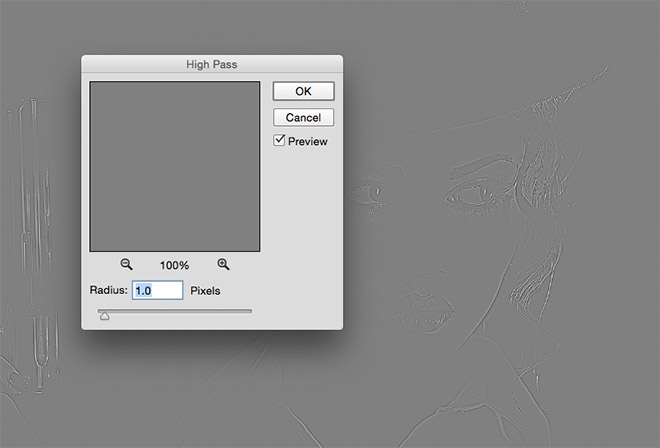
Press CMD+A to Select All and CMD+Shift+C to make another Copy Merged clipping. Paste the clipping on a new layer and add a High Pass effect (Filter > Other > High Pass) using a 1px Radius.
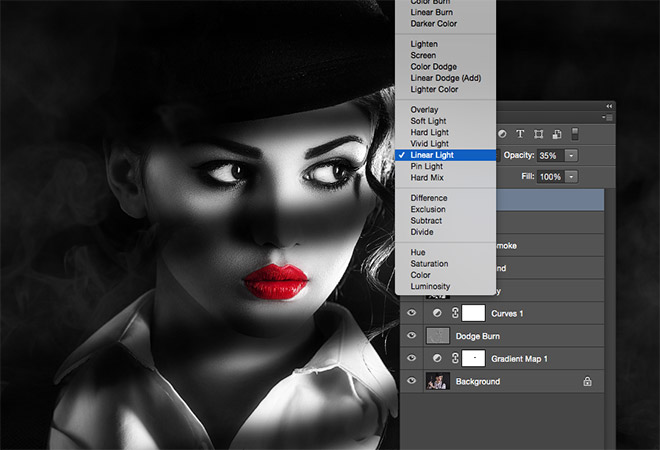
Change this layer’s blending mode to Linear Light and reduce the opacity to around 35%. This High Pass layer sharpens up the details of the image.
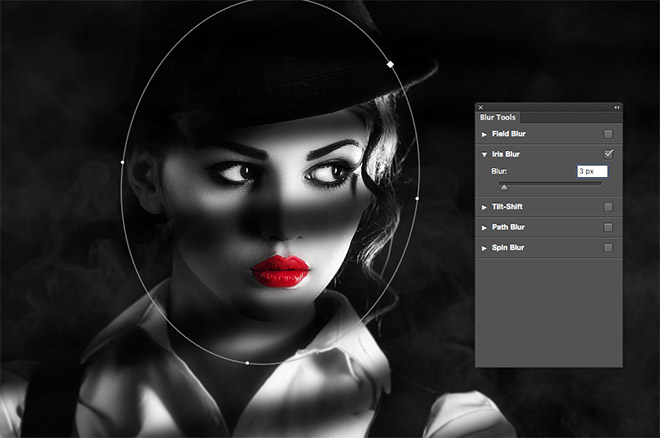
Make another copy merged clipping and paste it at the top of the layer stack. This time go to Filter > Blur Gallery > Iris Blur. Alter the size of the blur effect to cover the subject’s face, then reduce the blur amount to around 3px to produce a subtle depth of field effect.
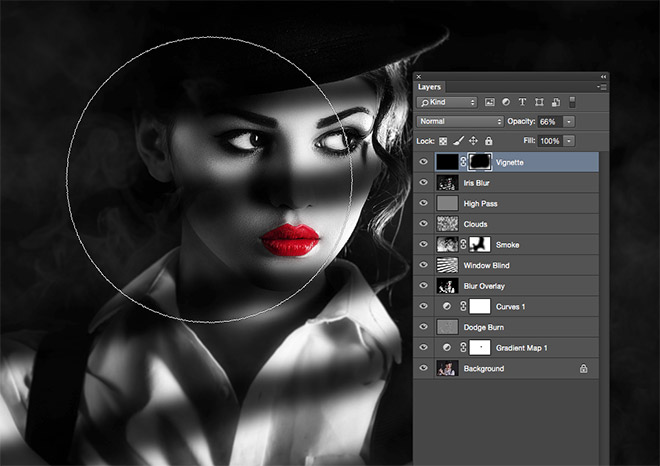
To finish off the image with an old movie style vignette, fill one last layer with black and add a layer mask. Use a large soft brush to erase the black around the centre of the image, leaving the black overlay to creep in at the corners and edges. Reduce the opacity to around 60% to tone down the impact of the vignette effect.

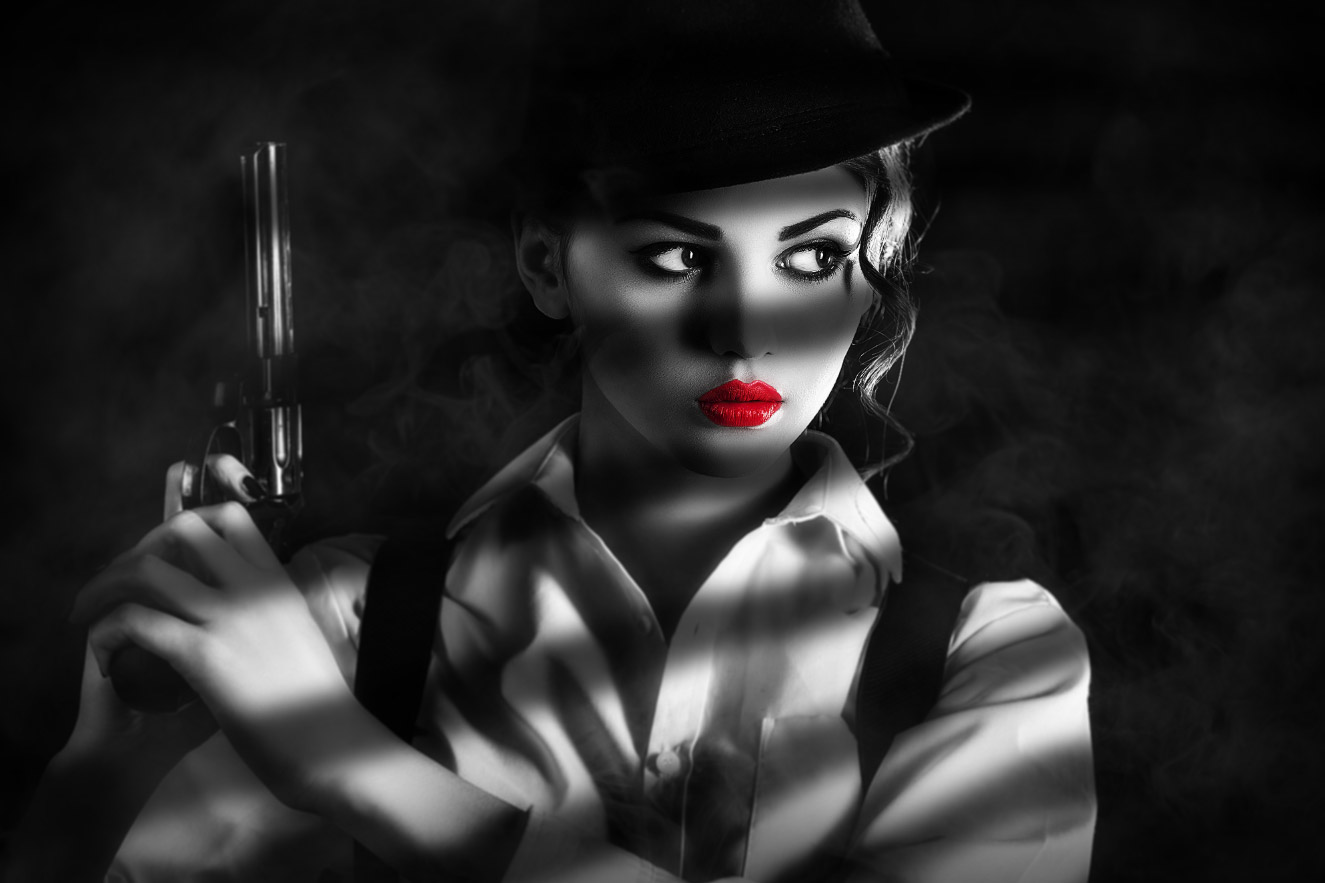
The final processed image is so much more intriguing than the original stock photograph. The array of black and white contrast enhancing tweaks help draw your eyes in to the highlights which emerge from the shadows, while the subtle blurring and lighting effects help tell the story of the scene as if it’s a freeze frame from a movie.

Very fresh and relevant tutorial. Thanks for sharing.
YES! Love this tutorial. Always wanted to create a Sin City like poster.
This tutorial is superb. I love your video tutorials- esp the recent one about the graveur effect. Are you any realtion to the famou Reverend Spooner- because then your actions would then be “spoonerisms”- which wuold be great as the a whacking great crotch. Sorry, that is, so tay, a cracking great watch. Meetings from the Grinistery of Pissmonunciations. http://www.youtube.com/watch?v=aJ0nFQgRApY
Nice tutorial
the film is attractive, but I am sure it is not attractive in this tour our friend tried yet: trek bike tours vietnam | vietnam culture travel private day tours | pelican sunset cruise aruba
beautiful. I liked that you make these pictures. thanks for sharing
The only thing I’d add to this is some grain, either from a texture, or from the grain filter.
I’m a mid level designer. It’s difficult work to me but you nicely describe the easy way. Now i’m able to create it. Thanks a lot.
Thank you for sharing this! It’s very useful!
its really very informative post thanks for sharing.
Amazing Photoshop Tutorial i will try my self as well as i will guide this tutorial to my smart students, i hope they will enjoy.
I’ve tried to follow this, but as it is set up for mac users, I have had to remember that it has different command keys, So firstly, thanks for thinking of those that use a windows pc.
Secondly, when I get to the point of putting the black lines across my image, when I press ctrl+t to open the transform tool, right click and choose perspective, it warps the whole image not just the lines. Is this correct or am I missing something?
TIA for you advice.