
This post was originally published in 2013
The tips and techniques explained may be outdated.
Today’s Illustrator tutorial is perfect for beginners. You don’t need to be a master illustrator to create cool artwork, just using simple shapes and limiting yourself with a small colour palette can result in some great designs and artworks. In this tutorial we’ll use Illustrator’s basic shapes and tools to create a stylized landscape scene illustration then finish it off in Photoshop with the addition of some texturing.

The artwork we’ll be creating features a simple landscape made up of basic shapes and a limited colour palette of greens and yellows. Vector artwork does tend to look a little flat and lifeless, so for the final step we’ll switch over to Photoshop to quickly distress the design with some dirty textures. This gives the final artwork more of a tactile appearance with subtle changes in tone.
View the final landscape scene illustration
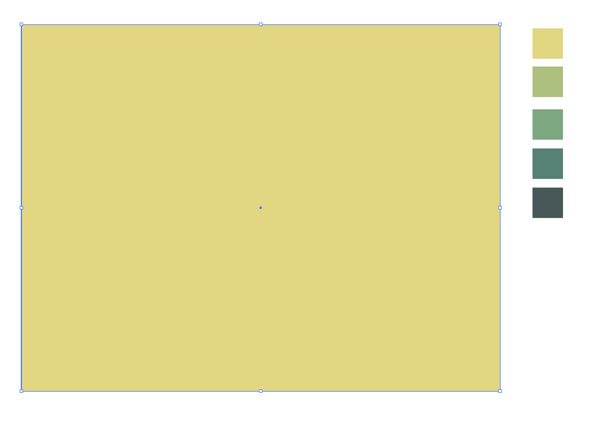
Open up Adobe Illustrator and create a new document. The document dimensions don’t matter too much, just go to View > Hide Artboards to remove the document boundary. We’ll need a cool colour scheme for our illustration, I picked out a ready-made series of colours from ColourLovers named Enchanted Woods. Paste a screenshot of the palette into Illustrator then create a series of little squares each with a fill using the Eyedropper tool. Use the lightest colour from the palette to create a large rectangle as the background to the illustration.
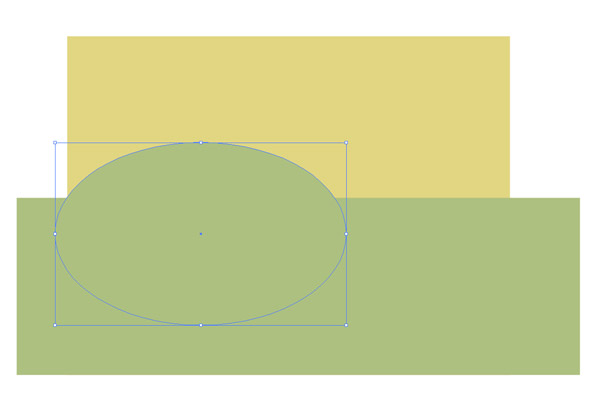
Select one of the mid green colours then draw a rectangle and an oval to represent the foreground and a hill. With both of these shapes being the same colour they will appear to blend together but vector shapes can always be individually selected and moved around.
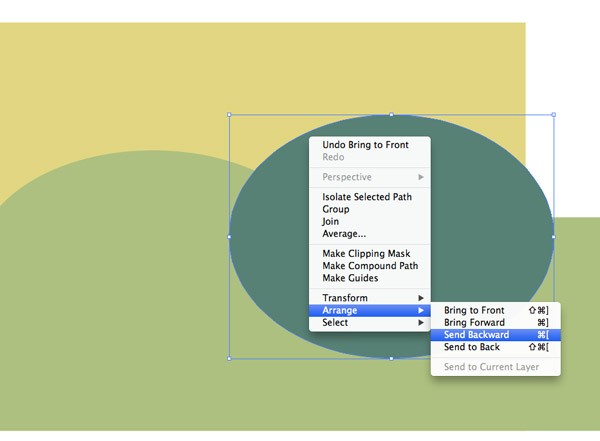
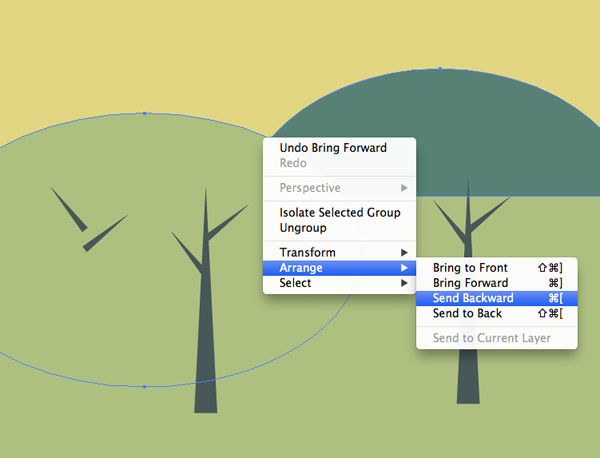
Choose a darker green colour then draw another oval shape to represent another hill. Repeatedly press the shortcut CMD+[ or select the Send Backward command from the right click menu until the shape sits behind the lighter green objects but above the yellow background rectangle.

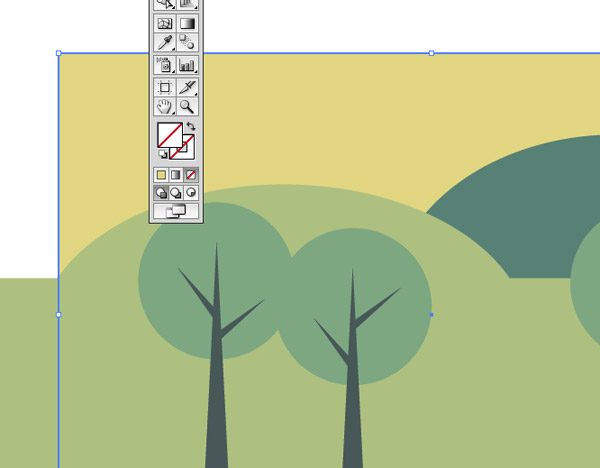
Hold shift while drawing with the Ellipse tool to constrain the dimensions into a perfect circle. Elsewhere on the artboard use the Pen tool to draw a triangle with four simple clicks. To adjust its shape use the Direct Selection tool to select and move any of the three points. Use the Eyedropper tool to give this shape a dark green fill from one of the predetermined swatch squares.

Move the triangle shape into position over the green circle to represent the trunk of a tree, then copy and paste a duplicate of the triangle and scale & rotate it to form a smaller tree branch. Overlap the two shapes so they seem to blend seamlessly.
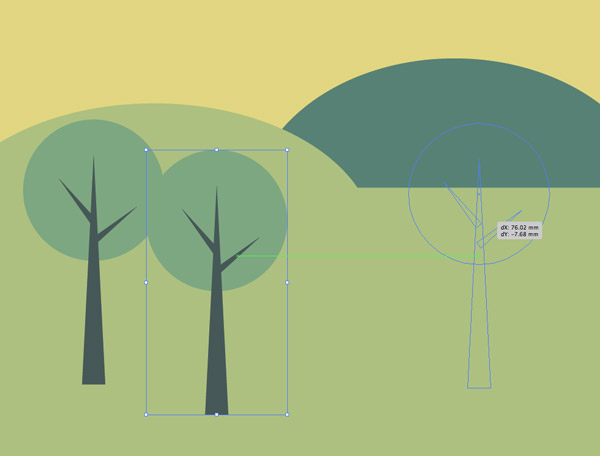
Hold Shift while selecting all the individual shapes that make up a complete tree, then hold Alt while dragging them to one side to create duplicates.

Go back and adjust the orientation of the tree branches to give each tree a unique appearance.
Select the yellow background rectangle and press CMD+C to Copy then CMD+F to Paste in Front. Clear out the fill colour in the toolbar.

Hold Shift and add the green foreground rectangle and the two hills to the selection. Press the Crop button from the Pathfinder palette to trim these shapes to size.
The cropping process will mess up the layering of the elements, so use the CMD+[ shortcut to send the elements down the stack until the foreground elements are visible again.
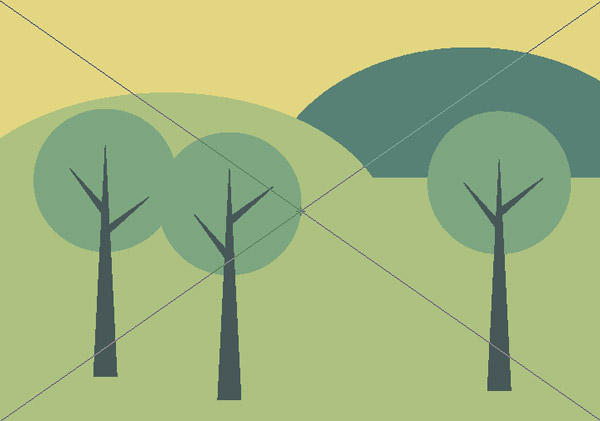
The Illustrator portion of this tutorial is now complete. We’ve used Illustrator’s basic tools to create a cute little vector landscape illustration but we can inject a little life by copying & pasting the whole design into Photoshop.
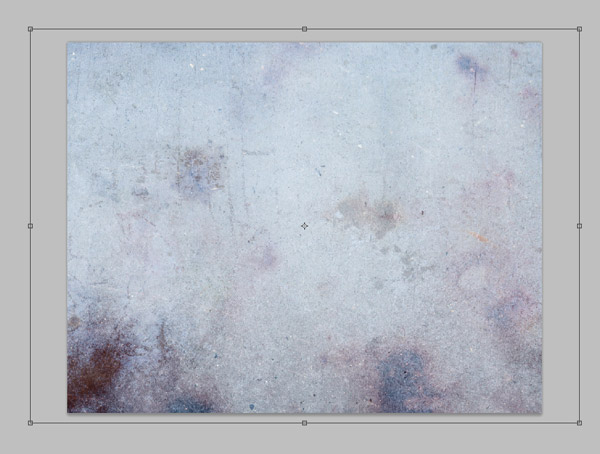
Open up a subtle grunge texture from LostandTaken and paste it over the artwork in Photoshop.
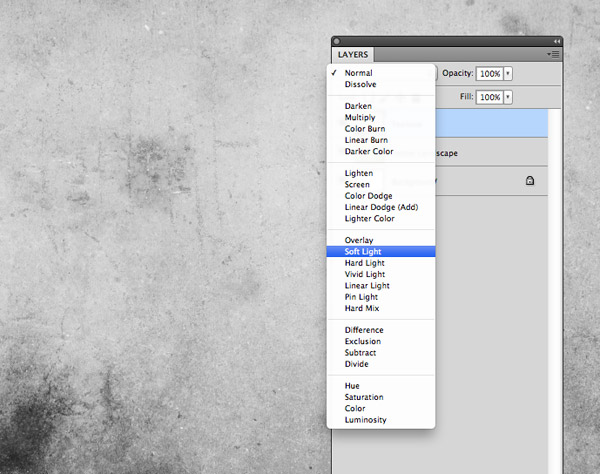
Use the shortcut CMD+Shift+U to quickly desaturate the image then change the layer blending mode to Soft Light. This will allow the texture to interact with the colours of the illustration.
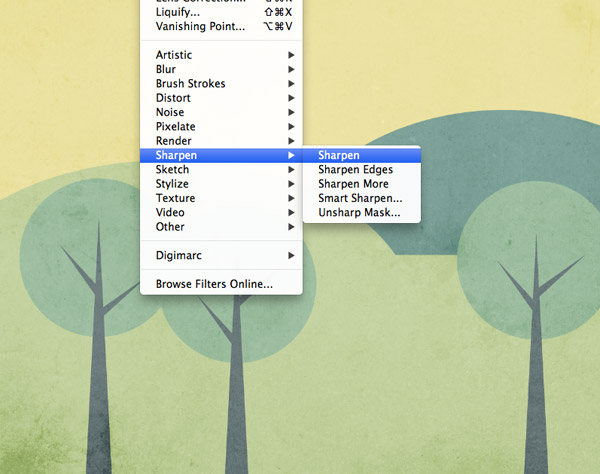
Go to Filter > Sharpen > Sharpen to bring out the detail of the texture. Press CMD+F to repeat the filter one or two times to achieve a series of really crisp distressing marks to match the sharp linework of the vector illustration.
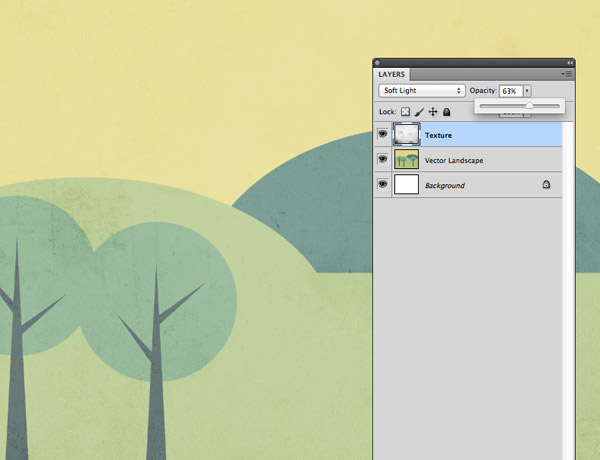
If the texture appears too harsh, reduce the opacity of the layer slightly to tone down the effect.
This leaves our simple landscape scene complete. Using simple shapes in Illustrator can result in some cool stylized artwork, plus the addition of textures in Photoshop really complements the artwork and gives the design an aged retro feel, especially when a limited muted colour scheme is used.

I’m curious why you did the tree parts as triangles as opposed to a stroke profile?
I’ve always found that a much easier way to do triangles and then outline the stroke and adjust as necessary.
Hi there! your tutorials are awesome because they allow us to test cool things. i did everything you said, and it worked, but just until the part in which you say “Select the yellow background rectangle and press CMD+C to Copy then CMD+F to Paste in Front. Clear out the fill colour in the toolbar.”. im trying and retrying that passage and the two right after but i can’t get to your same result. can you explain it to me please?
thank you so much and keep up the good work!
You’re basically copying the background rectangle then click the “No fill” icon at the bottom of the toolbar to make it see-through.
Alternatively you could draw a new rectangle with no fill or stroke across the design defining the area you want to crop it to.
now everything is clearer! thank you so much again and it worked after a couple more tries after your explaination! thanks again!
Thank you for sharing another wonderful tutorial!
Another well explained tutorial and great little design.
There are many ways to achieve this look as AI and PS are so flexible, but its the end result that matters, right?
Great Tutorial, i am looking forward to testing this one out.
thanks for taking the time to put this together.
Thanks for the tutorials, not only do you show good practices and nice examples to work along too, but also give great resources for future, these textures are brilliant. Thank you.
awesome tutorial !! keep inspiring us :)
Nice tut!
I posted a very similar tutorial a week ago on my site. Cool coincidence these two tuts came out so close to each other.
http://aviatstudios.com/2013/03/04/how-to-design-a-picturesque-coastal-landscape-in-illustrator-and-photoshop/
I’d love to hear what you think of it, after all you are the web’s reference when it comes to making graphic design related tuts. =)
Thanks for the tutorials. Here is my illustration of Franey in an enchanted forest with a look of being lost.
http://img.photobucket.com/albums/v645/duceduc/themes/franey_landscape_zpsb76dcc42.png
Hi Chris,
Fantastic tutorial. I think your website should rank top for Photoshop/Illustrator tutorials as there is a ton of valuable information made available for free.
Good Tutorial ..Quite Bneficial and inspiring…
Thank you, it’s really useful. I’d love to see more tutorials for beginners :)
Thanks
The step-by-step tutorials featured in this article shares techniques that will help me expand my range of knowledge in creating a simple landscape scene in Illustrator for my graphic design and illustration projects.
Thanks Chris for sharing , I am helpful by this post. Now, I can create this design myself.
Thanks Chris, you do a good job in simplifying the process. The good are awesome but a few more elements would look even better. thanks.
Awesome. Thanks for the tips Chris.
Thanks for another great tutorial Chris, had fun trying this one. Well explained and a lovely simple but effective result. Cutesome :)
Simple tutorial but cool. The textures always add a nice touch.
Your natural teaching skills are only surpassed by your design ones :)
I spent a little time in trouble with the ctrl+C ctrl+F part in the masking process.
Actually ctrl+F pastes a new background in front of the original one, not in front of the whole image. This messes up the crop action.
Thanks to take time to share this with us.
Really your post is really very good and I appreciate it.
This is a great tutorial and helped with one of my projects. Thanks! :D
I added objects and become dynamic =)
http://bit.ly/14vQsRe
Simple tutorial to get me started on with illustrator. Thanks. Not just the end results for me it is about learning the options within illustrator. Off to try this on different scenes or maybe a simple logo design.
Really Nice blog and ill be helpful to almost everyone