This post was originally published in 2013
The tips and techniques explained may be outdated.
In today’s Adobe Illustrator tutorial we’re going to create the face of a cool monkey character with stylised vector line work. Illustrator’s crisp vector paths are perfect for the creation of products such as vinyl cut stickers, so we’ll use the theme of urban sticker art for our design and create an iconic graphic that could be seen on windows and signage in busy city areas.

The design we’ll be creating is made of basic shapes and uses a single colour for that stylised appearance. This simple styling not only looks cool, the crisp lines and paths make the design suitable for plotting on a vinyl cutter. So if you fancy decorating your laptop or sticker bombing your home town, let’s take a look at creating an iconic monkey face graphic in Illustrator.
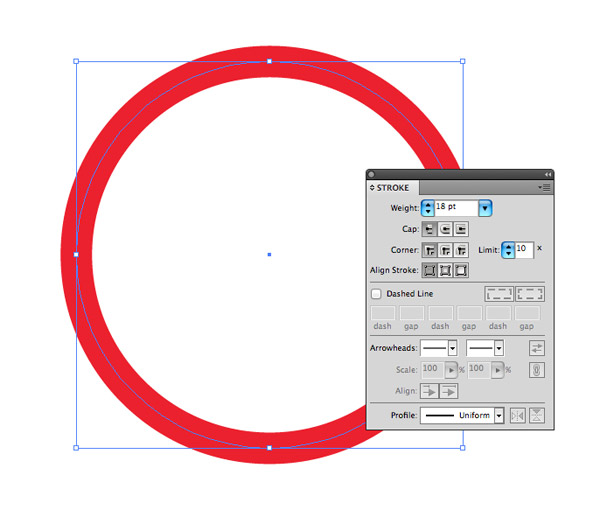
Begin by creating a new document in Adobe Illustrator. The actual dimensions don’t matter so much, it’s more the size of the actual artwork that determines your sticker size, but being vector artwork it can be scaled up or down with no problem later. Draw a circle on the artboard, give it a red stroke and increase the stroke weight to around 18pt.
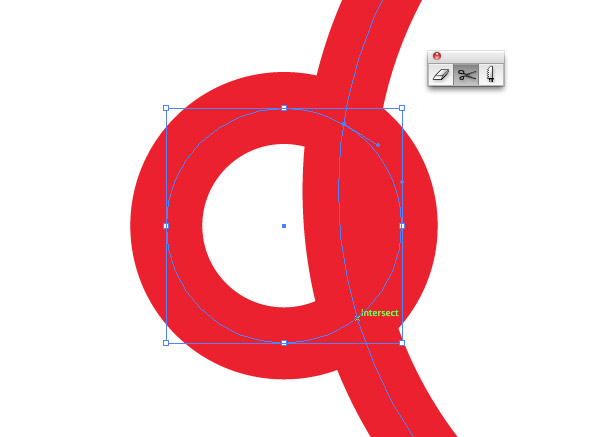
Draw a smaller circle to represent an ear and position it on the side of the main circular head. The two shapes currently overlap, so use the Scissors tool to clip the path where it intersects with the main circle outline.
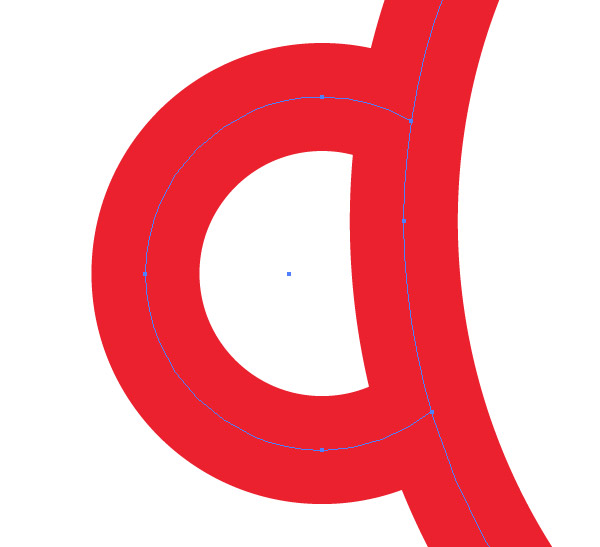
Delete the unwanted portion of the ear shape, which is now selectable separately.
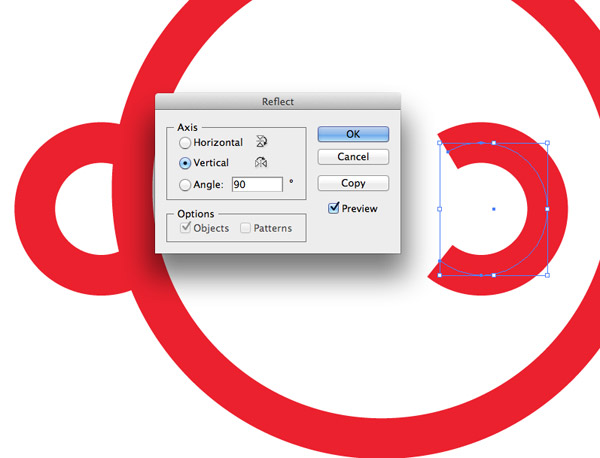
Select the ear shape and press CMD+C to Copy then CMD+F to Paste in Front. Drag the shape to the other side of the head and use the Reflect (Object > Transform > Reflect) tool to flip it over.
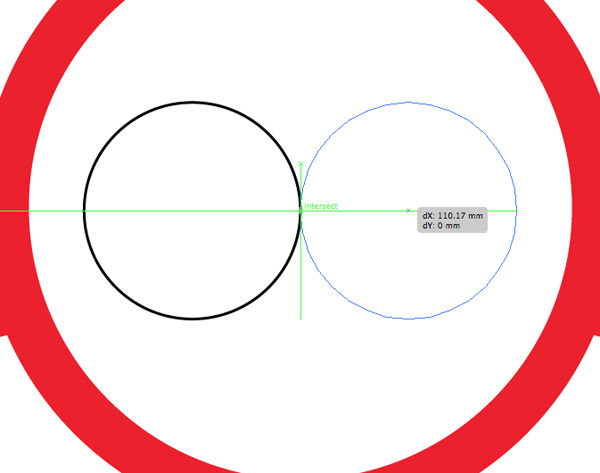
Draw a smaller circle within the main head area, then hold Alt + Shift while dragging the shape to create a duplicate. Using Smart Guides (CMD+U) will make aligning the shapes side by side easy.
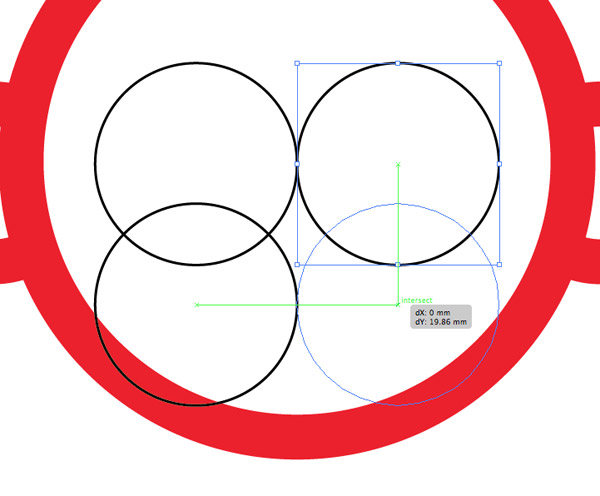
Make two more duplicates of these circles, overlapping them slightly with the originals.
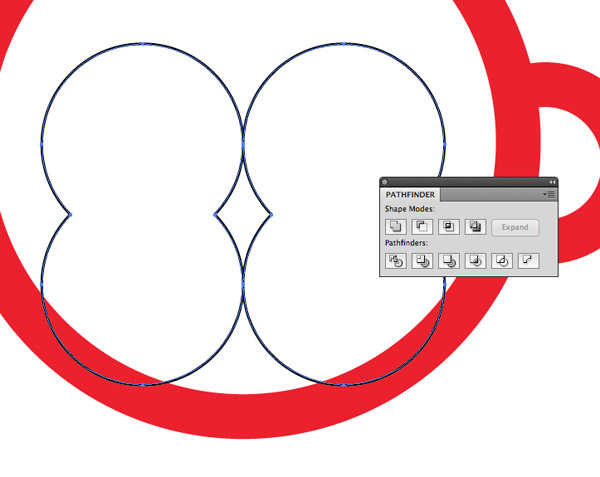
Select all four circles and hit the Merge option from the Pathfinder palette to blend the paths into one shape. It currently has some gaps, so let’s plug these up.
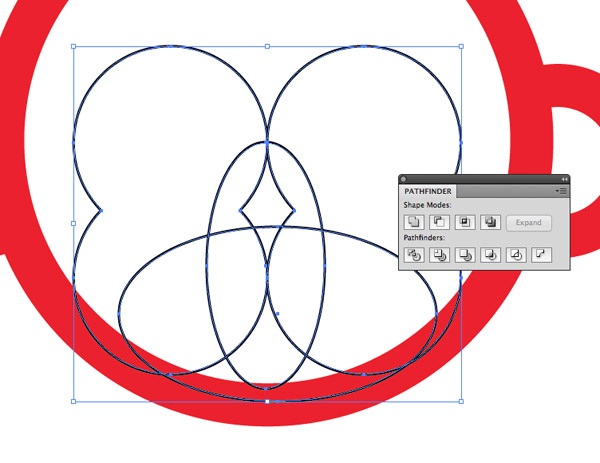
Draw some random shapes to cover the holes in the merged shape, then select all the objects again and hit the Merge option from the Pathfinder tool. These temporary shapes will also be blended and fill the gaps.
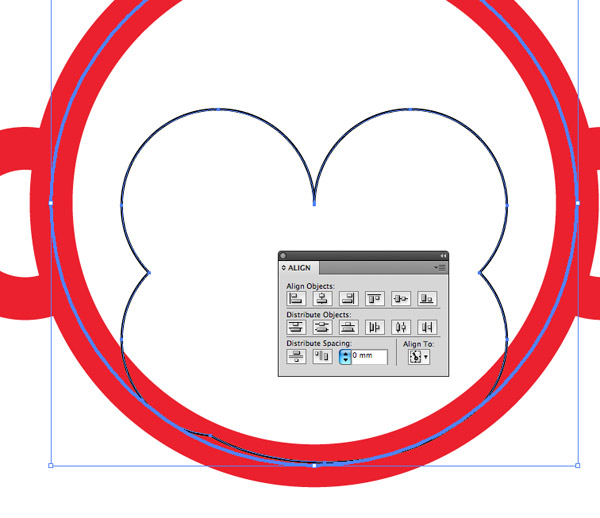
Select the new shape along with the main head outline. Give the head outline an extra click to make this the key object then align them along the vertical axis. Setting the key object will prevent the head from moving and becoming out of alignment with the ears.
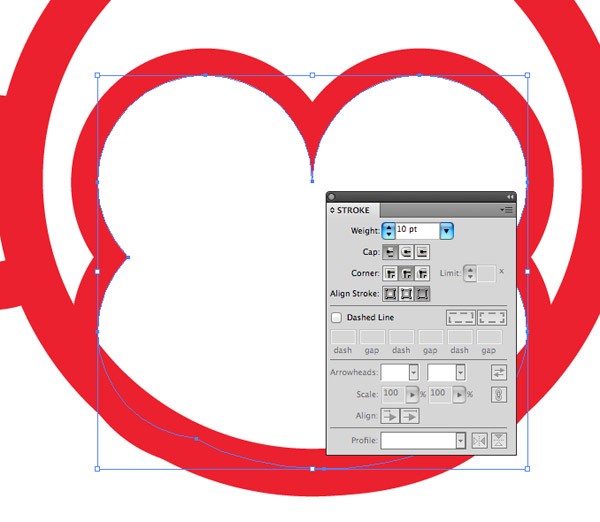
Give the inner face shape a red stroke and bump up the stroke to around 10pt, slightly less than the main outline.
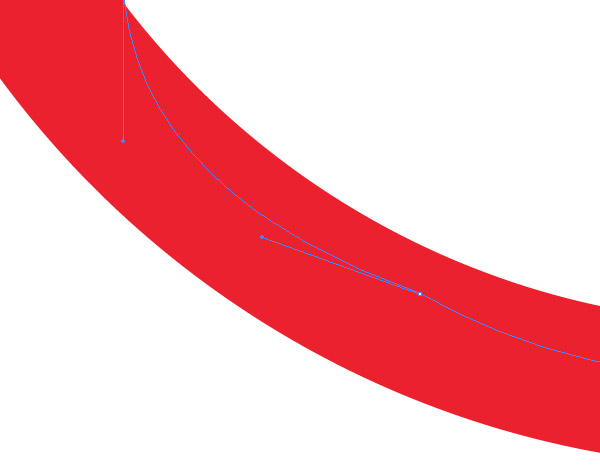
If the face stroke creates bulges in the head outline where it overlaps it might need a point or two tweaking. Use the Direct Selection Tool to adjust the path so the two outlines overlap neatly.
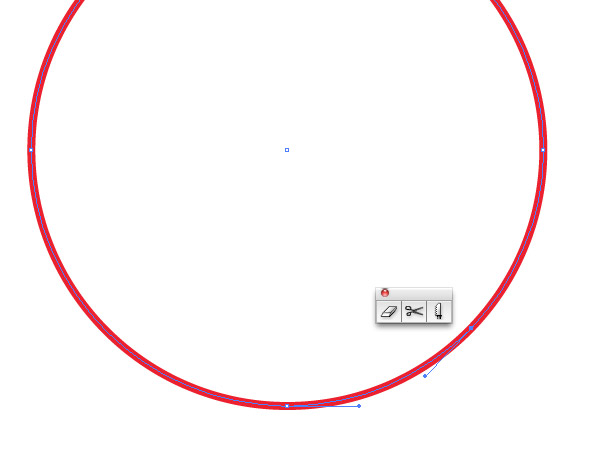
Elsewhere on the artboard draw another circle. Add a clipping with the Scissors tool between two quarter points then select three of the remaining points with the Direct Selection tool and hit delete.
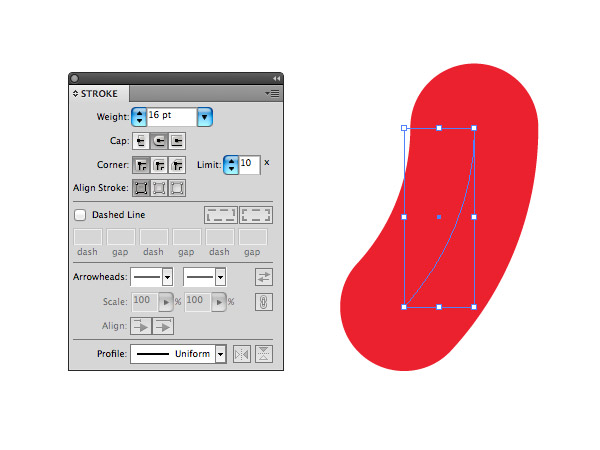
Bump up the stroke on this short path to 16pt and select the Round Cap option to round off the ends.
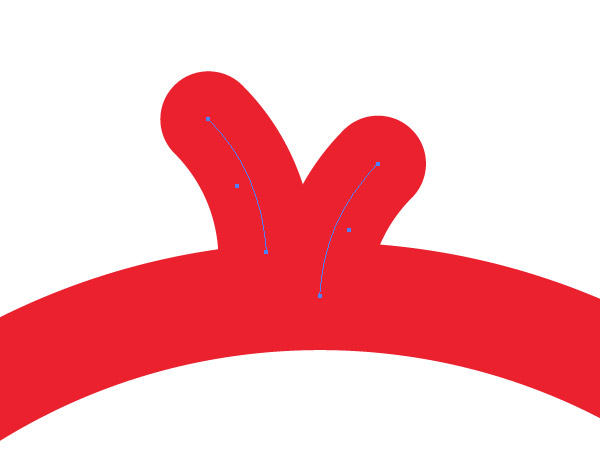
Duplicate and position two of these small paths on top of the head to create a little tuft of hair.
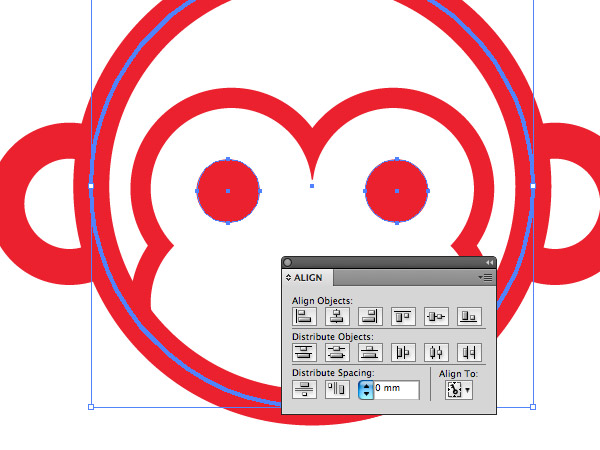
Use the Ellipse tool to create a red filled circle as an eye. Hold Alt + Shift and drag across a duplicate to the other side. Group the two objects and align the group centrally with the head. Create a flatter ellipse and use the same technique to align this item to form a nose.
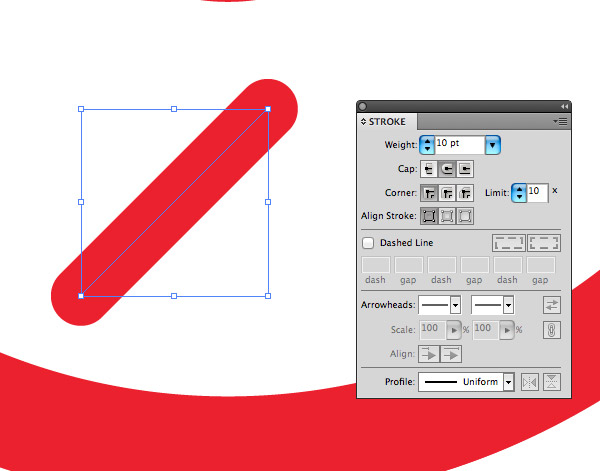
Use the Line tool to draw a short path running at 45° (Hold Shift). Give this path a 10pt red stroke with round cap ends.
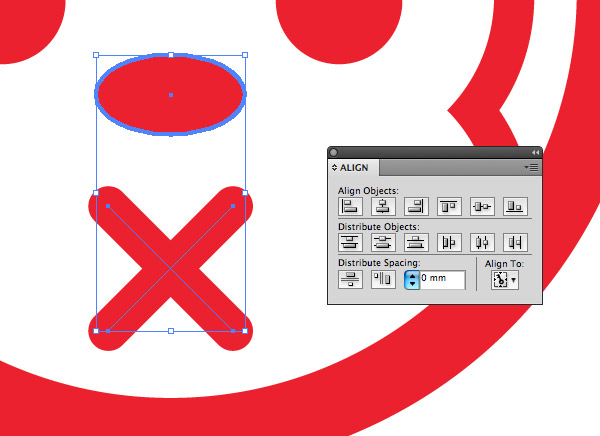
Copy and Paste in Front a duplicate of the diagonal line then rotate it to create a cross. Group the cross lines and align them with an already aligned element, making sure to set a key object.
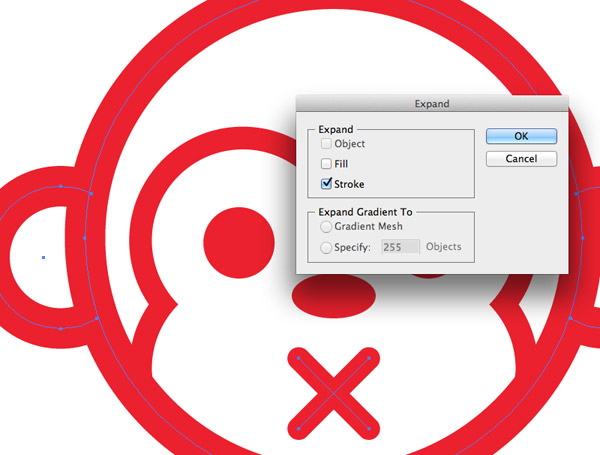
The monkey face graphic is complete, but to create final artwork that can be plotted in vinyl we need to create proper outlines. Press CMD+A to Select All, then hold Shift and remove the eyes, nose and facial outline from the selection. Go to Object > Expand and select just the Stroke option. Hit OK to convert these paths to solid shapes.
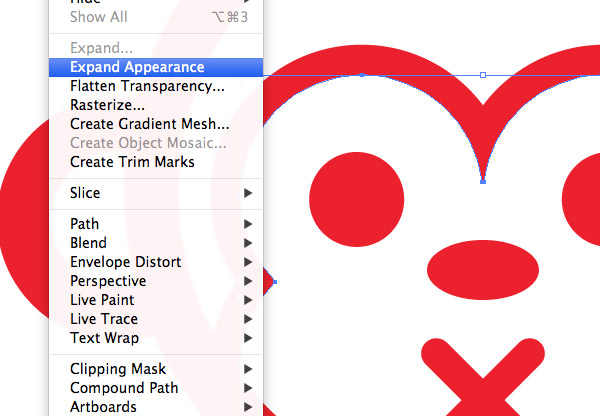
For some reason Illustrator doesn’t allow you to Expand the path with an outer aligned stroke, instead you need to Expand Appearance. If you tried to Expand when everything was selected only the Expand Appearance option would be available, which wouldn’t convert the other paths. Crazy I know!
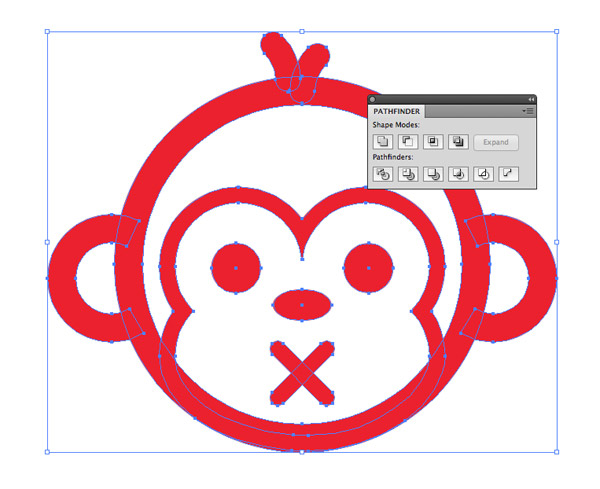
The eyes and nose shapes are obviously filled shapes already (not stroked paths) so they don’t need expanding. Select all the objects, make a final check that no items are still stroked paths, then Merge them with the Pathfinder.
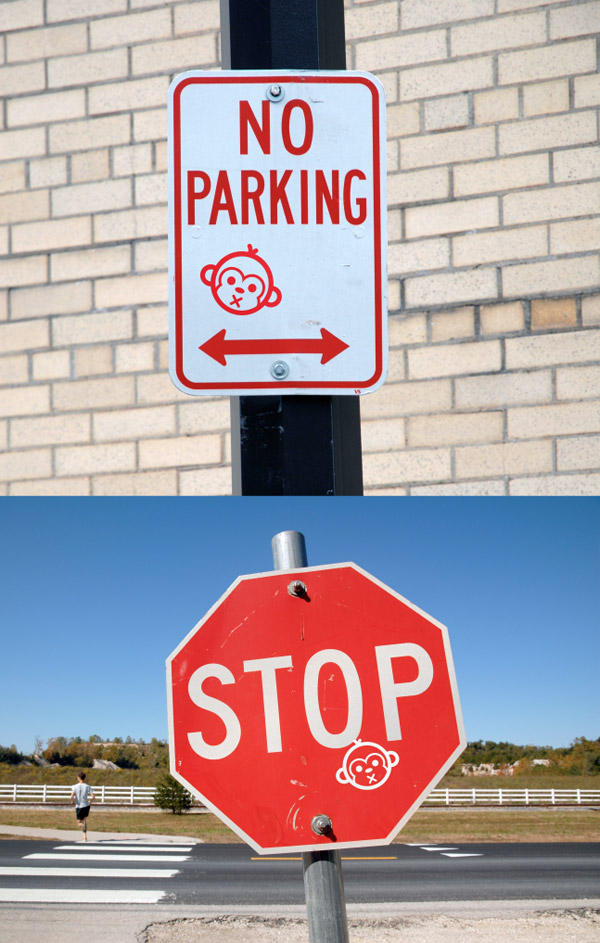
This leaves the final sticker graphic complete. Scale the artwork to your desired size and send it off to your sticker printer who will plot the shape in vinyl. Depending on their software you may need to save as an EPS, possibly even an Illustrator 10 legacy version to work with Coral Draw (from my experience anyway!). Use these techniques to customise your computer with awesome sticker artwork, or if you’re feeling rebellious make your mark out in the public with your sticker tag.



funny monkey :D
Thanks for the great tutorial;) The monkey is funny ;P
lolololo funniest monkey i have ever seen! :D
Instead of exporting specifically for Corel Draw you could also save your work as SVG wich is available since CS4. This would also give you the pleasure of using it as it is on the web ;).
Surely not condoning ‘sticker bombing’ Chris? Nice graphic.
Sometimes a monkey says more than thousand words … Thanks for the great tut!
Such an adorable monkey face! Thanks for the great tutorial :)
Cool little graphic and clear, concise tutorial!
you r funny. thx!
This is really good post. It’s impresive. Thank you
Chris, your tutorials are always so detailed. Even though this is a simple vector illustration, you really break it down, instead of assuming someone is already a pro with Illustrator (I’m included in that, I’m still not that great with Illustrator, even though I’ve used it in a few college classes. I’m more used to Photoshop.)
Thanks once again for monkey goodness!
Excellent tutorial nice explain so very easy to follow step by step. This tutorial is very much helpful for the beginner.
Great and simple tutorial! Love the monkey, Thanks for sharing!
wow, very interesting things here….. thanks for these.
Hi Chris,
Great post – simple, easy and effective. Never get tired of perfect symmetry – excluding the hair of course ;)
Thanks for the nice tutorial. I am new to the graphic design so it helped me a lot. I tried creating this.
Thanks for this great tut and cool vector monkey :)
i cant get the joining of the eyes to be pointed. there is a flat end…how do i get rid of that?
I couldn´t get the joining of the eyes to be pointed also, please heelp. Thanks for this great tutorial