In last week’s vintage logo tutorial we saw how useful vector textures can be to create that aged and weathered appearance, while maintaining a scaleable vector format. So this week I’ve gone ahead and created a pack of new texture files to give you extra choice when grunging up your vector work. Download these textures along with my vector grunge textures for free!
Free vector texture pack
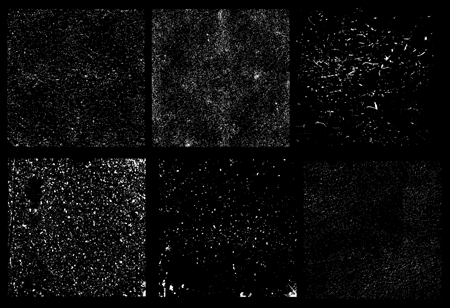
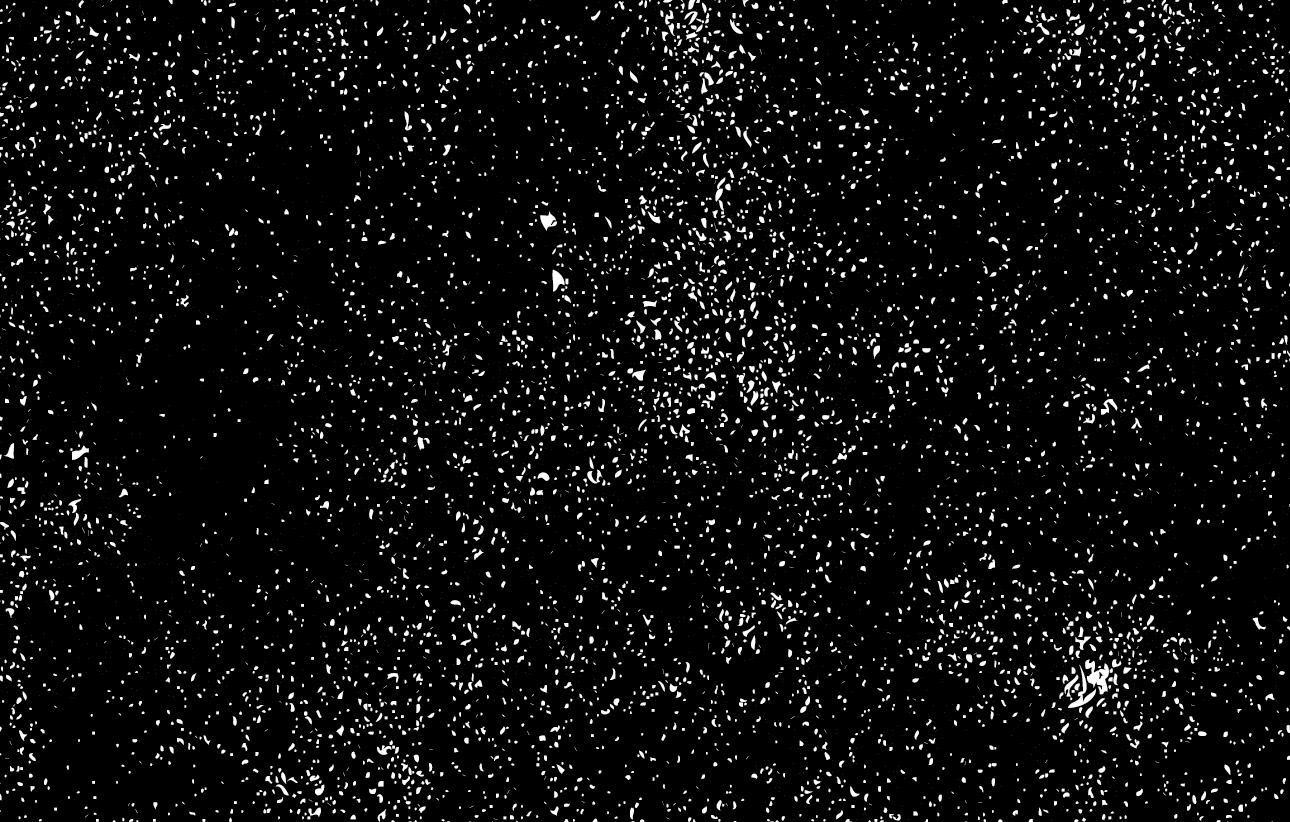
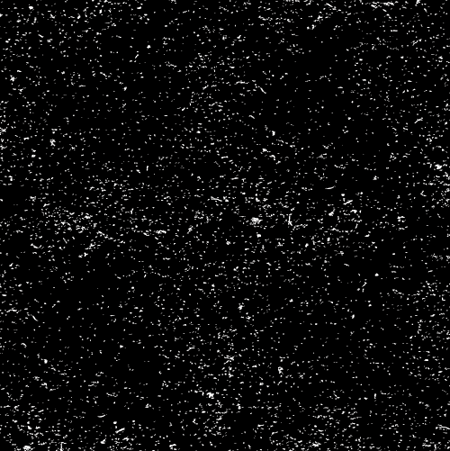
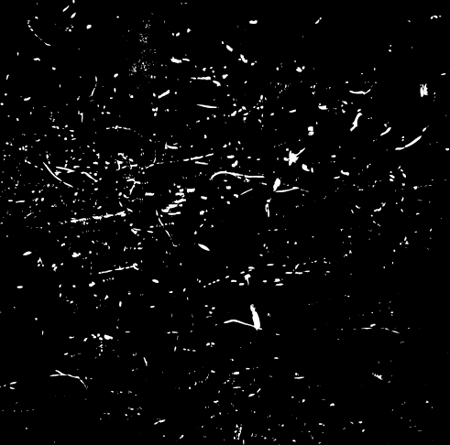
This free vector pack contains 6 scaleable vector texture graphics. The detail and style varies between each graphic, giving you a choice from subtle grain to full on grunge.
How to use the vector textures

Each texture graphic is a compound path ready for use with the Pathfinder tool. Open up your logo or illustration ready for distressing. Ungroup all the objects and create a compound path of all the elements.
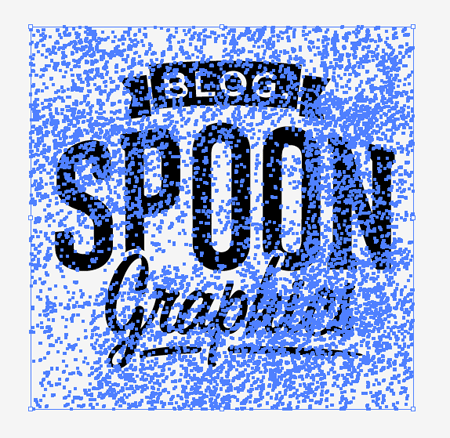
Copy, paste and scale a texture to cover the whole logo/illustration, then send the texture to the bottom of the stack.
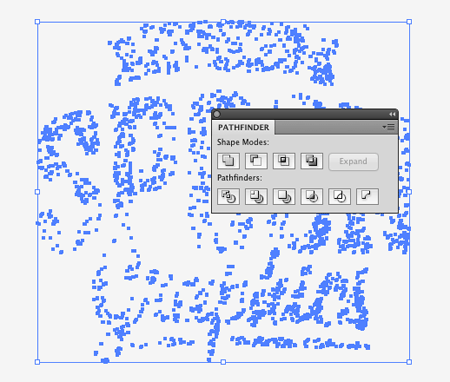
Use the Intersect option from the Pathfinder palette to crop the texture to the outline of the logo/illustration. Make a copy of this result then hit CMD+Z to Undo.

Delete out the unedited texture and replace it with the cropped texture from your clipboard using the Paste in Front comment (CMD+F). Change the fill to white to create an aged distressed appearance.
Download the vector texture pack 9.3mb
Want more? Check out these great related products
The following resources cost a little money, but I definitely recommend checking these related products out to complement my vector textures.
DIET VECTOR TEXTURES BUNDLE
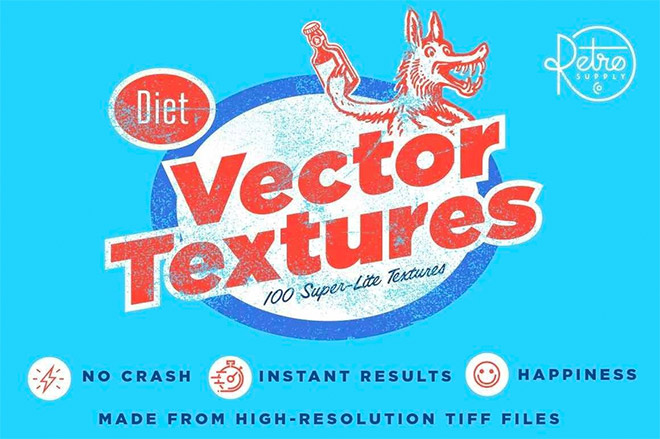
⭐ Get 20% off at RetroSupply with the code SPOON20
Under-Inked Print

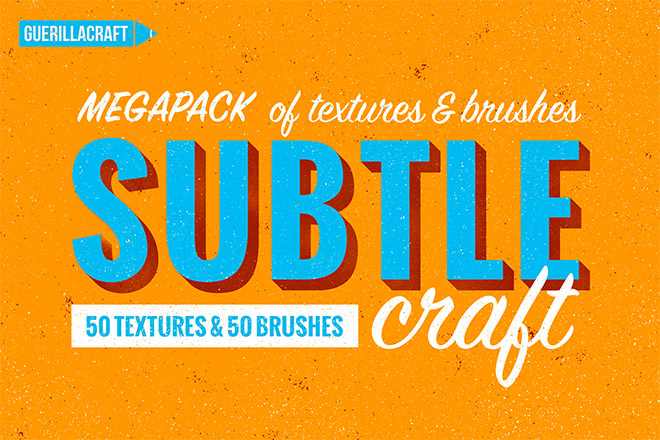
Subtlecraft Textures and brushes

There are far too few good vector texture resources out there. I think I love you for this ;)
Thanks a lot! :)
Muchísimas gracias, justo lo que estaba buscando…
Thanks!
thank you so much Chris! :)
Thanks a ton Chris! Literally just what I needed :)
Is there one step missing at the end? When I CMD F’d the edited texture on top of my logo, I had to change the color back to white. Or did I do something wrong?
It looks like I missed a step, just updated the guide ;-)
Great guide! I rarely use vector textures. I’ll definitely start playing around with them.
Thanks Chris, this is just the tutorial I was looking for. Not to mention the textures themselves.
Cool! Thanks a lot – will try using this texture at once ;)
Neat.Thank you !
These are great, thank you!
A great set of vector textures. So much better than photoshop textures as you can scale them to any size without losing quality. Thanks!
Thanks a loooooot!!!
Muchas gracias!
Thanks for these Chris. Would love to see a tut on how to create your own vector textures.
Thank you Chris!!! Your textures looks very great.. =)
Great resources, many thanks Chris :)
Hi Chris
Great blog post. Are you on Twitter? Can’t seem to track down your profile.
beautiful vector texture pack, thank you for sharing this.
hahahaha, funny thing. I thought about it today morning, opened your site, and what? here it is :) you read my mind, Chris :) cheers!
Which fonts did you use for this, Chris?
Cool! Thanks a lot for sharing this tutorial will surely try using this texture at once ;)
I love all your posts, very informational. I appreciate these tips because i’m just starting out as a blogger and not sure where to start. keep it coming……..
Extra thanks, as usual!
Hi Folks!
Interesting post! I’m designer and I like working with some texture. And thank you for tutorial.
Thanks very much for these – I especially appreciate you taking the time to provide guidance on how to use them :)
so helpful man! thanks a lot
A very cool and useful resource. Thanks for this Chris :)
Great texture, thanks for sharing
Awesome! Exactly the touch I was looking for. Thanks so much!
how simple to implement it is, awesome man, Nice trick to make an extremely good effect..
This pack is as awesome as the last vector pack, thanks for doing these!
Thank you! These are perfect. :)
Cheers Chris – working to the tightest deadline ever and this was just what I needed. Saved me half an hour of mucking about making the texture I needed.