Tutorials
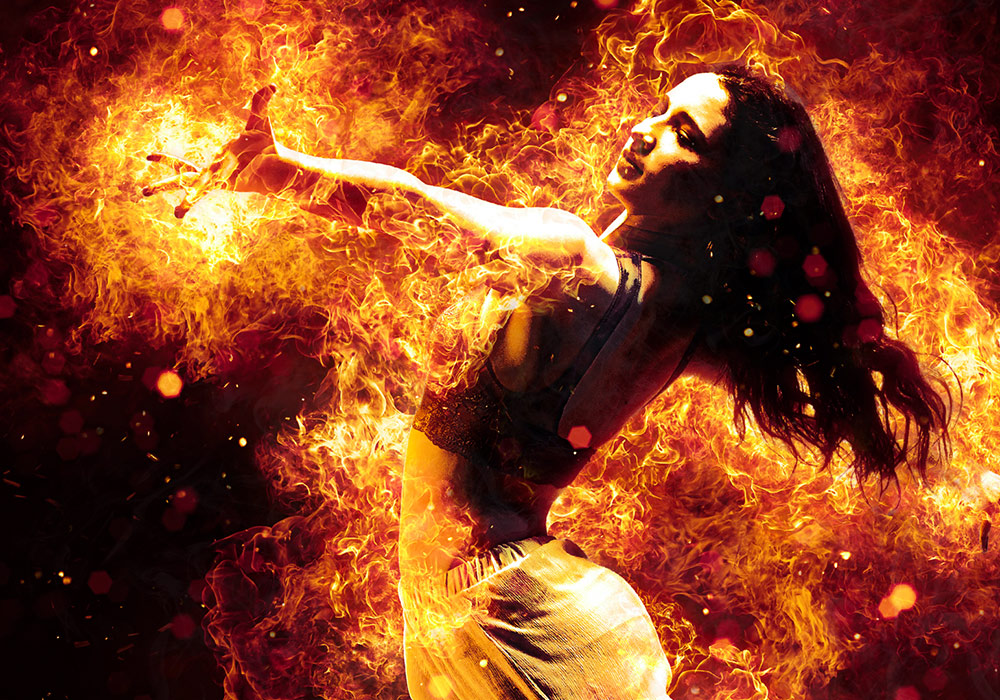
This Flames Photoshop Action is loaded with hundreds of steps that can be applied in seconds to produce an intense fiery explosion around your original image. In this resource review I’ll show you how to install the assets, apply the effect and customise the final result.
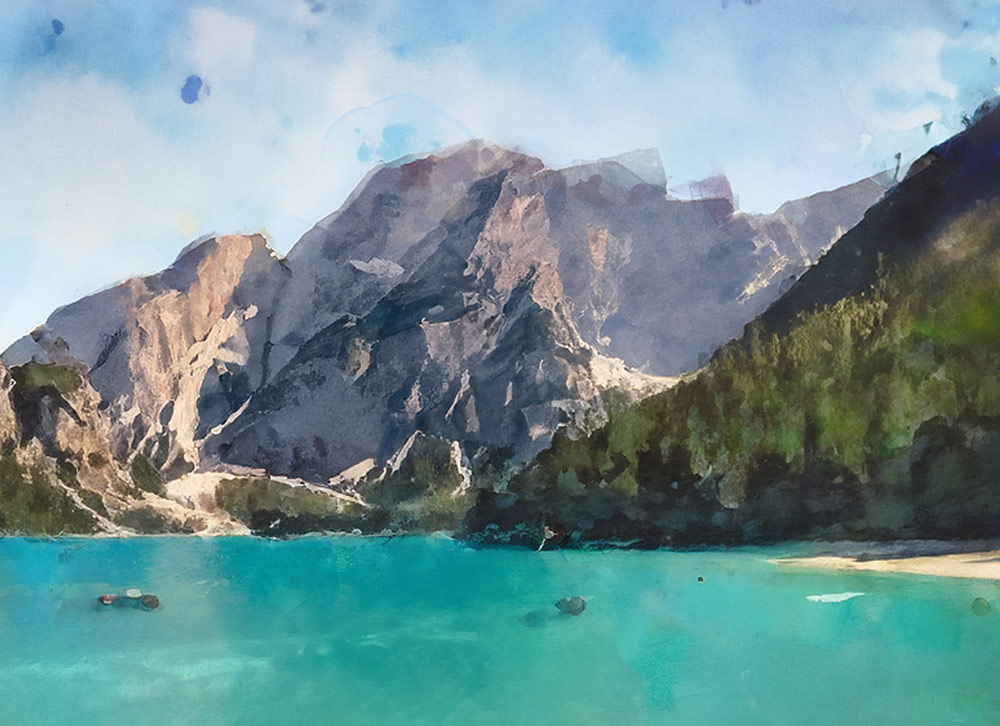
One of my most-watched videos every day on the Spoon Graphics YouTube channel is my tutorial showing how to create a watercolor effect in Photoshop. That tutorial uses a combination of Photoshop filters to transform an image with a painterly appearance. Since the addition of the Generative Fill tool to Photoshop, there’s a whole new way of creating a realistic painting effect with the help of AI.
This text portrait effect is known as a Calligram. It’s where a passage of text bends and warps around the contours of the subject’s face. This effect is particularly powerful when used to present famous speeches by depicting the orator through their words. The process uses just a small selection of Photoshop’s tools, with the Displace filter and a clipping mask being the key ingredients to making the effect.
There are several ways to add texturing to your logo artwork in Photoshop, you could apply textures using brushes, add a texture image to a layer mask, apply a texture with a clipping mask, or even using a pattern overlay. All methods have their benefits, but my favourite technique is what I call the ‘knockout’ method. Using this technique to apply textures to your logos means you can easily layer up multiple textures non-destructively without it being permanently applied, so you can still edit and change the artwork if necessary.
2023 is coming to an end, so let’s take a look back at my tutorial videos from the past year and see which topics proved to be the most popular. My Neon effect Photoshop tutorial from a couple of years ago has continued to dominate as my top piece of content, gaining another 500,000 views to increase its total view count to 2.6 million views since it was published. Interestingly, my number one my popular upload this year saw an extremely negative reaction when it was first uploaded and was by far my most disliked video, but it has since gone on to become one of my best performing videos.
The new AI powered Generative Fill has quickly become my most used tool in Adobe Photoshop to quickly change the background of my photos. Take this one for example, it’s a boring iPhone photo of my truck after a recent flurry of snow, but with a quick AI background swap it’s suddenly teleported from an empty car park to a picturesque lake with snow capped mountains. So let me show you how it’s done…


