
Spotify Style Duotone Photo Effect
This post was originally published in 2015
The tips and techniques explained may be outdated.
In today’s video tutorial we’re going to play around in Adobe Photoshop to create a duotone photo effect inspired by the recent Spotify rebranding, where the artist and band photos are colorized with two vibrant hues. A simple Gradient Map does most of the work, but I’ll take you through some extra steps to help you achieve the best results. The key to this effect is finding two colours that perfectly complement each other, so I’ve included a Photoshop Action that will apply a bunch of colour combinations for you to choose from.
Download my Free Spotify Duotone Photo Effect Action

Read my Ultimate Guide to Cutting Stuff Out in Photoshop

Subscribe to the Spoon Graphics YouTube Channel
Want more? Check out these great related products
The following resources cost a little money, but I definitely recommend checking these related products out to complement my Duotone tutorial.
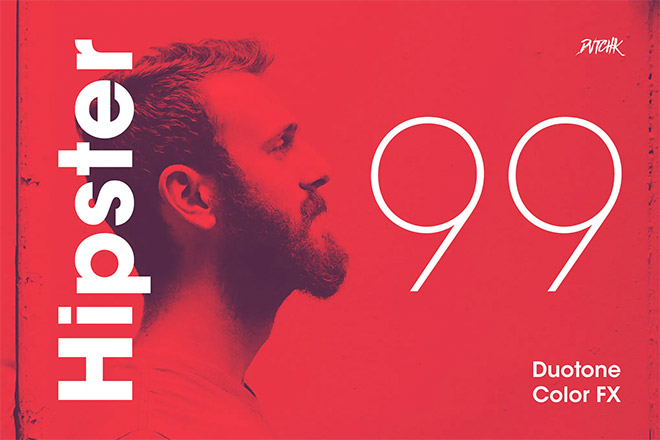
Hipster – Duotone Color FX
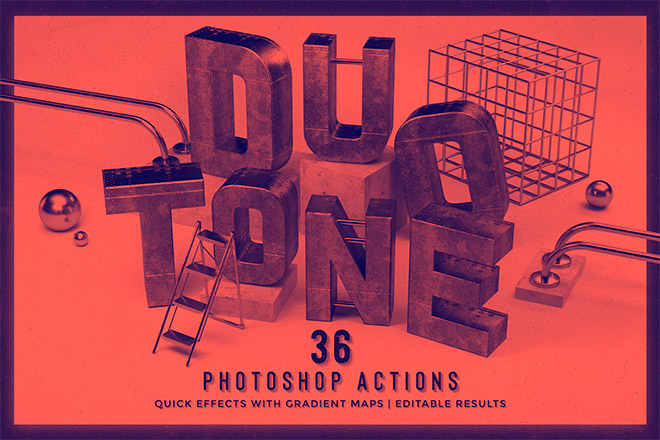
Duotone Photoshop Actions
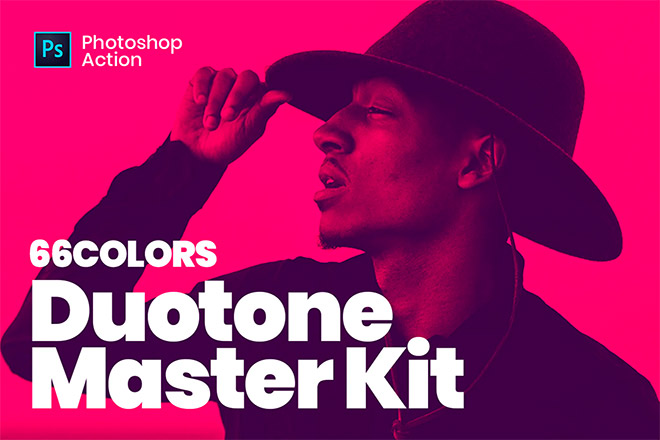
Duotone Master Kit
30 Duotone Photoshop Actions

Duotone Photoshop Action

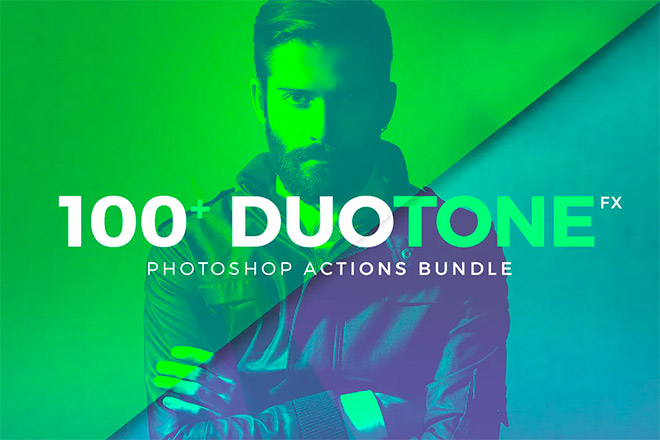
Duotone Photoshop Action Bundle

This is really a creative and sharp tutorial.. I give it a try on my own pic..
Thanks Kristina, feel free to send me your result!
Really cool tutorial, Chris! I love your accent :)
Haha thanks Carmia!
Very nice tutorial. Short and to the point. Also found your Ultimate Cutting Guide very useful :o)
I love your tuts!!
Thanks very much, greetings from Dominican Republic! :)
Very simple and easy to follow tutorial Chris!
P.S.- I’ve been a follower of yours for over 5 years now. Your new video tutorials are the best. I learn the fastest this way. Long story short- Keep It Up!!!
Thanks Steven, that’s good to hear. The only trouble is I can never decide which topics to use for written tutorials and which ones for video tutorials now!
Precise. Easy to follow. Thank you!
Tutorial on 3-d comic creation, maybe :)
Hi Chris,
I love your tutorials but I really prefer old fashioned written step by step tuts, where I can scroll directly to the part I am interested in and don`t need to watch whole video.
Wow! That was easy! I like the effect, too! Thank you!
Su
Hi Chris, thanks from Italy!
Looking for tut suggestions? Not too much out there on using 3D tools in Photoshop (I still use CS5) That would be great because these are great tools but the barrier to entry is great. Keep up the good work!
I think both video and written, but I realize that’s a lot of work.
It’s great to watch the video, but sometimes it goes too fast.
If the written instructions are under it, I can go to the part that went too fast for me and get the details without having to try to pick it out in the video again.
Thanks for sharing these tutorials. I think I’ve learned a lot over the years using Photoshop, but you show me a tip or technique here and there that I didn’t know about. Appreciated! We can always learn something new.
I’ve been looking for this kind of effect for years! Thanks alot!!
Сool! Simply and well!
Thanks very much :)
Great but YOU ARE SO MUCH FAST on your video, please slow down
I had visited your website which was really good,Actually we dealing in Website Design & Development Company USA
Simply superb video tutorial, nice explanation and it is different way of presentation
its , good for leranrs.