How To Apply a Realistic Rust Texture in Photoshop
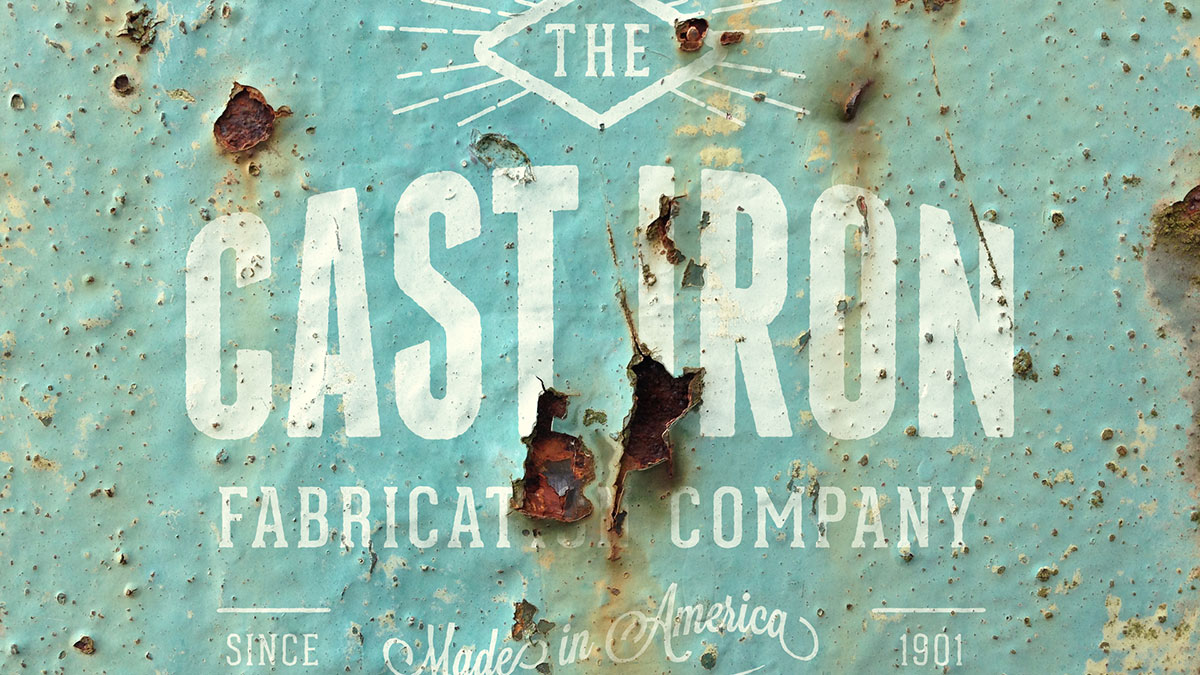
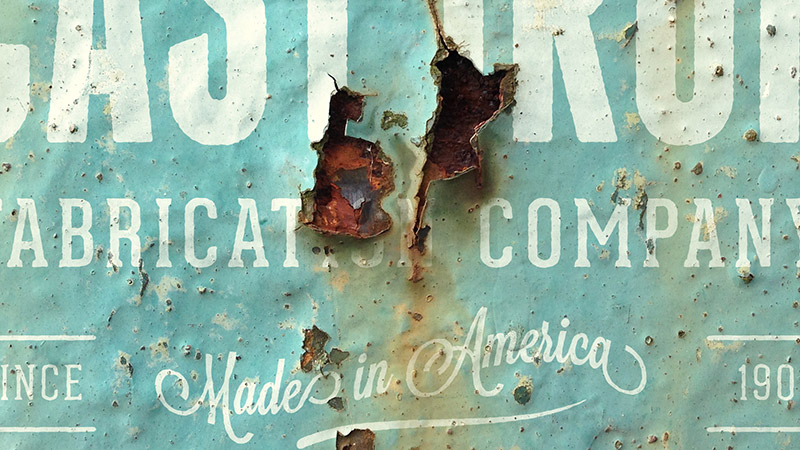
In today’s Photoshop video tutorial we’re going to realistically apply a rust texture to a design. This can be done with any kind of image, it could be a single colour logo like I’ll be using in this example today, or even full colour artwork or photographs. The technique makes use of the the Channels in Photoshop to make a selection of a texture, which is then used to erase the artwork wherever there’s rust. Because we’re using the Channels rather than a manual selection, every single tiny detail is captured, which produces an ultra realistic result.

► Download my free rusty metal logo mockups: http://spoon.graphics/1Vn24RR
► Metal Dumpster Texture Pack: https://crmrkt.com/P9D7q
Share on Pinterest


That is a stunning video Chris. Love it!
Thanks for your kind words Alan!
So simple et so realistic… Chris you’re amazing…
Thanx to share your tips…
Hi Moos, really glad you like the tutorial!
Thanks again for such a great tutorial, mind-blowingly simple application and what a great result!
Thank you very much Katie!
Loved this! Thank you.
Thanks Alex!
Another great tutorial, Chris. Thanks for sharing!!
Hi Jason, good to hear!
This is so cool. Great tutorial
Thanks Emmanuel!
Oh, my! That looks simple enough! Thank you for the ‘How-To’!
Su
My pleasure Su! :)
Great tutorial Chris! I can’t wait to try this out. You gave me a bunch of ideas for using this technique with other textures for a project I’ve been thinking about doing. Thanks!
Great! Hope your project goes well!
Wow! How smartly you’ve done Chris! Before, I used blue channel only for masking. Well done Chris ! Now waiting for your next innovation!
Hi Adam, thanks for your lovely comment!
Nice tutorial, Chris! I had done something similar with a shot-up and rusty road sign, but had used blend modes and a displacement mask. I will have to try the channels instead. Also, thanks for the idea to print it on metal – it seems so obvious, but it wasn’t to me! :)
Hi Debra, Thanks for your comment! :)
Awesome tutorial video Chris, thank you so much.
Glad you like! Thanks!
Great tutorial! I am not much of a photoshop user but this is something I will try myself! Thanks for sharing, and keep up the great work Chris!
Alex
Hi Alex, it’s great you’re inspired to use photoshop more!
At last chris! You just added this I have been waiting for it. Will use this technique to make mockups. :)
Great, I’m glad you will find the technique useful!
I come for the tutorials, I stay for the accent…haha. Sexy!
Haha, thanks Johan!
Amazing. I like this
Thanks Amit!
This is such a wondrous tutorial, very well explained and easy to understand. That’s amazing and beautiful work.
Thank you, I’m really glad you liked the tutorial!