This post was originally published in 2016
The tips and techniques explained may be outdated.
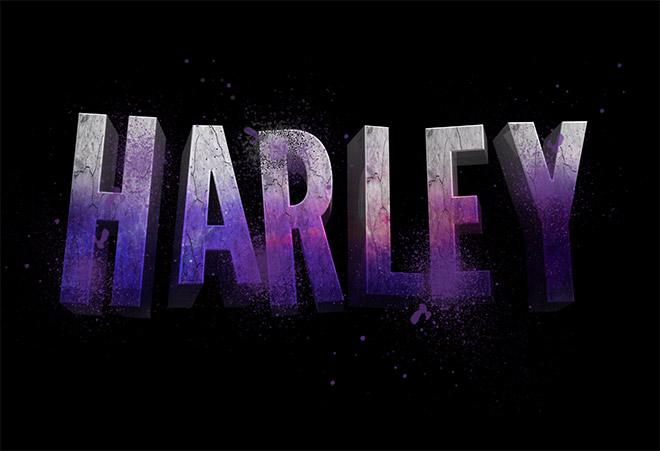
Hollywood has definitely been fuelling me with plenty of inspiration lately. A few weeks ago I shared a tutorial on how to create a movie poster based on The Hateful Eight. Today I have another movie themed tutorial, this time inspired by the vibrant text effect from the Suicide Squad trailer. Follow along to see how the 3D typography is made in Photoshop, along with various lighting effects to illuminate the design with bright colours.
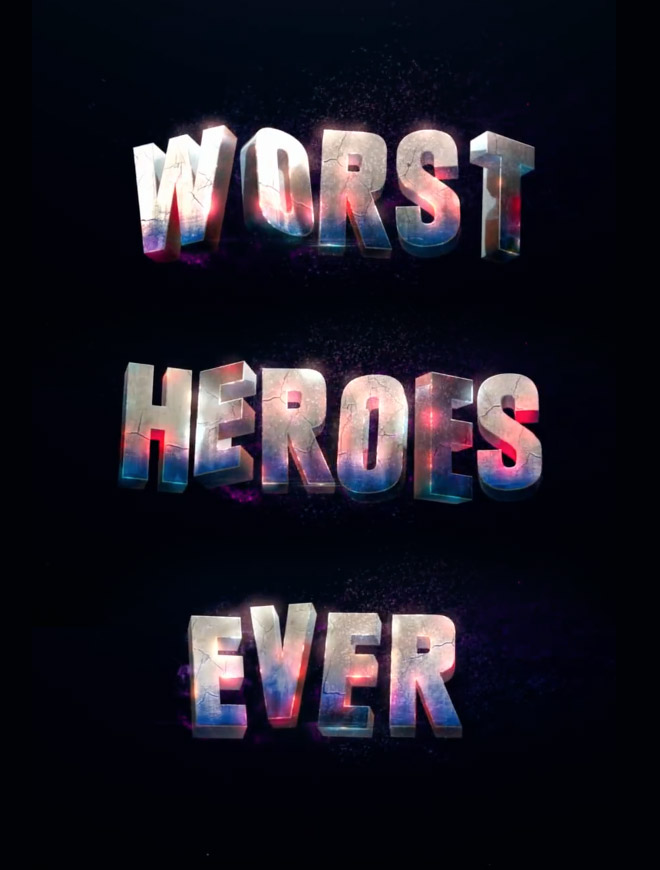
All the typography and branding behind the Suicide Squad movie has a multicolour neon vibe. In the trailer we see the words “Worst Heroes Ever” flash on the screen with a combination of grungy texturing, various colours and vivid lighting effects.

See the Full Size Suicide Squad Text Effect
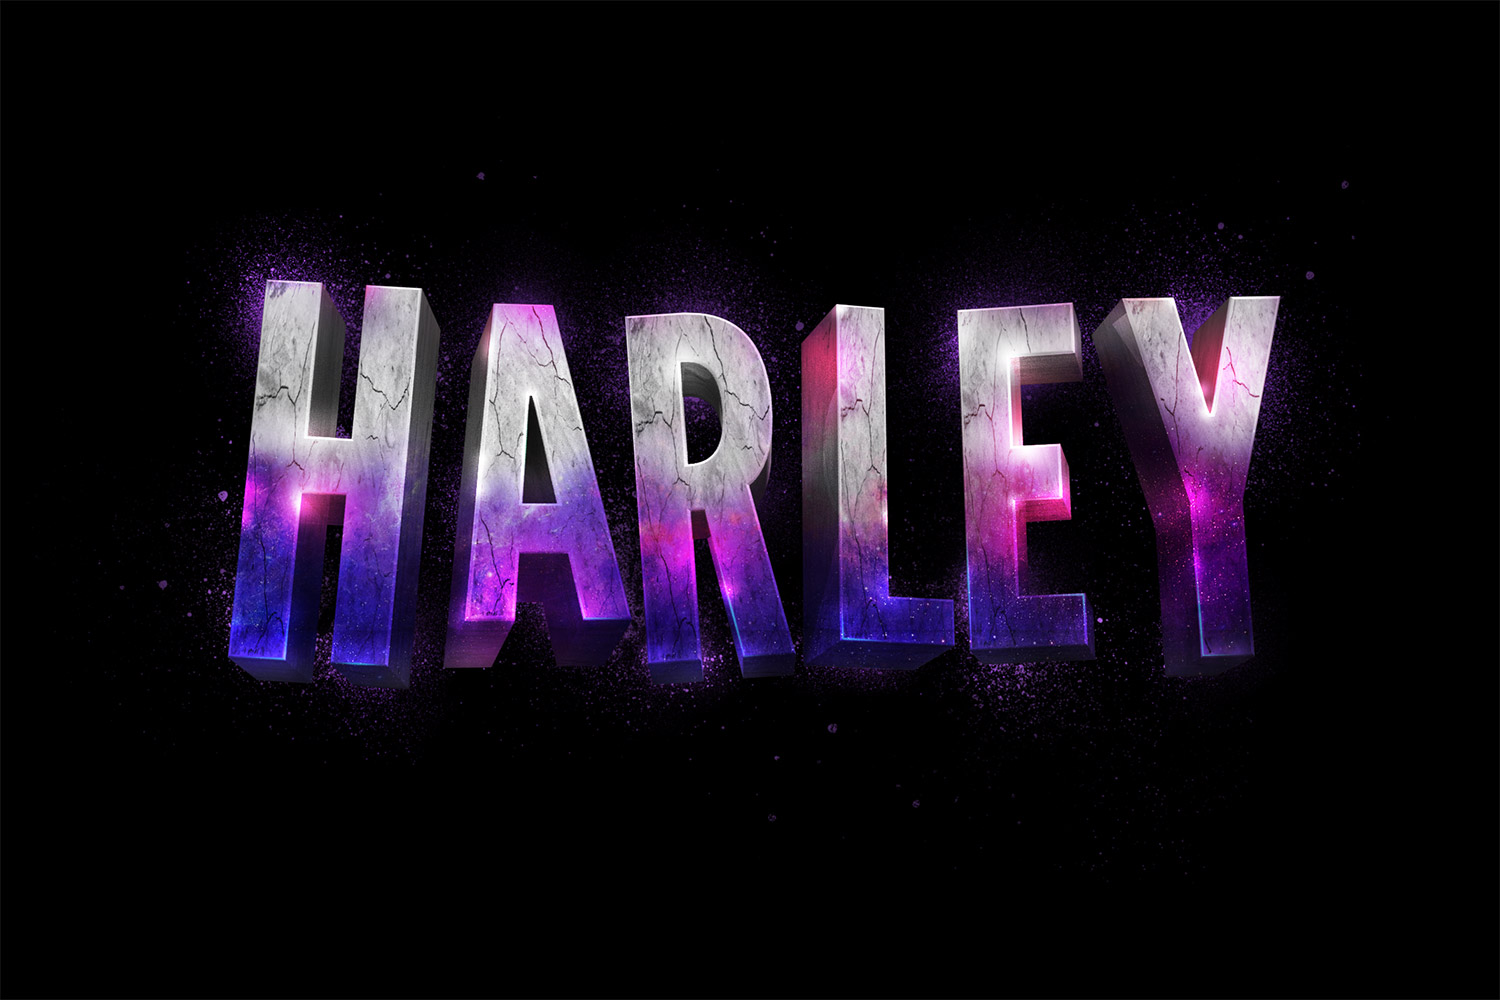
We’ll use Photoshop to create a Suicide Squad inspired text effect of our own. The 3D features in version CS6 onwards allow us to easily replicate the random layout of the letters, while Photoshop Brushes and a combo of blending modes will help add vibrant colour overlays to achieve a similar look.
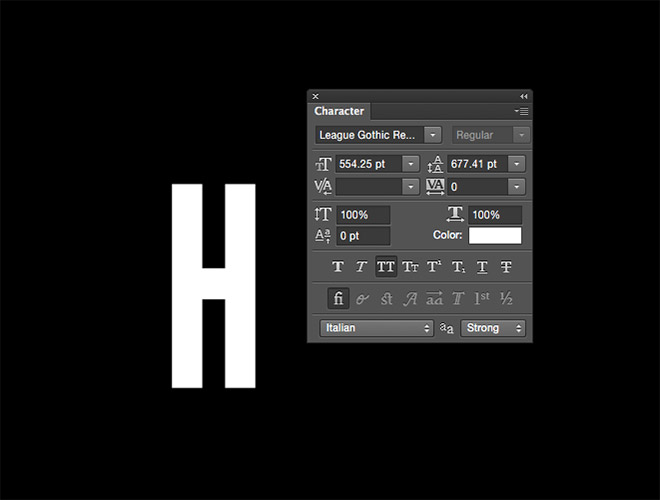
Open up Adobe Photoshop and create a new document. I’m using a pretty large canvas size of 3000x2000px. Set the Type tool up with your chosen font. I’m using League Gothic. Type just the first letter of your desired word.

Press CMD+J to repeatedly duplicate the layer by the number of letters required, then toggle through each layer to edit the text and move the letter into place.

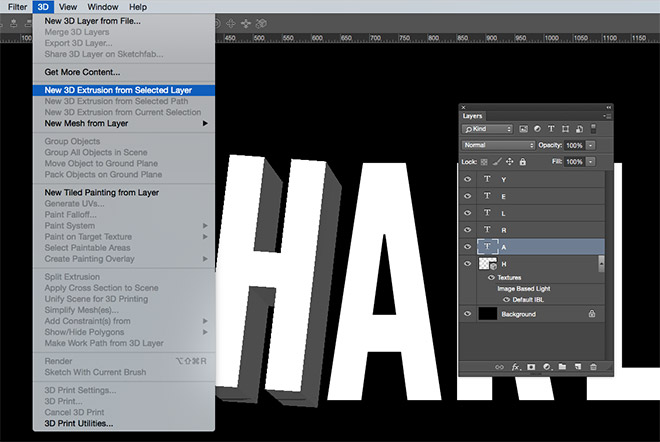
Select the first letter’s layer, then go to 3D > New 3D Extrusion from Selected Layer to convert it into a 3D object.
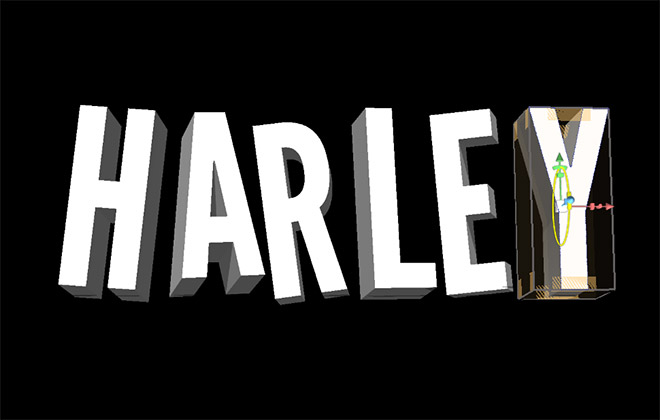
Photoshop will now display its 3D interface. With the Move tool active, carefully hover over the 3D handles to rotate the letter across the X, Y & Z axis.
Select the next letter in the Layers panel, then create a new 3D extrusion. Adjust the positioning of this letter with different rotation values.
Continue the process with all the individual letters, giving them a random position each time. You can also move and scale the letters to further mix up the layout.
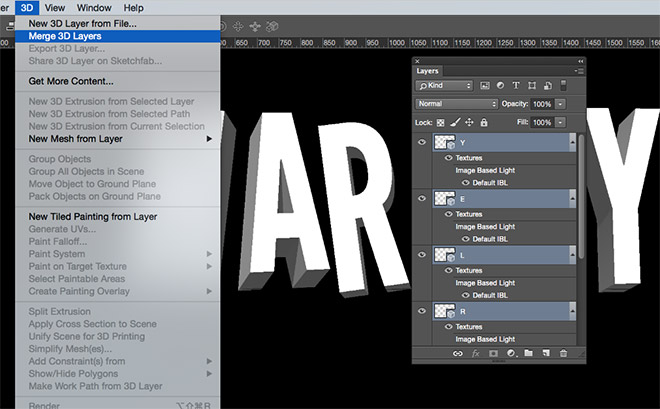
Select all the 3D letter layers and select the 3D > Merge 3D Layers menu option. This will combine all the individual letters into one 3D item to make it easier to add texturing.

Select the Infinite Light object in the 3D panel and adjust the smaller handle of the on screen tool to adjust the angle of the scene lighting to provide more contrast between the front face and side faces. In the Properties panel, turn off Shadows.
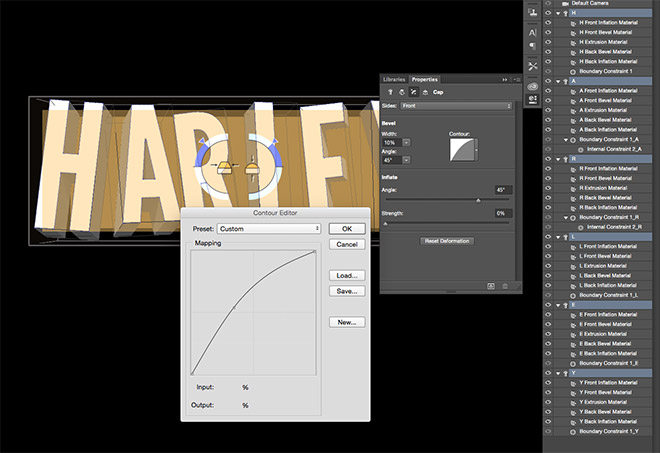
Under the Cap options, set the Width to 10%, then edit the Contour mapping to produce a slight bend to round off the edges.
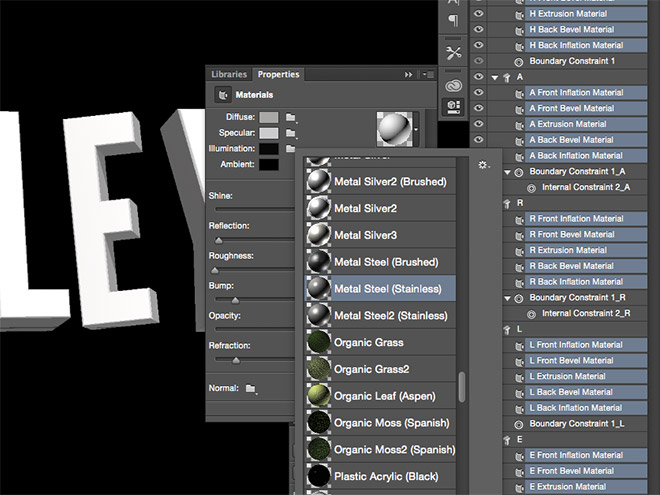
Next, click the uppermost layer that contains the words ‘Inflation Material’ in the 3D window, then Shift-Click the very last layer. Under the Properties panel, select a Steel Metal preset. The default selection is pretty limited, but you can download a pack of extra materials from Adobe’s Downloadable 3D Content library.
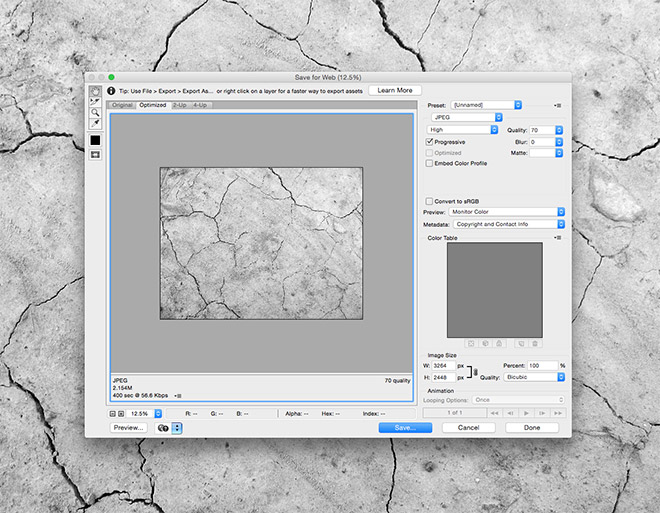
Jump online for a moment and search for a free cracked concrete texture, like these!. Open the image in Photoshop, desaturate it and quickly adjust the contrast with some Levels adjustment, then save a new JPEG file.
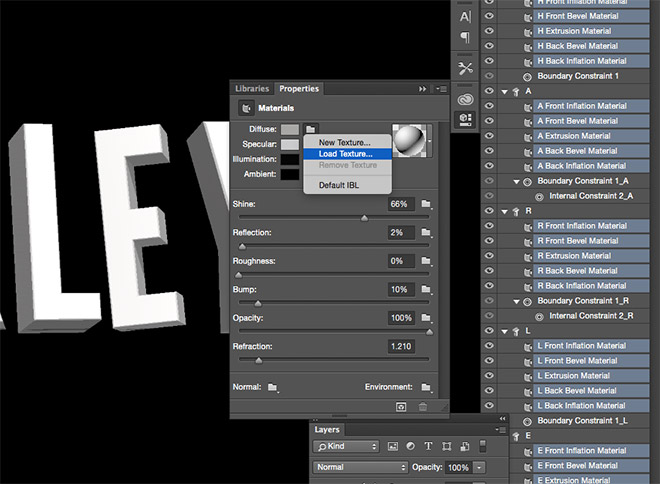
Back in the main document, click the small folder icon next to the Diffuse option and load the cracked concrete texture.
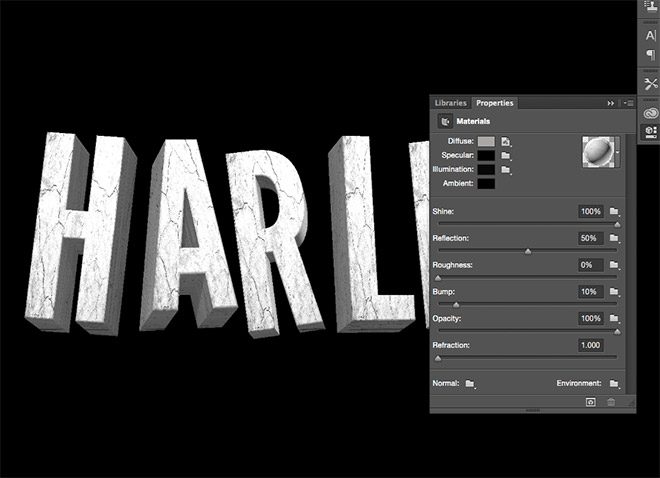
Other adjustments to the material include a black Specular colour, 100% Shine, 50% Reflection, 0% Roughness, 100% Opacity and 1.000 Refraction.
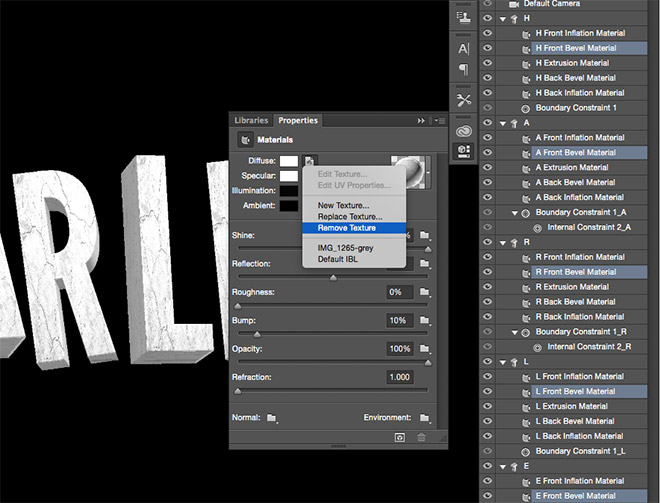
We can create some clever edge outlines by selecting the materials that are applied to the Beveling. CMD+Click each layer that includes the words ‘Front Bevel Material’. Remove the concrete texture and change the Diffuse and Specular colours to pure white.
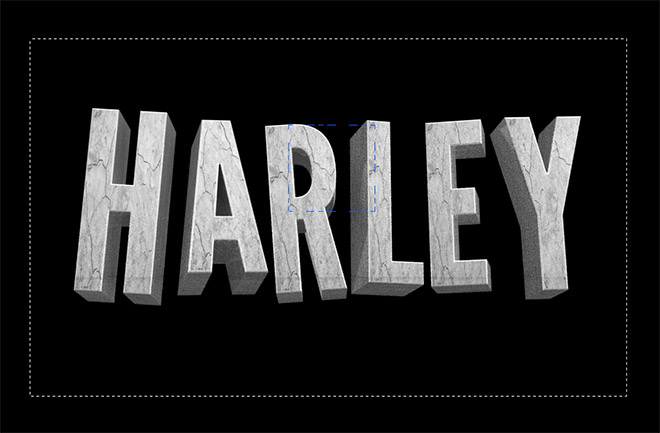
The 3D model still looks pretty awful because it needs rendering. Draw a marquee around the text then press the Render icon from the 3D panel. Sit back and wait until the render completes, or hit Esc when it’s looking good enough!
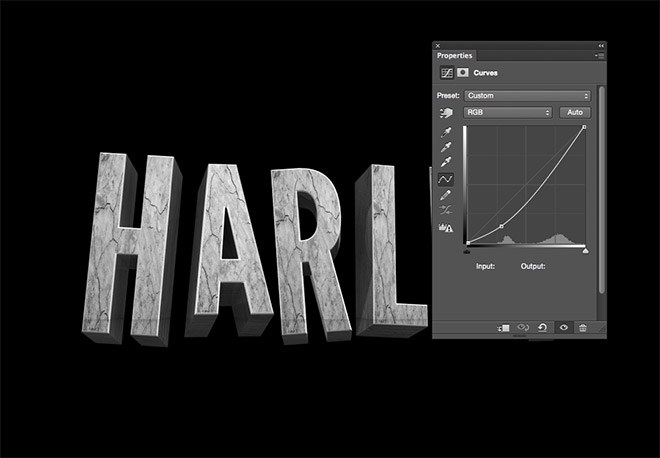
Switch the Photoshop workspace back to Essentials (or your preferred workspace setup) and add a new Curves Adjustment Layer above the 3D object. Darken the shadows to add more contrast to the text.
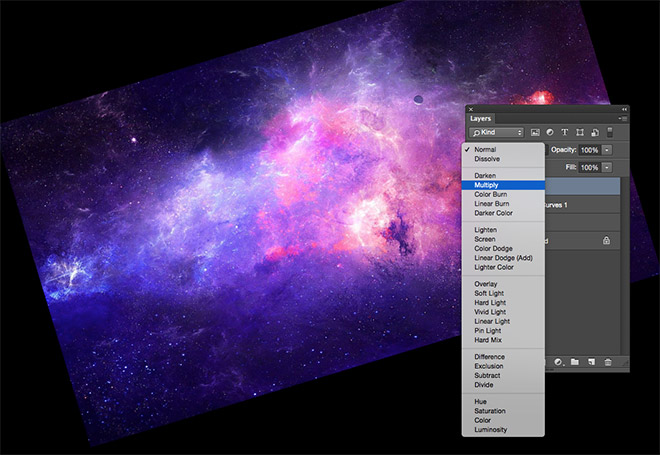
One quick and easy way to introduce some vibrant colours to the text is to overlay a cosmic space scene. Quickly steal an image from the web that matches your desired colour scheme and set the blend more to Multiply. The texturing of the image provides a much more natural result that manually painting splodges of colour.

CMD+Click the thumbnail of the 3D layer to loads its selection, then use it to trim the texture to the outline of the text using a layer mask. Set up a soft black brush and continue adding to the layer mask to manually erase the texture from the top half of the letters.
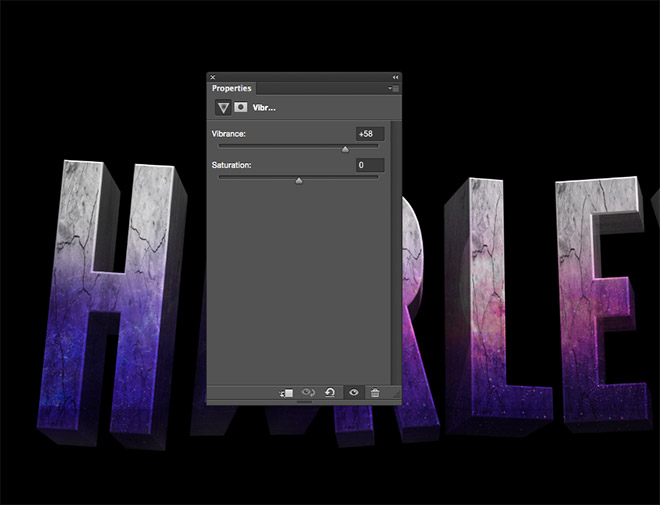
To boost the colours even further, add a Vibrance adjustment layer and crank up the settings. Be careful not to oversaturate and blow out the colours too much though.
Download my spray paint Photoshop Brushes and colour pick a hue from the image. Adjust the size and rotation of the brush and dab some sprays on a new layer.
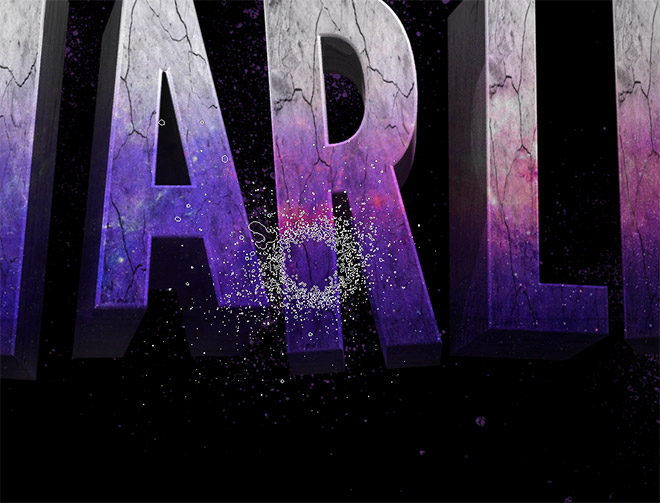
Add a Layer Mask to the sprays layer, then continue using spray paint brushes to erase the unwanted areas that overlap the main text.
Add a second spray paint layer and use a different brush to add some finer splatters to the edges of the letters. Add a Layer Mask and erase the unwanted portions from the text.

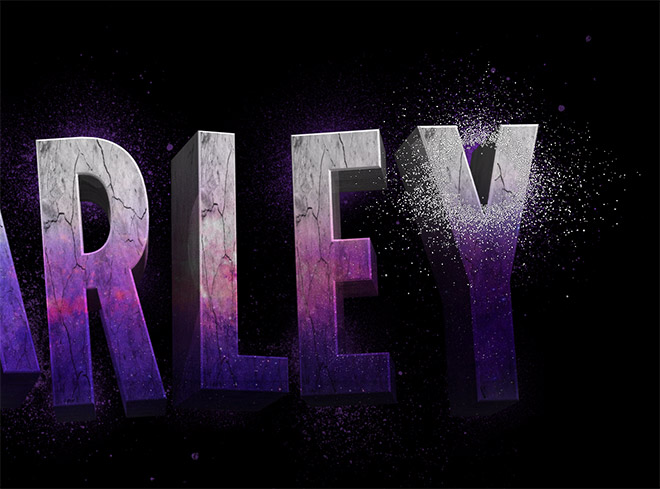
The colours of the galaxy image can be enhanced or altered by overlaying some colour. Paint over the text on a new layer with a soft brush. Load the selection of the 3D text, inverse and delete to remove the excess, then change the blending mode to Soft Light. Reduce the Fill amount to tone down the impact of this colour overlay.

Select a hot pink hue from the color picker and dab some spots of various sizes across the text on a new layer. Trim the excess then change this layer’s blending mode to Color Dodge. Reduce the fill to around 70-80%.
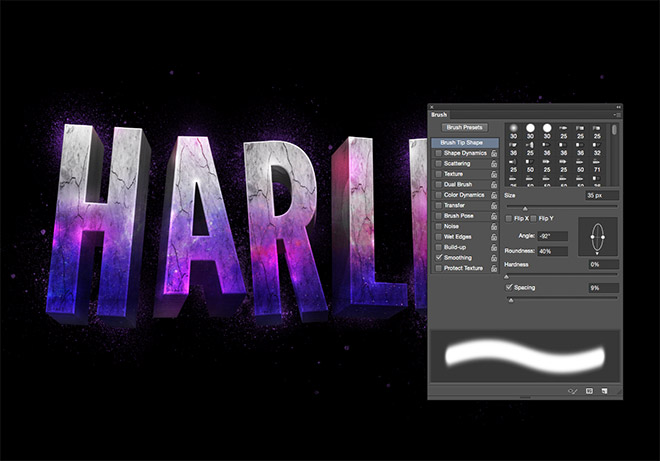
Add another new layer and set up a soft white brush. Randomly dab some highlights across the text, then alter the shape of the brush and rotate it to follow the shape of each letter. Add some specular highlights along the letter edges. Set this layer to Color Dodge at 60%.
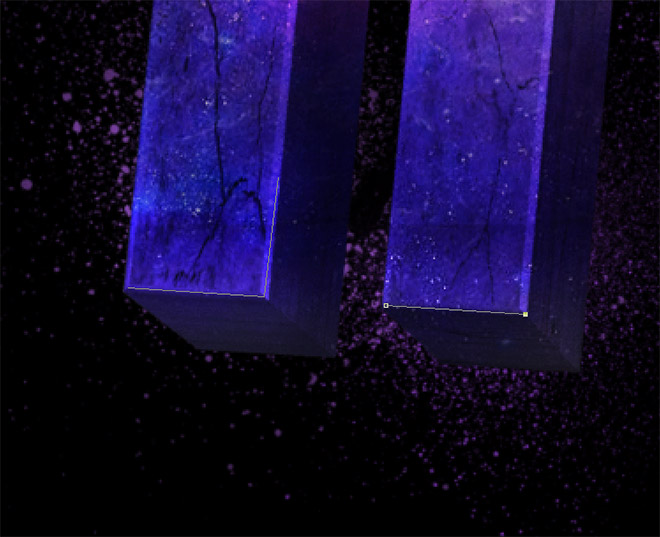
Grab the Pen tool and click a few points to follow the corner of one of the letters. CMD+Click on the canvas to end the path to stop it continuing onto the next point. Trace a few short lines across the various letter edges.

Switch over to the Brush tool and reset the shape to a circle. Give it 0% Hardness, a smaller size of around 5px and a bright cyan as the foreground colour, then grab the pen tool again and select Stroke Path from the right click menu. Choose Brush and check the Simulate Pressure option.
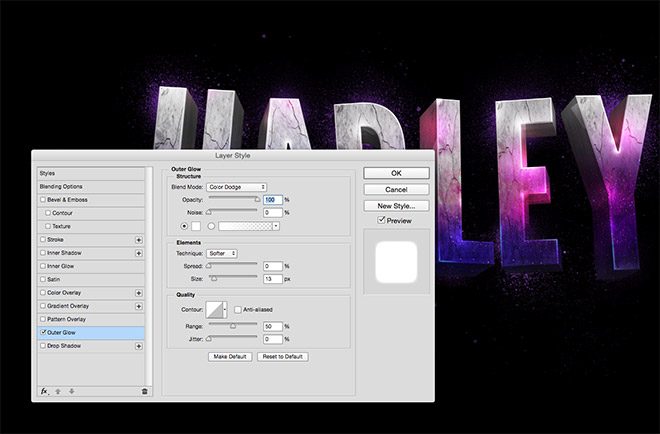
These short paths will then be turned into nice little edge highlights complete with soft tapered edges. Set the blend mode to Color Dodge, then if more vibrant glows are required, add an extra Outer Glow layer style of pure white set to Color Dodge.
The final result matches the text effect seen in the Suicide Squad trailer pretty well. It’s up to you how vivid and bright you go with the various colour overlays. Simply dabbing spots of colour and setting the Color Dodge or Soft Light blend modes does a great job of building up interesting colour and lighting effects.

WoW! Thank You chris! working on it right now lets see :)
Thank you so much for helping me with my school project!
Great article. Thanks for sharing so many useful resources.
Great one Chris! Here is what I come up with thanks to you: http://i.imgur.com/TpybQze.png
Wow, nice work! It’s great to see the style used for other types of artwork. That looks really cool
Amaizing work!!
Awesome.
You should do a video tutorial about basic 3D on Photoshop, it would be incredible.
Thank you so much