This post was originally published in 2012
The tips and techniques explained may be outdated.
Follow this step by step Illustrator and Photoshop tutorial to create a cool poster design of vibrant shard graphics. We’ll create the array of shapes with Illustrator’s vector tools before finishing off the poster with some subtle textures in Photoshop.
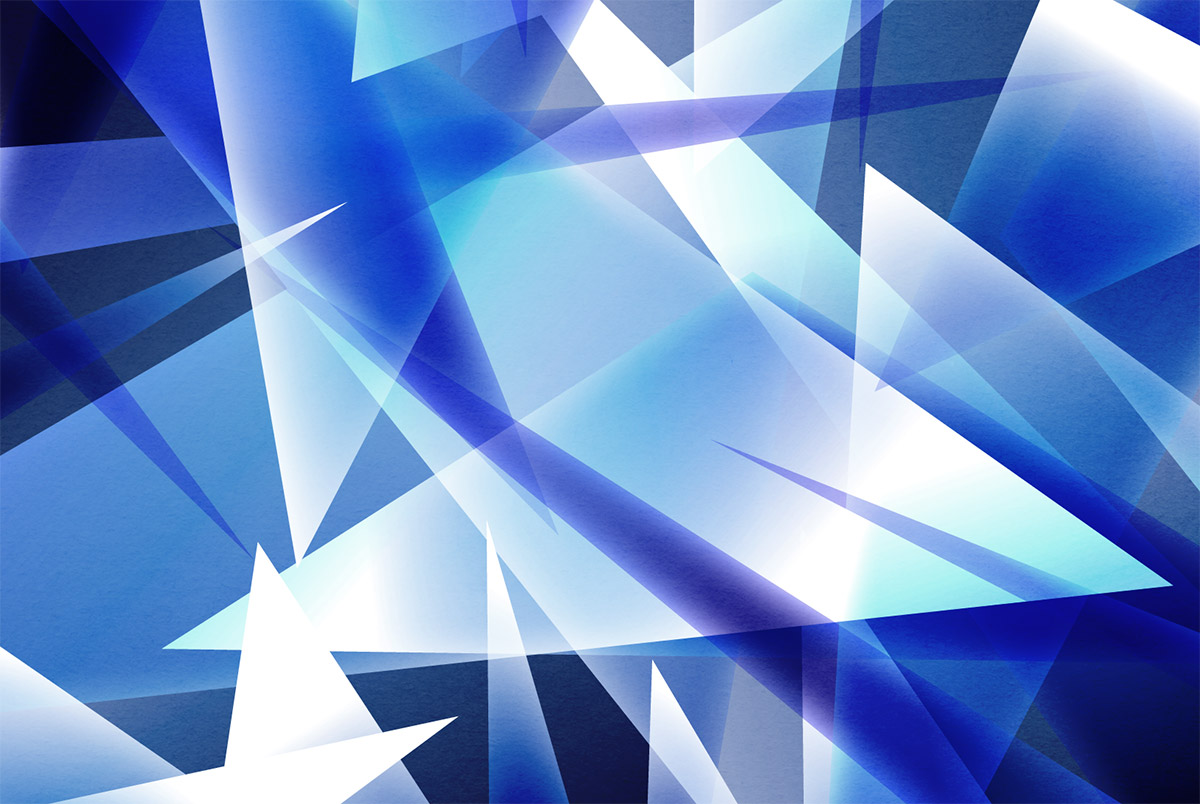
The design we’re creating today features a range of sharp vector shard shapes each with a vibrant mix of colours. These colours interact with the help of blending modes to create an intricate piece of digital art.
View the abstract shards poster design
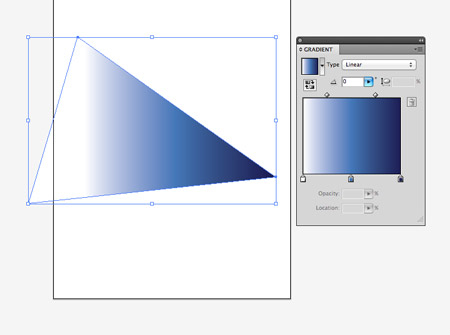
Open up Illustrator and use the Pen tool to create a random triangular shape with three clicks. Give this shape a gradient fill with three colour swatches. Here I’m using white, a rich mid-blue and a dark blue.
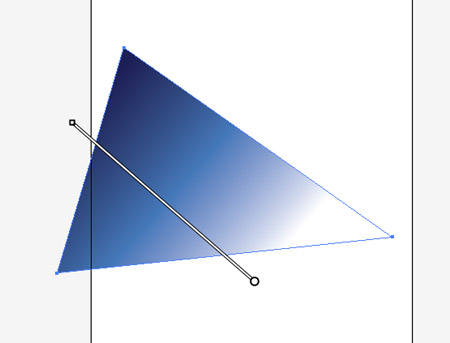
Use the Gradient tool to adjust the angle of the gradient flow by clicking and dragging across the shape in a random direction.
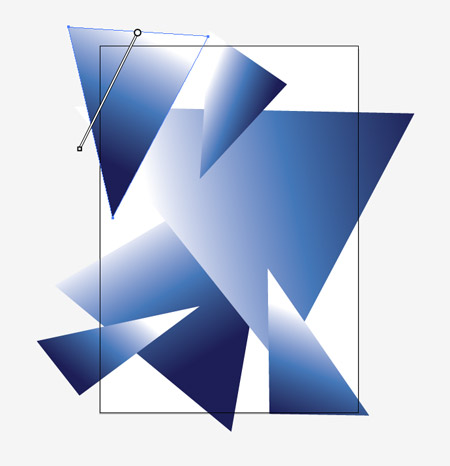
Repeat these two steps to create variously sized triangular shapes across the document, each with a unique gradient angle.
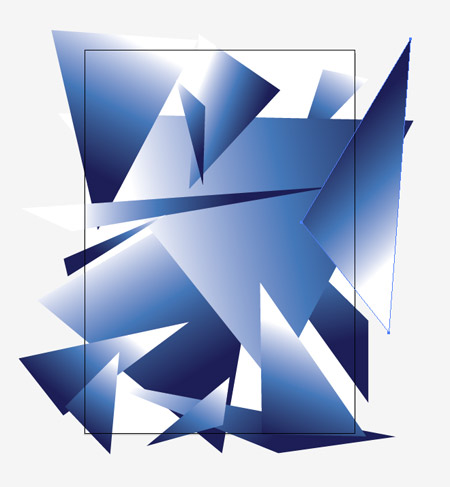
Add shapes of various sizes to cover as much of the document area as possible. Don’t worry about overlapping shapes, when the blending mode is added these overlaps will create cool effects.
Continue adding triangular shapes to completely fill the document artboard. Make sure the gradient angle is changed for each shape.
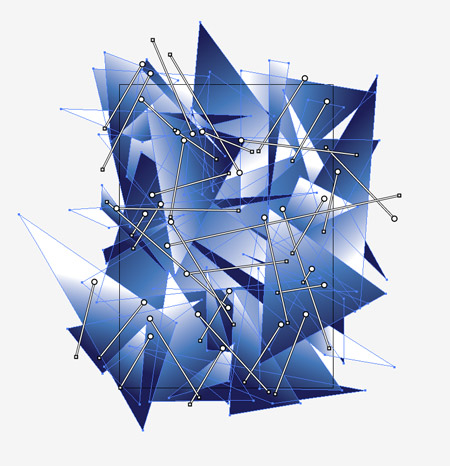
Once the document is completely filled with shapes, drag a selection across the whole artboard to select all the elements.
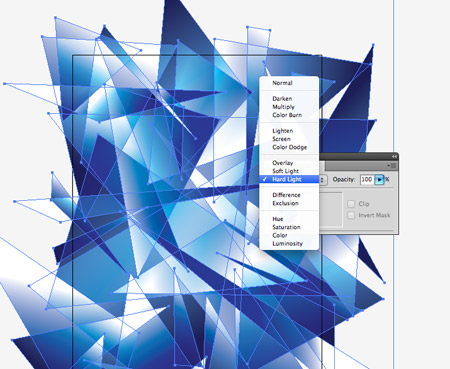
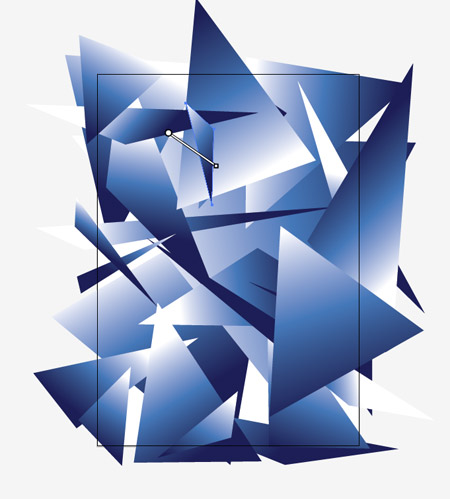
Change the blending mode of these shapes to Hard Light to allow the gradient overlays to interact and intensify the colours.

The blending mode effect really adds to the design, allowing transparency to create an intricate design where all the overlapping shapes are visible.
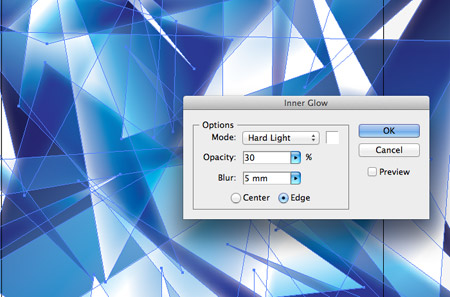
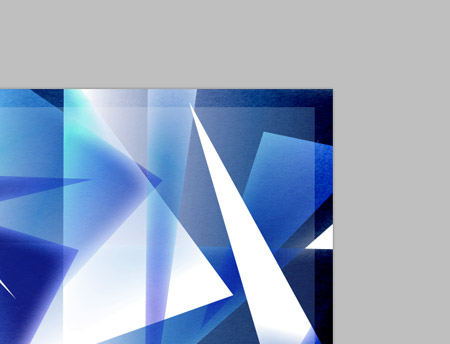
Select all the elements once again then go to Effect > Stylize > Inner Glow. Alter the settings to Hard Light, White, 30% Opacity and 5mm Blur. Hit OK and wait for the effect to process on each element. This Inner Glow effect simply adds more vibrant tones to the design and brightens up each shape’s edges.
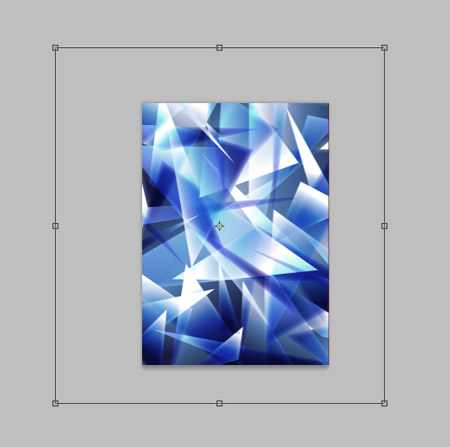
The vector stage of the design is now complete, but let’s finish it off with some subtle textures. Paste the graphic into a high res Photoshop poster document.
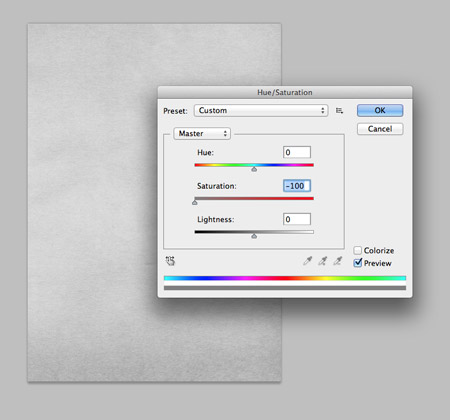
Open up a Stained Paper texture and paste it on a new layer above the design. Remove the yellow tint by desaturating the image then change the blending mode to Color Burn.

The grainy texture of the paper will be combined with the sharp vector shapes to give the design a more tactile feel. Reduce the opacity of the texture layer to adjust the impact of the grain.
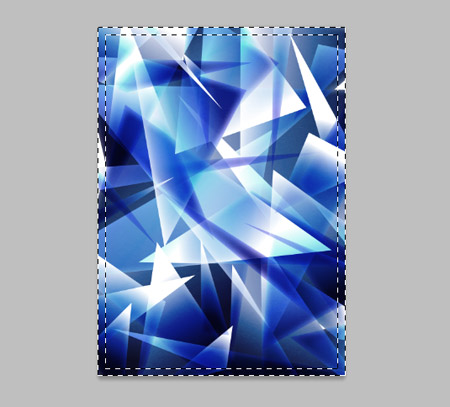
Press CMD+A to Select All, then right click and Transform Selection. Minus 100px from the overall selection dimensions then press CMD+Shift+I to invert the selection. This leaves a 50px border selection around the edges of the document.
Activate the paper texture layer and Copy/Paste the selection onto a new layer. Change this layer’s blending mode to Color Burn to create a cool border effect to frame the design.
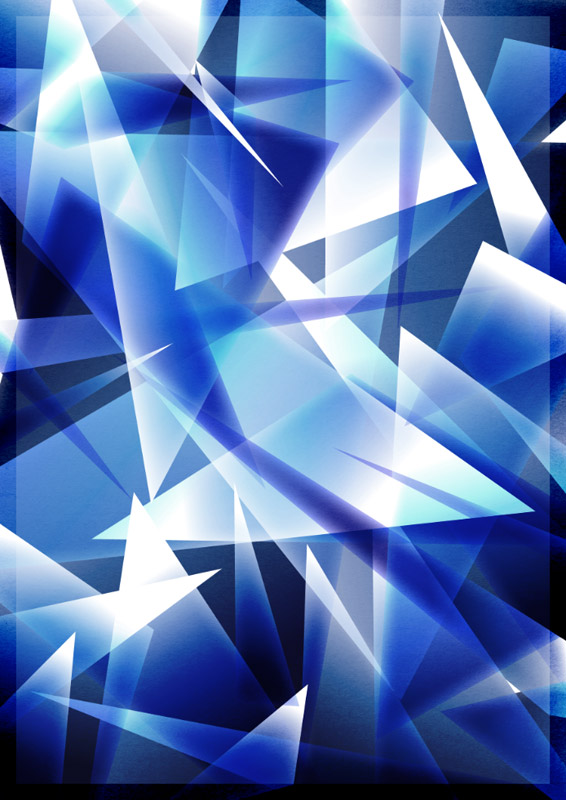
This leaves our cool abstract shard design complete! The overall process was pretty simple seeing as the Hard Light blending mode did most of the job. It’s just a case of taking the time to initially build up the layers of elements and manually.

Loving these abstract poster designs of yours, truly demonstrative of your unique style and talent.
Keep ’em coming!
Cheers
Awesome abstract shards poster design thanks for sharing with us.
Very interesting outcome! Thank you! :)
Chris. You are just awesome. You keep dreaming up these fabulous tutorials. I subscribe to a lot of newsletters but you are number one, in that – no matter what’s going on – or how busy I am – I always click your links in my email knowing that something so super, cool, and well demonstrated awaits me. I just love your tutorials. Thank you so much!
I love these step-by-step tutorials, can’t get enough of them. The result is sort of good, went for more green colours instead of blue. Either way, it’s always fun trying out new things. Thank you!
Thanks for this fun tut Chris !
This tutorial is really good and the finished graphic is amazing. Thanks for sharing your work.
Thank you. An excellent tutorial – I’ve used the technique already in one of my own projects.
Great tut, thanks!
Well i am not much familiar with illustrator but have good command in Photoshop. Learning illustrator through online tutorial and these are very helpful blog for me. Thanks for sharing.
Sweet. I have to do an assignment for my teacher, and this is exactly what I need! :D
Very good design, I will try to do it today
Thanks for sharing
Joseph