This post was originally published in 2011
The tips and techniques explained may be outdated.
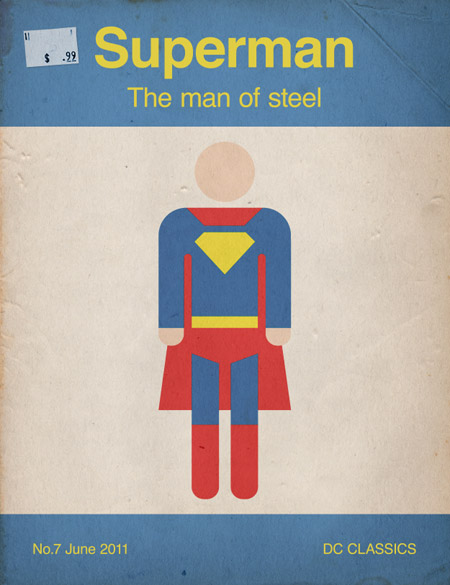
Follow this step by step Illustrator and Photoshop tutorial to create a retro style book cover featuring a stylized vector illustration of Superman. We’ll create the Superman illustration with simple vector shapes before laying out the complete retro style book cover with textures in Photoshop.
The design we’ll be creating has similar traits to old book covers from publishers such as Penguin. The colour palette replicates the basic printing method of the originals while paper textures with burns and creases give the design that ages and retro appearance.
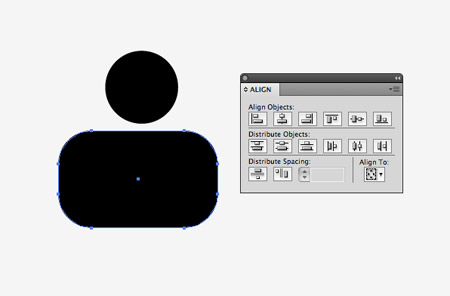
Open up Adobe Illustrator and create a new document. Use the Circle and Rounded Rectangle tools to create the upper portions of a ‘man symbol’. Use the align palette to centre them both up.
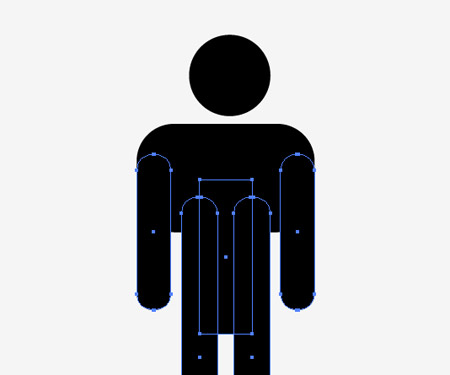
Continue drawing and overlapping shapes with the Rounded Rectangle tool to create the arms and legs. Toggle on Smart Guides (CMD+U) for assistance aligning the shapes accurately.
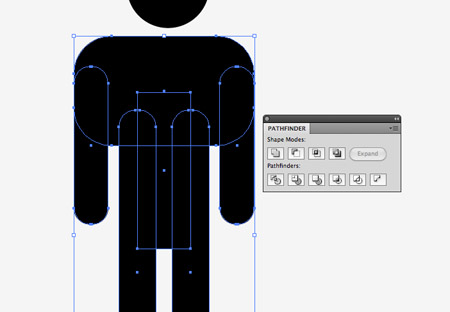
Select all the shapes that make up the body and merge them together with the Pathfinder palette.
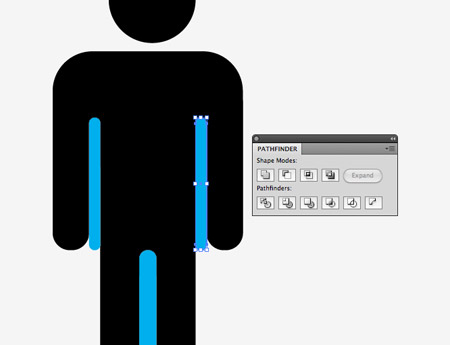
Use the rounded rectangle tool to draw intersecting shapes between the arms and legs. Select each of these shapes individually along with the main body shape then click the subtract icon in the Pathfinder to punch out the shape.
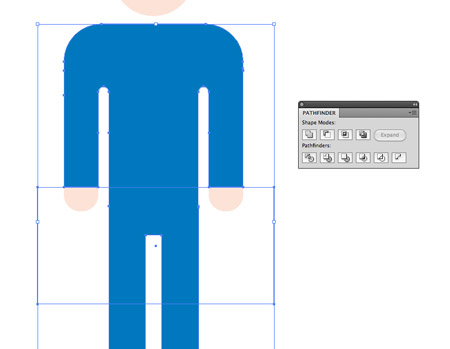
Change the colour of the character to a skin/flesh tone, then copy (CMD+C) and paste in front (CMD+F) a duplicate. Fill this duplicate with blue then punch out the hand areas with temporary shapes using the Pathfinder palette.
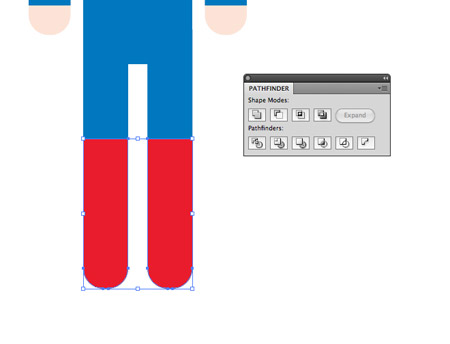
Paste in another copy of the body shape. This time fill it with red, then draw a large temporary shape over the whole body excluding the lower legs. Punch out this shape to leave a pair of red boots.

Use the Pen tool to draw in a pair of red pants. The Smart Guides will help lock the points exactly in place over the original body outline.
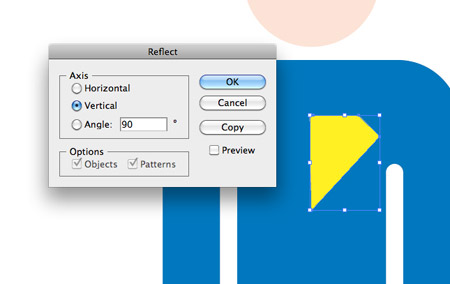
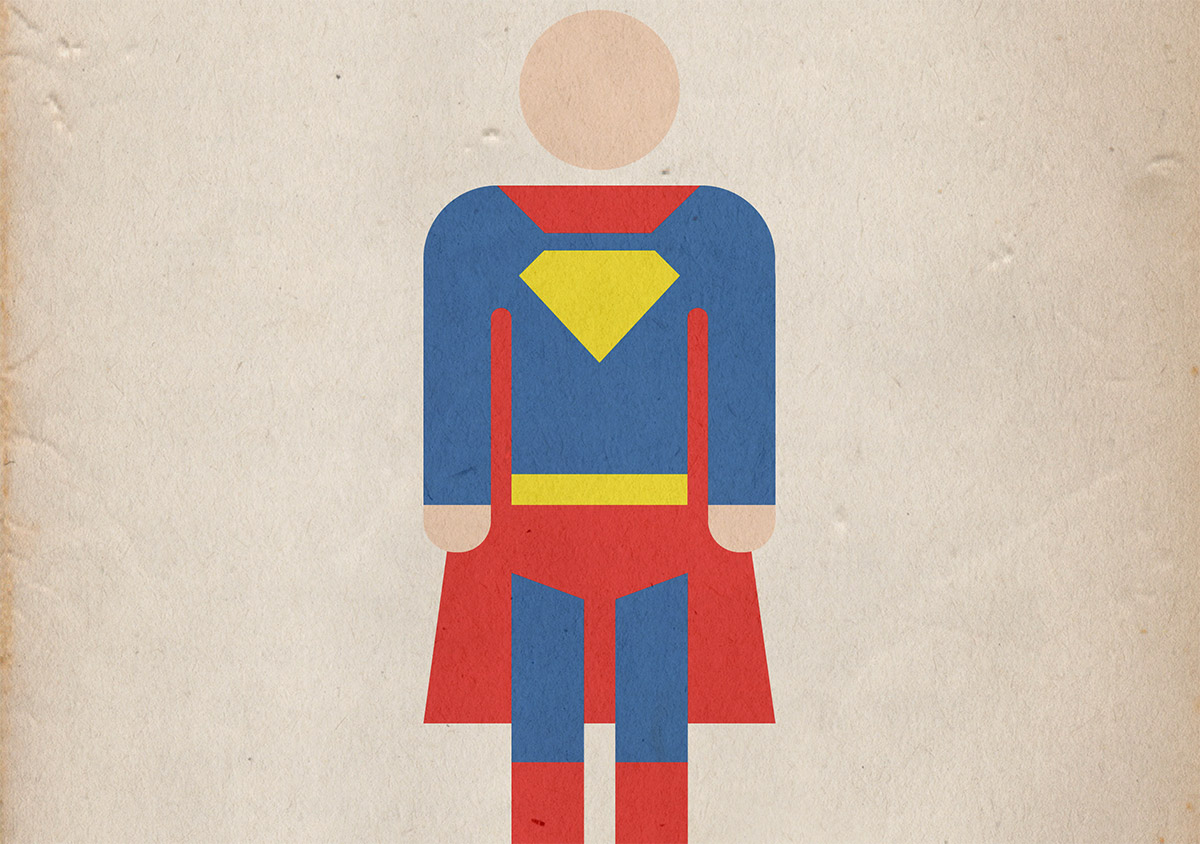
Draw one half of the basic outline of the Superman emblem. Copy and paste, then go to Object > Transform > Reflect. Merge these two halves with the Pathfinder palette.
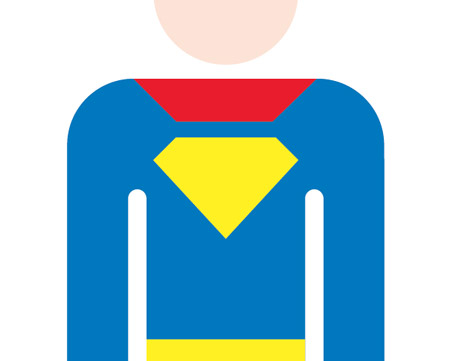
Use the Pen tool to draw the upper portion of the cape. The Smart Guides will help align the points and paths again.
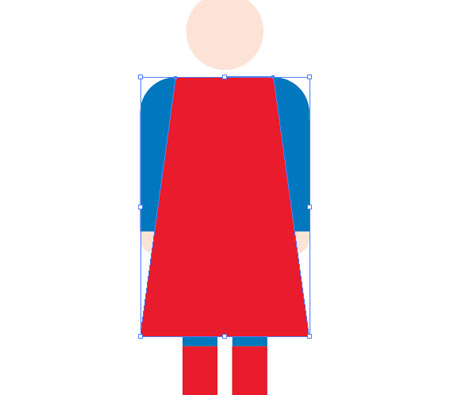
Draw the remainder of the cape using the points of the previous shape as starting and ending positions. Send the cape to the bottom of the stack with the shortcut CMD+Shift+[.
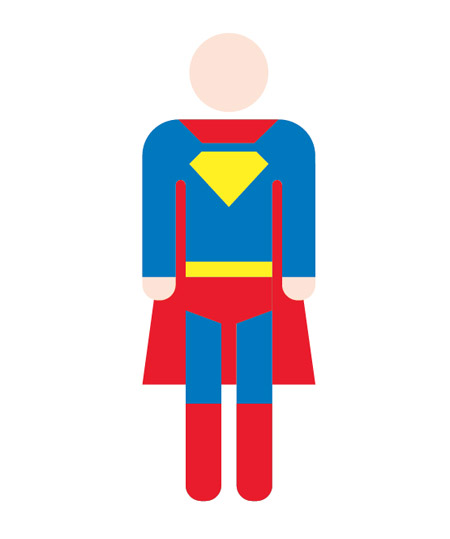
Our basic stylized vector Superman is complete. Now let’s move over to Photoshop to lay out the complete retro book cover.
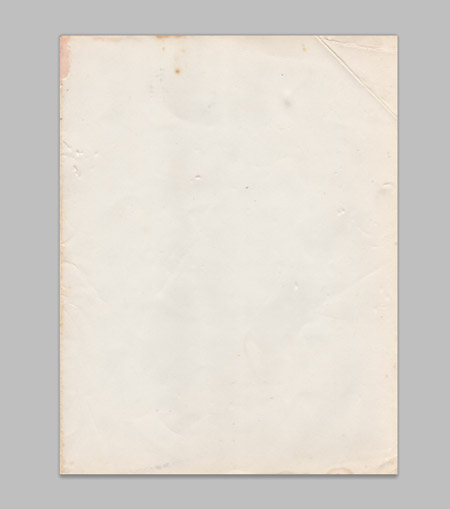
Create a new Photoshop document and paste in a cool paper texture as a background. This particular texture file is a freebie from LostandTaken.
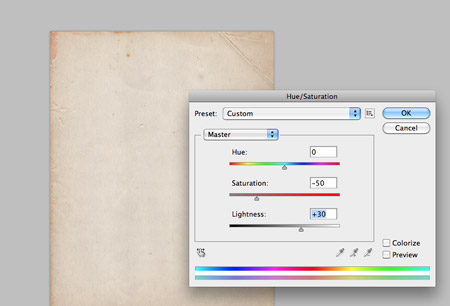
Overlay another paper texture, this time choose one with less creases and folds, but with more prominent grain. Adjust the hue/saturation and change the blending mode to Linear Burn.
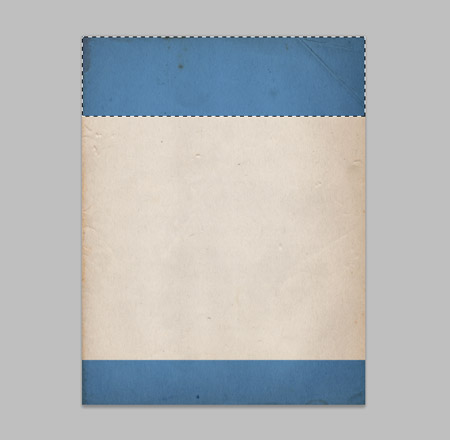
Use the marquee tool to draw selections across the top and bottom of the design and fill them with blue. Change the blending mode to Multiply to allow the texture to show through.
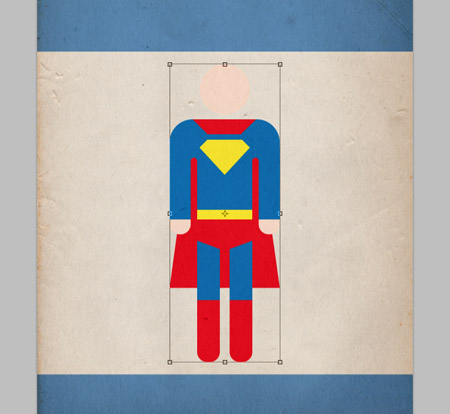
Paste in the vector Superman from Illustrator and scale it centrally on the cover design.
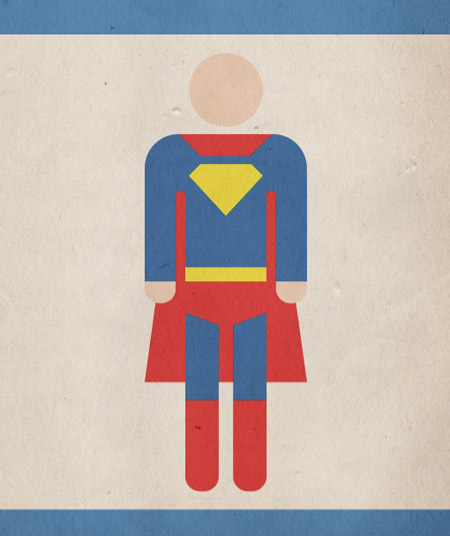
Change the blending mode of the character to Multiply at 35%, then duplicate the layer and change the mode to Linear Burn at 50%.
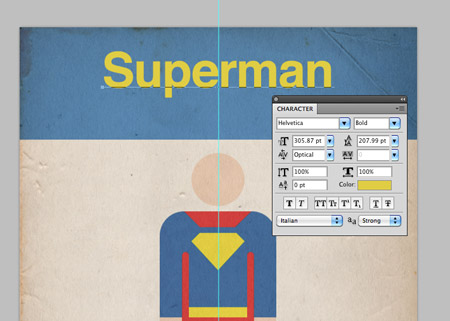
Use the Text tool to type in the title of the book using a classic font such as Helvetica or Gill Sans. Use a colour selection from the limited colour palette.
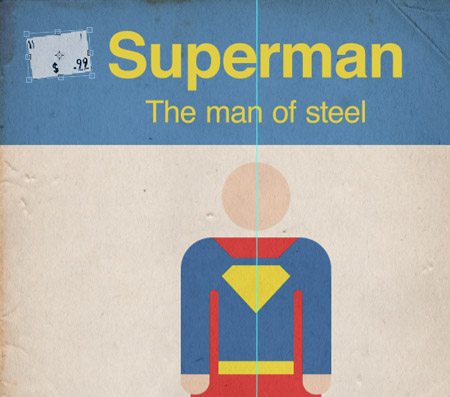
These handy price tag brushes from DeviantArt user chokingonstatic come in handy to add a retro style sticker to the cover.
The mixture of the basic design style, limited colour palette and various textures all help replicate that vintage style of aged books. If you enjoyed this tutorial, why not create a complete series for all your favourite super heroes?


Any tutorial on a retro superhero has got my support! This is awesome!!!! Thanks Chris!
Awesome tutorial, again! But, look at that “anchor” on 7th pic of tutorial.. lol
Cheerz,
Haris
Hahahaha, A real anchor point !
Very nice chris! Except the paper texture, everything could be done by CSS (most of it of course by CSS3)
Done. Solid tut. I’m such a novice when it comes to Photoshop but how did you get the brush to be two different colors? I seem to only be getting white or black ya know. Anywho, thanks!
Nice tutorial, thanks :)
Very nice! i love the old book texture!
Really Your Post is very good and helpful. i am very happy to read your post. Keep update I will return soon. My webstie World Cup Cricket
Thanks
This tutorial really is fantstic. You’re really great for sharing this, really helps.
again great work. Love your tutorials nad always try to it by myself what brings me much fun and satisfaction :) thanks as always :))))
I cant draw well but I think with the help of this tutorial it will be easy. Thank you very much!
I never knew how to realisticly combine vector and this kind of background. Now I do! Thanks a lot!
Very nice chris.Step by step explanation and the way you have presented is wonderful.Happy working.
Very nice work chris.Step by step process and way you presented it looks wonderful
Very nice tutorial, thanks ;)
Great work
I like it and It’s useful for me.
Thanks
Now I’m like, well duh! Truly thakfnul for your help.
Awesome tutorial, Chris!
Thank you very much!
Nice drawing. Hope i learn Illustrator
Very good work, and very good tutos !!!
The superman, was, a realy good idea !!
Wow, simply amazing. Thanks for this tutorial. I was able to learn a new strategy of using photoshop!