This post was originally published in 2010
The tips and techniques explained may be outdated.
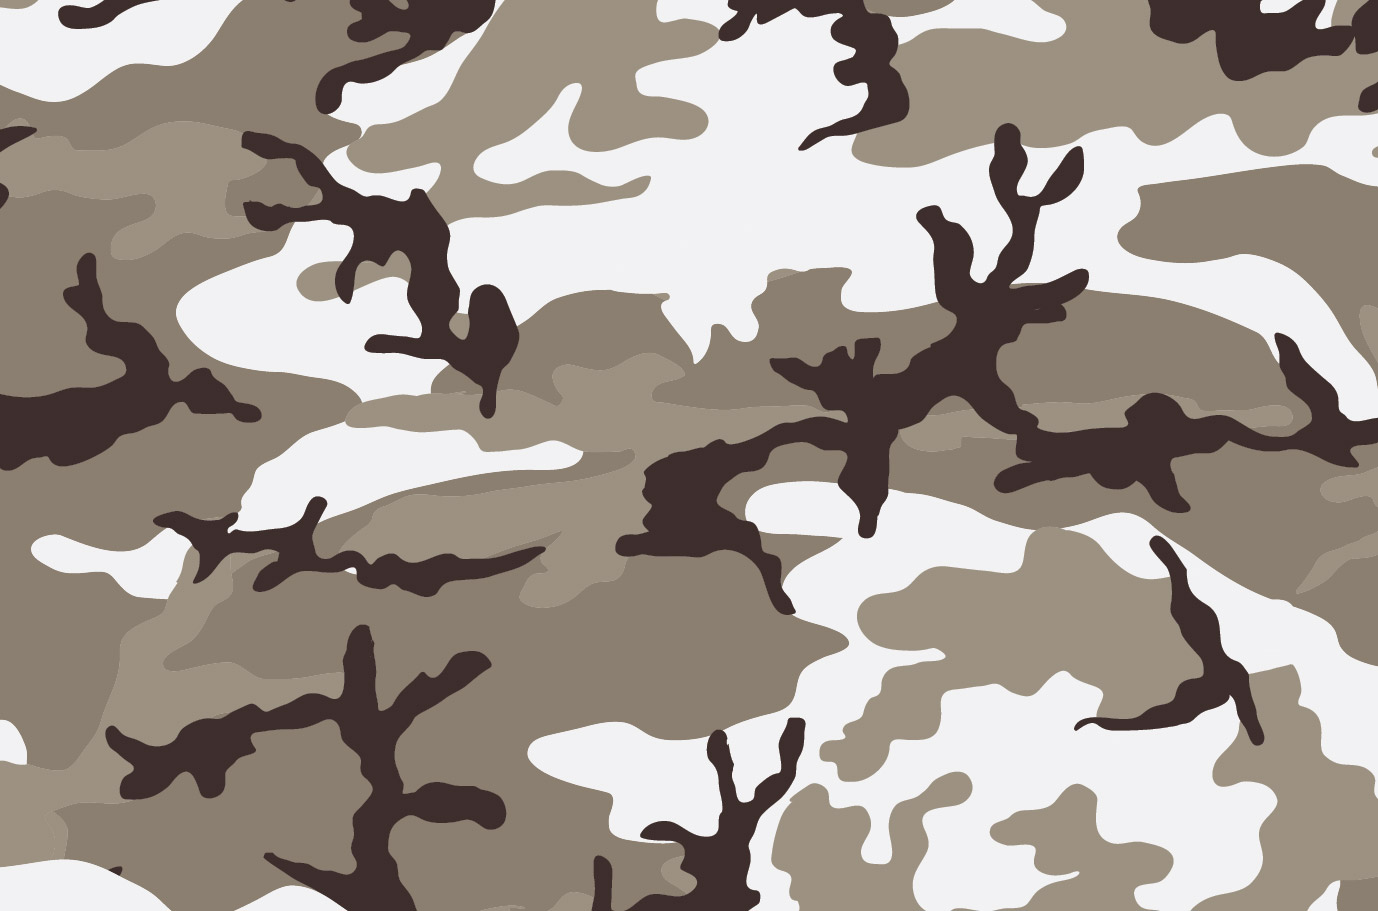
A couple of weeks back I posted a collection of free military camouflage patterns, featuring woodland, desert, urban and digital style designs. This week I’m going to show you how the camo designs were created and how the pattern file was made so it would seamlessly repeat.
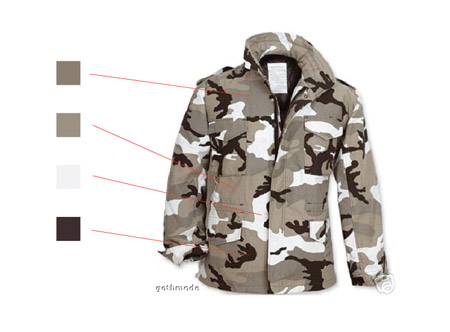
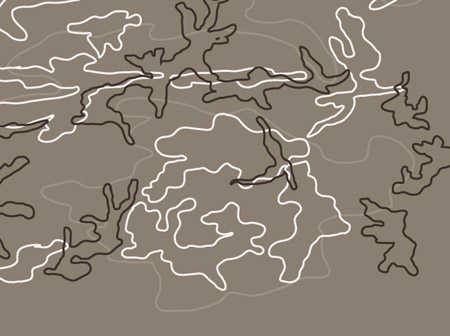
To ensure the patterns we create a touch of realism source an image of some kind of military clothing photograph to pick out colours to form a palette, and to see how each coloured element differs in shape and size.
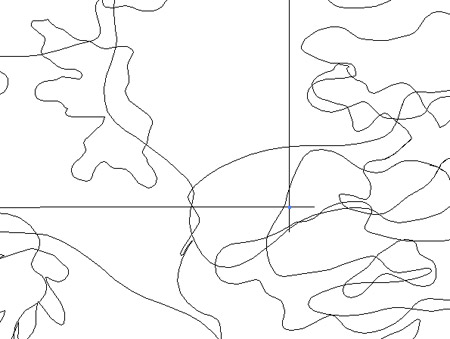
Draw a large rectangle to form the base for the other coloured elements. Then use Illustrator’s blob brush along with a pen tablet to draw random shapes using the first colour from the palette. A graphics tablet offers much finer control than a mouse, especially when creating the tight corners and bends seen in these types of camo blobs.
Continue drawing the outlines of the camouflage elements, this time using the second colour from the palette. Pay attention to the shape and size of the elements on the original reference image, some overlap or follow the contour of the colour underneath.
In this particular pattern the black elements are the smallest and most detailed shapes. They are scattered across the pattern overlapping all the other colours.

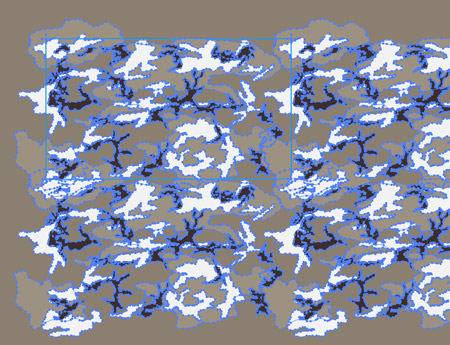
Once the outlines of the camo elements are complete, begin filling the shapes using the Live Paint Bucket tool by moving the mouse until the red outline surrounds the empty space.
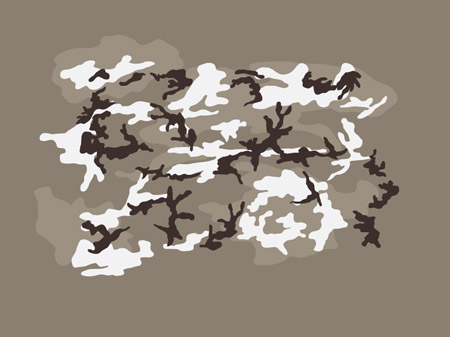
The camouflage pattern really starts to come to life once all the colour fills are in place. Notice how the beige shapes are the largest and smoothest, the whites are slightly smaller and more detailed whereas the black objects are much smaller and have much more detail in their outline.
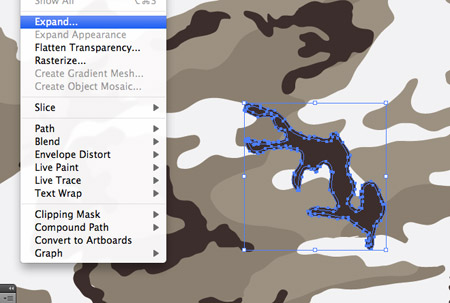
Select each of the coloured elements and go to Object > Expand. Check just the ‘Object’ checkbox to convert the Live Paint fills into solid shapes.
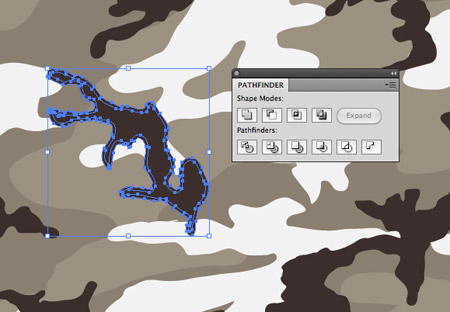
Right click and select Ungroup until you can select the outline and the fill of each object separately, then combine them both using the Merge option from the Pathfinder palette.

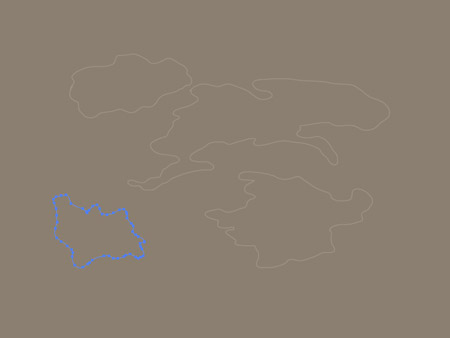
Use the line tool to draw a small red cross in the upper left corner of the camo pattern. This cross will come in handy later when creating the repeating swatch.
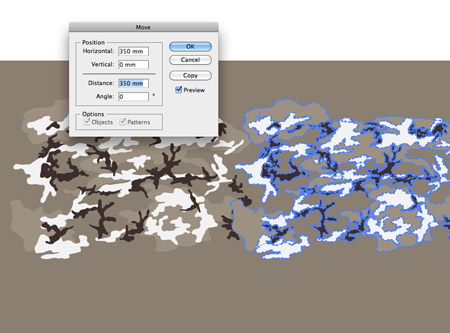
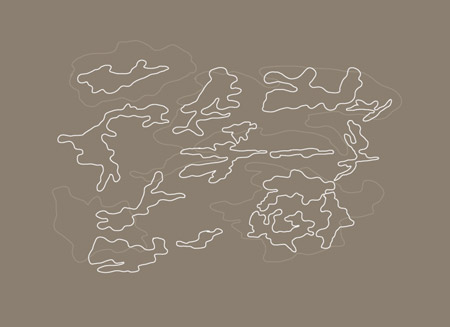
Select all the elements that make up the camo pattern so far and group them together. Copy (CMD+C) then Paste in Front (CMD+F) a duplicate, then hit Enter to open up the Move options. Enter 350mm (or a figure to suit the scale of your design) to position two copies of the pattern side by side.
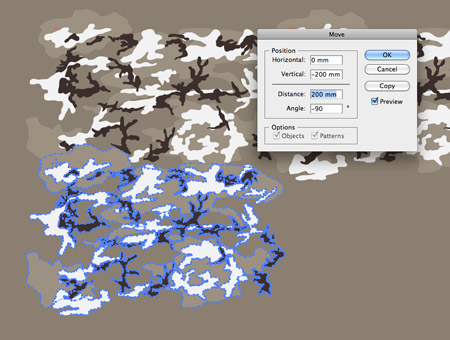
Paste in another copy of the pattern and hit Enter. This time move the pattern vertically to sit underneath the original. These duplicates should overlap slightly to avoid any unsightly gaps between them. The large beige blobs will merge together smoothly.
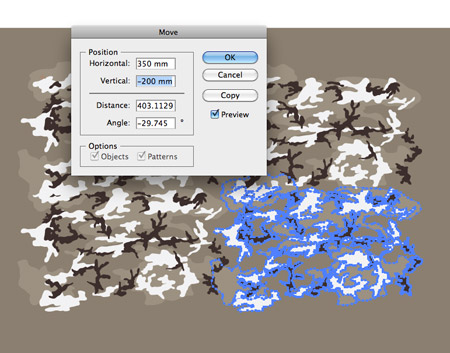
Paste in one more copy of the pattern and move it horizontally and vertically using the same figures to fill a larger square portion of the screen. You can now check the design for gaps and add more elements where they are needed, but remember to delete and relocate the duplicates if a change is made so any new elements appears in the correct place on each of the copies.
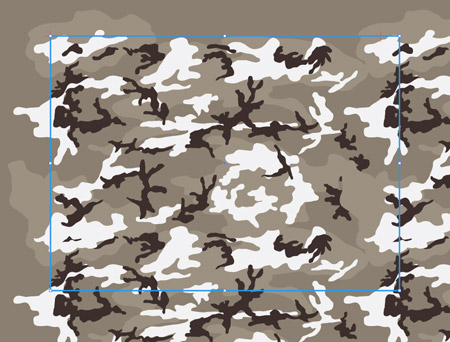
Give a rectangle a visible blue stroke and align it roughly to the red crosses on each of the four duplicate patterns.
Press CMD+Y to toggle outline view, then zoom right in and use the Direct Selection Tool to drag each edge of the rectangle precisely into place over the crosses.
Delete the four red crosses, then select the four patterns and the large background rectangle and group them all together using the CMD+G shortcut.
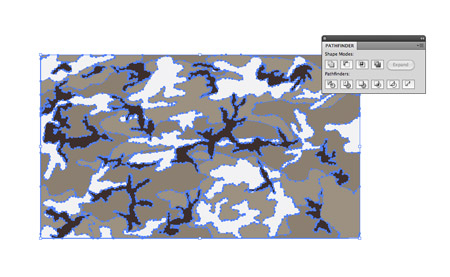
Use the Crop feature from the Pathfinder palette to trim everything down to size. The pattern has been clipped exactly so the shapes will continue exactly when copies of the swatch are placed side by side.
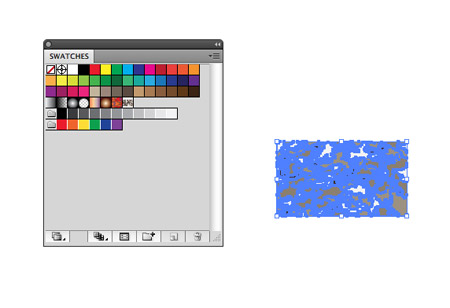
Drag the graphic into the Swatches palette in Illustrator to allow the pattern to be added to other objects as a fill colour, or paste the design in Photoshop and go to Edit > Define Pattern.
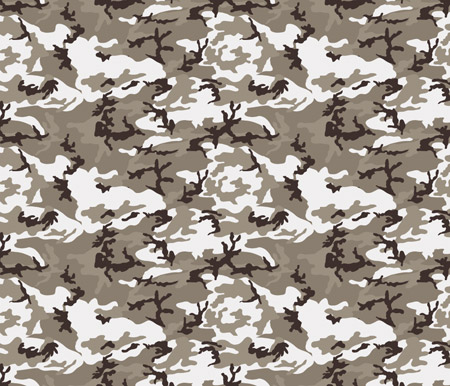
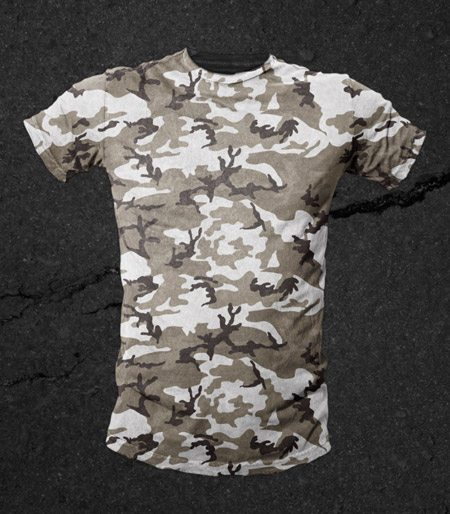
The final pattern is now ready to be added to your designs. Remember, the larger the initial design the less obvious any repeating elements will be as the duplicate elements will be spread further apart.

nice work. :)
Very nice! Now get some rest you’re working too hard.
Excellent!
Nice and 100% quality job. Great!! :)
Brilliant tutorial, with some solid theory behind it. The final pattern on the tshirt is a great touch, really shows off the concept!
Great Job and nice idea, Colors look pretty Cool
thanks Chris
Yep, agreed, very cool!
Great tut just dont know how to print it on the tshirt all along :) By the way cant wait for your site redesign, hope it wil come soon :)
That is genius! I don’t use Illustrator that often, but it is very powerful and I’m glad you shared this great technique for creating a repeating pattern, which can be applied to anything, not just camo. Your blog is always chock full of great content, keep it up Chris :-)
Top stuff; I’ve been having issues with creating complex repeating backgrounds — this’ll help a treat!
well depicted one thanks!!! for such post
…..
Hi Chris! Thanks for sharing. I always learn new techniques from your tutorials :)
Wonderful Post, simple and good, I look forward to reading more similar articles.
I like the pattern. Awesome. Added to my website background
Nice. Thats a creative way to create a repeating pattern. I’ve made many patterns in Photoshop but never in Illustrator. Thanks for the tips.
great resource and nice work