This post was originally published in 2015
The tips and techniques explained may be outdated.
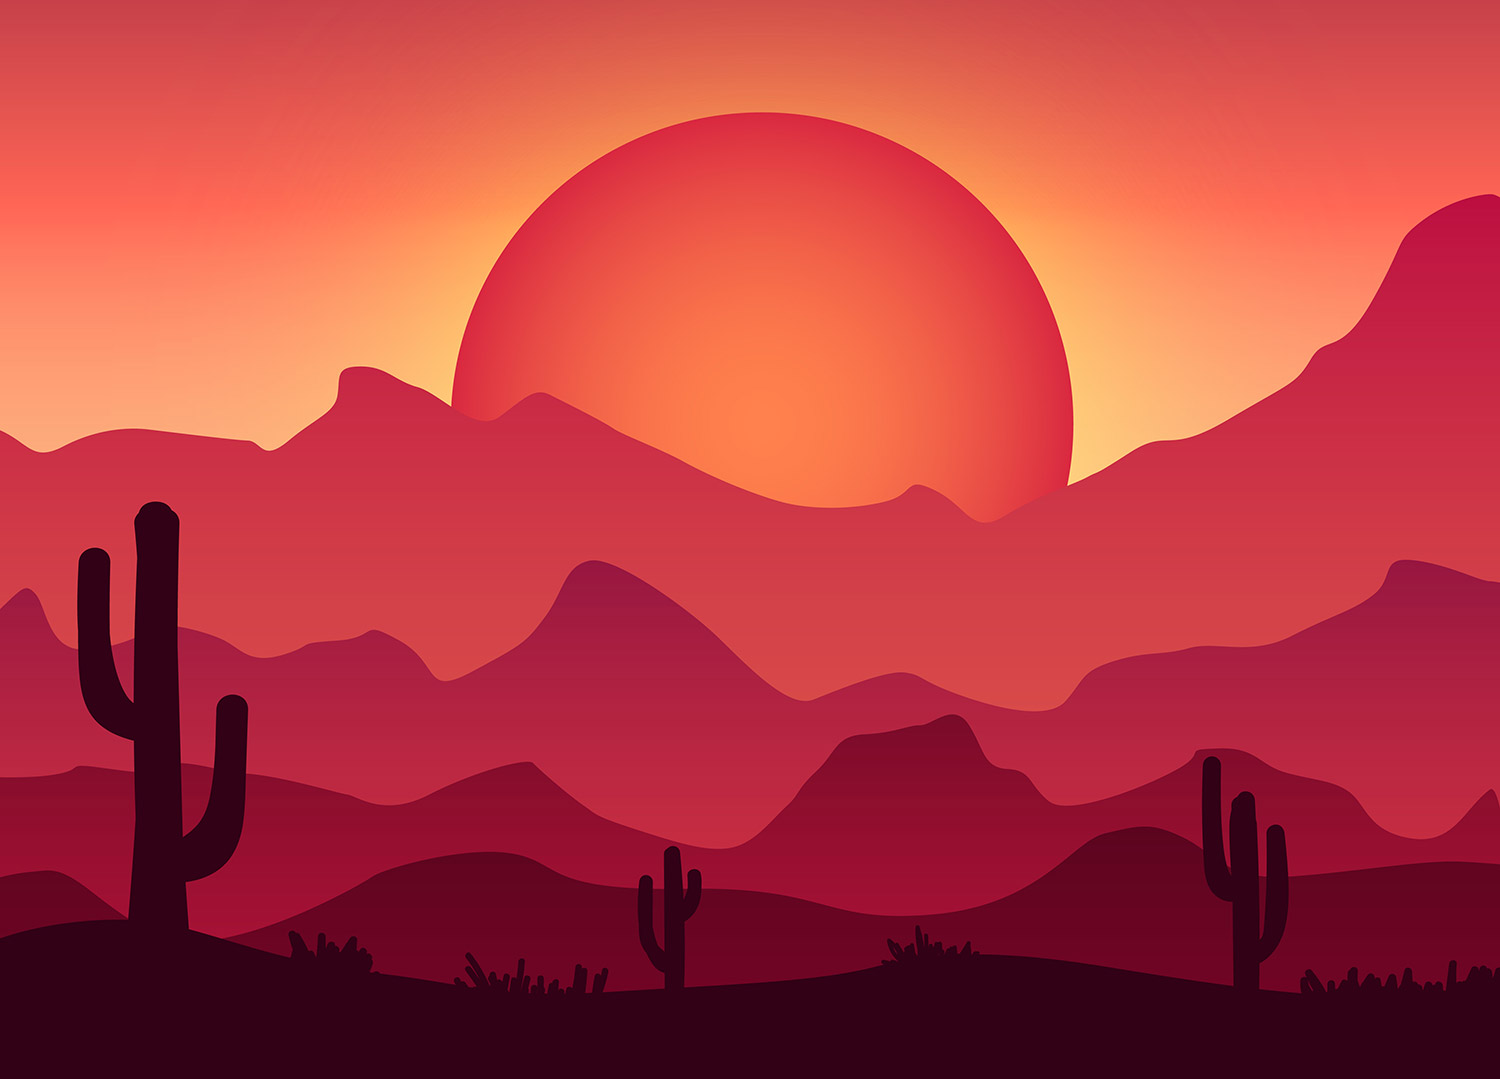
In today’s Adobe Illustrator tutorial I’ll show you how to create a colorful landscape scene, similar to the style of those trendy illustrated travel posters I recently featured in a showcase. We’ll make the entire illustration out of simple vector shapes, then bring it to life with vibrant gradients to give the scene a tranquil sunset vibe. My example features an old wild west desert with mountains that extend to the horizon, but these same techniques could be used to create a landscape scene for any fictional or non-fictional place.
A large setting sun provides a red, orange and yellow colour scheme in my artwork, which is applied to all the elements to help determine the depth of the scene. The colour of the mountains darkens as they approach the silhouettes in the foreground, while the sky spans from warm to cool as it turns from day to night.
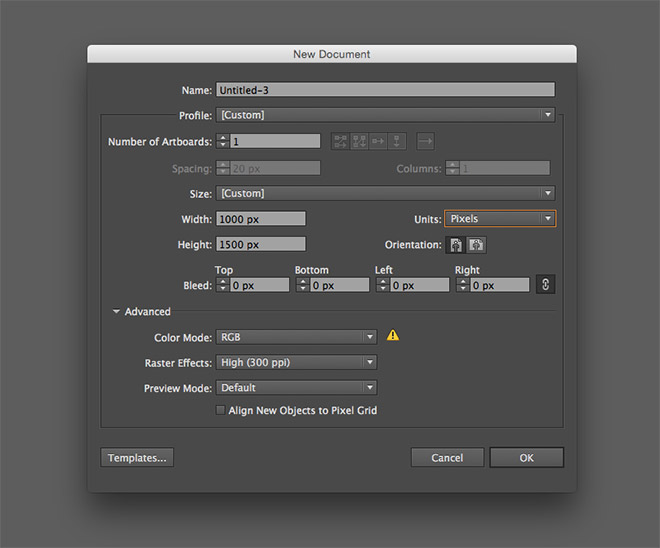
Begin by creating a new document in Adobe Illustrator. I’m creating a long, thin portrait artboard of 1000x1500px. Change the Color Mode to RGB to give us a full spectrum of vibrant colours to play with, then change the Raster Effects to High (300ppi).
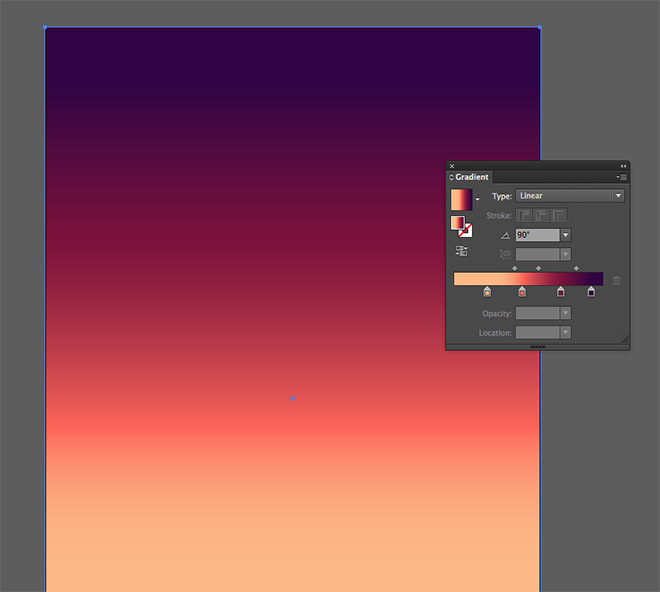
Select the Rectangle tool and draw a shape that covers the artboard. Use Smart Guides (CMD+U) to easily snap to the artboard edges. Remove the stroke, then add a linear gradient fill from under the Gradient panel. Add a series of handles to the gradient bar and carefully tweak the RGB sliders to produce a vibrant range of colours that seamlessly transition. I’m using the colours #fdb983, #ff6655, #7b0f3b and #310045.
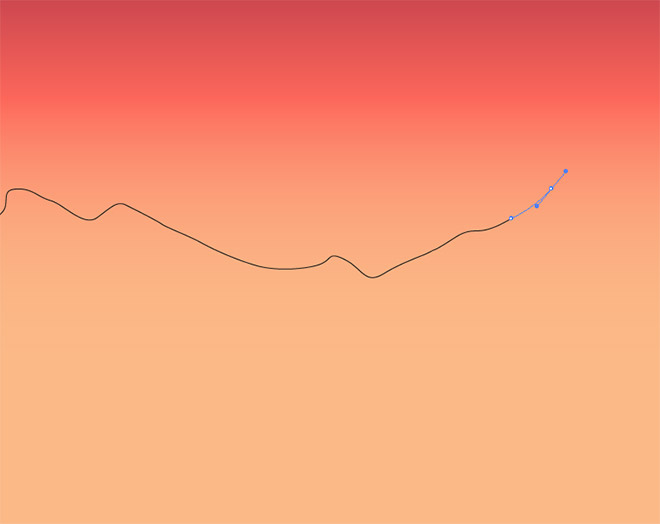
Select the Pen tool and randomly click and drag points across the width of the artboard to create the outline of a series of mountains. Start and end the path beyond the edge of the artboard and close the path back at the starting point.
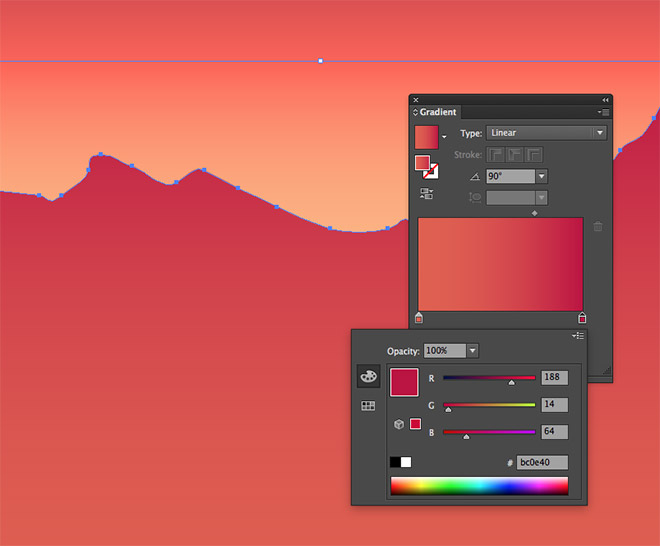
Give the shape a gradient fill and adjust the angle to 90°. Use the Eyedropper tool to shift-click two colours from the background gradient, I’m using #e05f4d and #bc0e40. Move the gradient slider towards the darker end of the spectrum to allow the darker colour to appear just at the tip of the mountains.
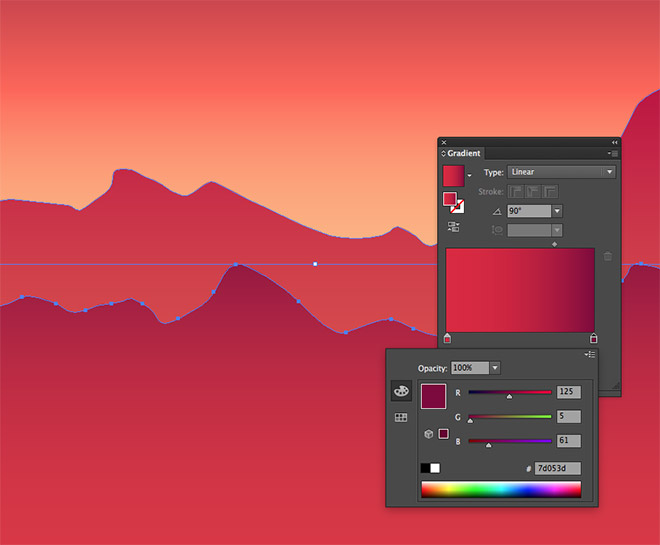
Use the Pen tool to draw another mountainscape outline. Copy the gradient fill from the previous shape with the Eyedropper tool, then double click each colour and move the RGB sliders to darken it. I ended up with #d9263d and #7d053d.
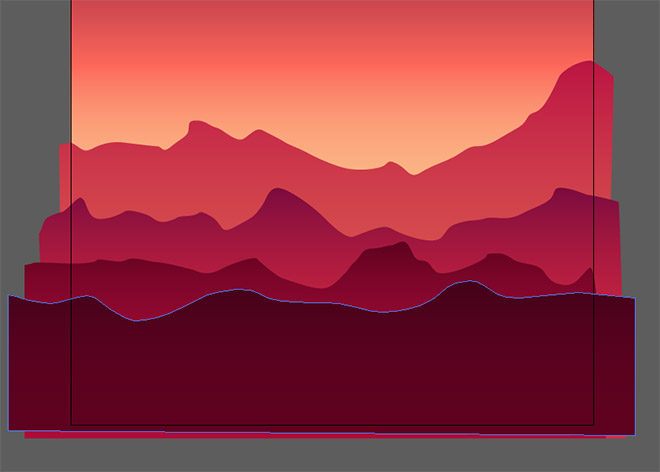
Repeat the process of drawing a random mountain shape and adding a darker gradient each time. I used #ad0536 to #5f001e in my third shape, and #5f001e to #430018 in my fourth shape.
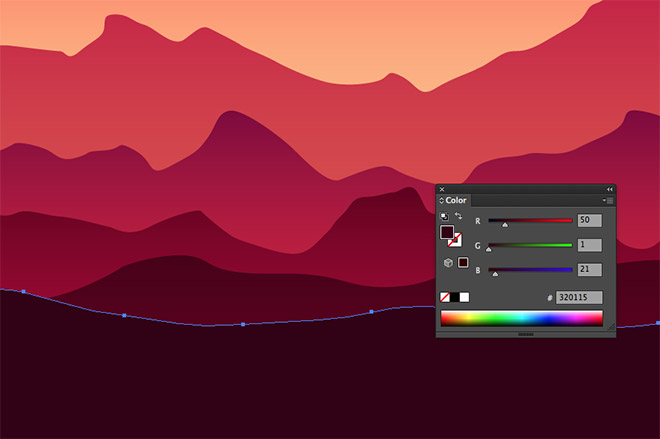
Draw one more shape near the bottom of the artboard. This time create a smoother outline and give it a solid fill using a darker shade of red, such as #320115.
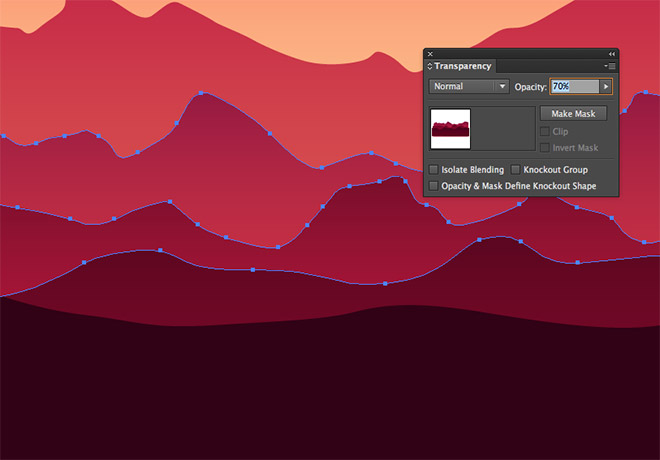
The transition between the colour gradients can be eased by reducing the transparency. Select the 2nd, 3rd & 4th shapes and reduce the opacity to 70%.
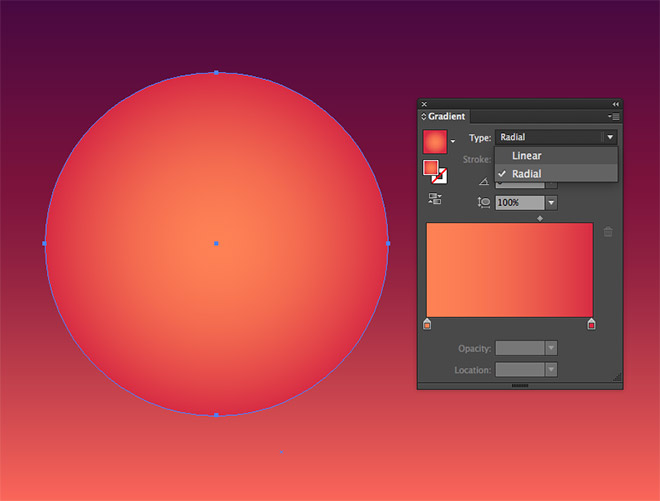
Grab the Ellipse tool and hold Shift to draw a perfect circle to represent the sun. Give the shape a gradient fill with warm orangey reds like #ff814d and #d92940. Change the gradient type to Radial and move the gradient slider towards the darker end of the spectrum.
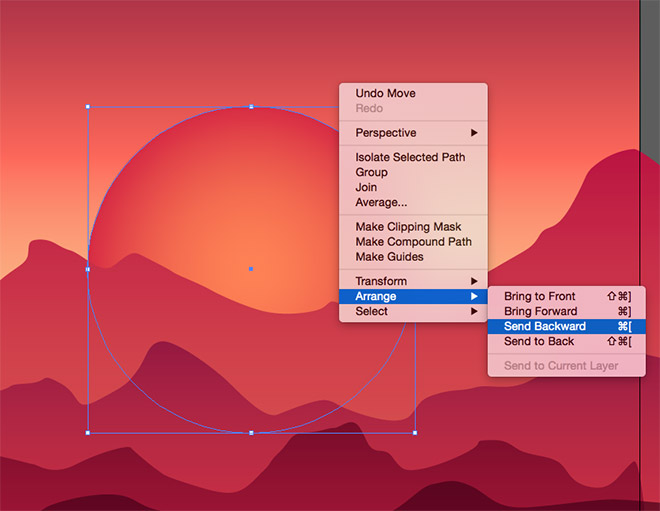
Move the sun into place over the mountains, then repeatedly press the shortcut CMD+[ until the sun sits behind the mountain shapes.
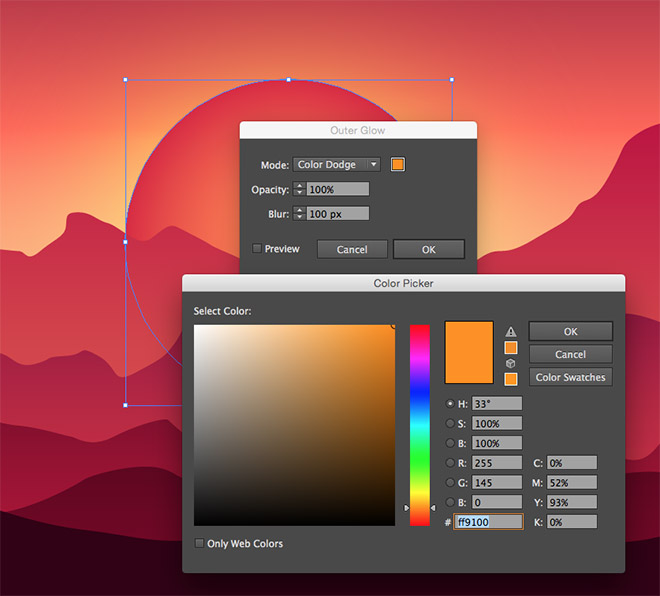
Go to Effect > Stylize > Outer Glow and set the options to #ff9100, Color Dodge, 100% Opacity and 100px Blur. This will add a vibrant yellow glow to the setting sun.
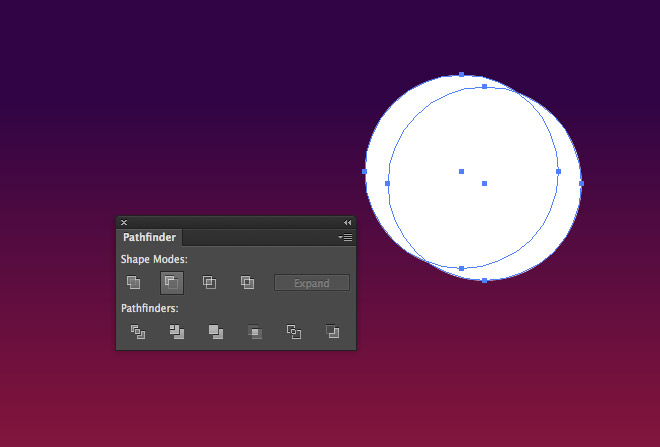
Draw a smaller white circle near the top of the artboard, then hold the ALT key and drag a duplicate towards the upper right, overlapping the two. With both shapes selected, click the Minus Front option from the Pathfinder panel to trim the circles into a crescent shape.
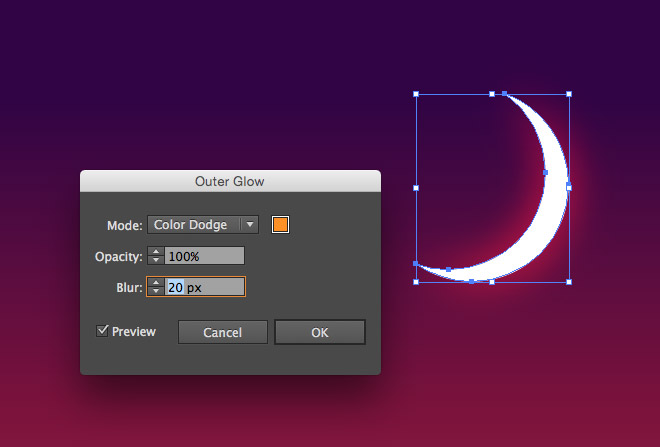
Go to the Effect menu and select Outer Glow from the top of the list to bring up the previously used settings. Reduce the Blur to 20px then click OK.
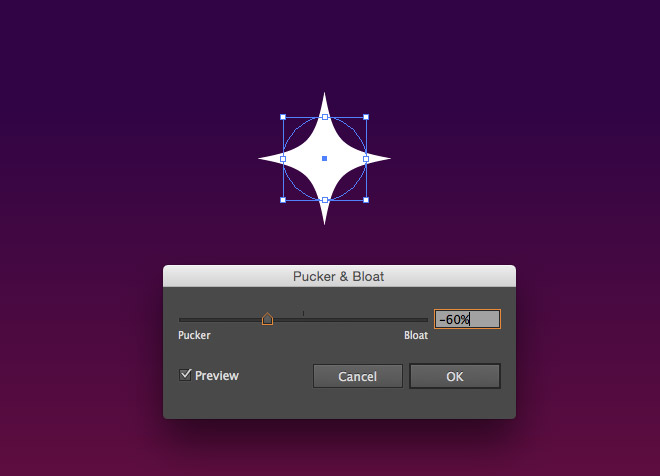
Draw a much smaller circle elsewhere in the sky area, then go to Effect > Distort & Transform > Pucker & Bloat. Move the slider to -60% to make a simple star shape.
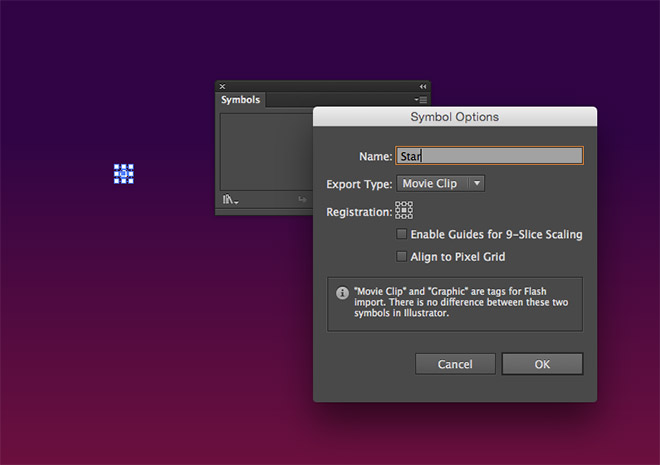
Dramatically reduce the star in size then click the ‘New’ icon from the Symbols panel to convert this shape into a Symbol, then delete the original shape.
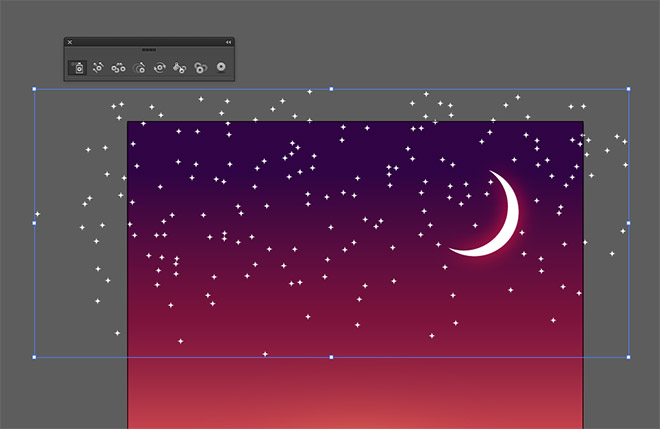
Select the Symbol Sprayer tool then click and drag the spray can across the sky to fill it with loads of stars.
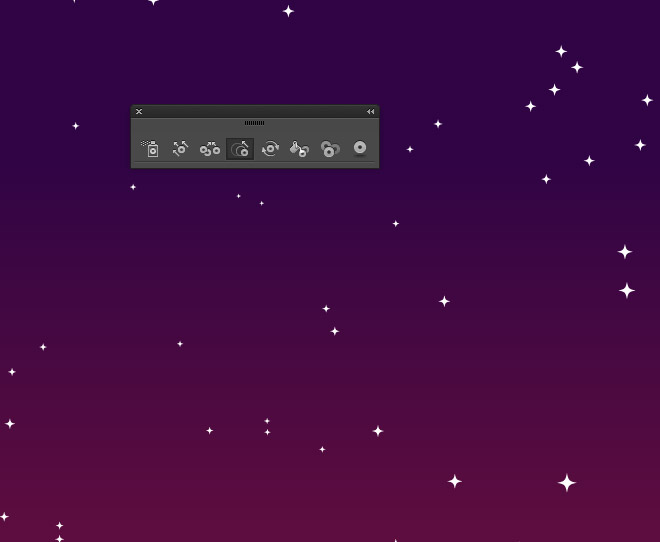
Switch the tool to the Symbol Sizer from under the same menu, then randomly paint over the stars to alter their size. Clicking and dragging normally will enlarge the shapes, whereas holding ALT will decrease the size of the shapes.
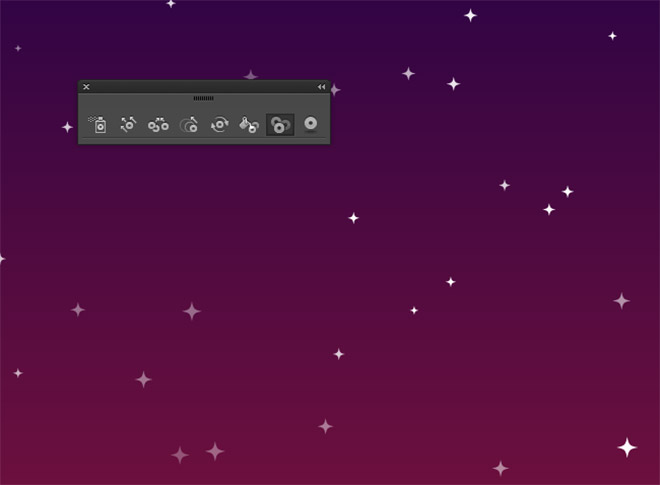
Next, select the Symbol Screener tool and randomly click across the sky to reduce the opacity of some of the star shapes. Alter the size of the tool if necessary using the [ key, so large groups of stars aren’t all targeted at the same time.
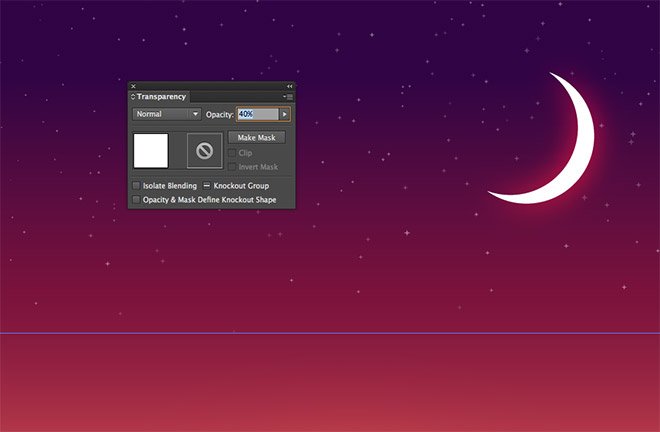
Reduce the opacity of the entire group of symbols to around 40% to reduce their impact to leave a subtle starry night sky effect.
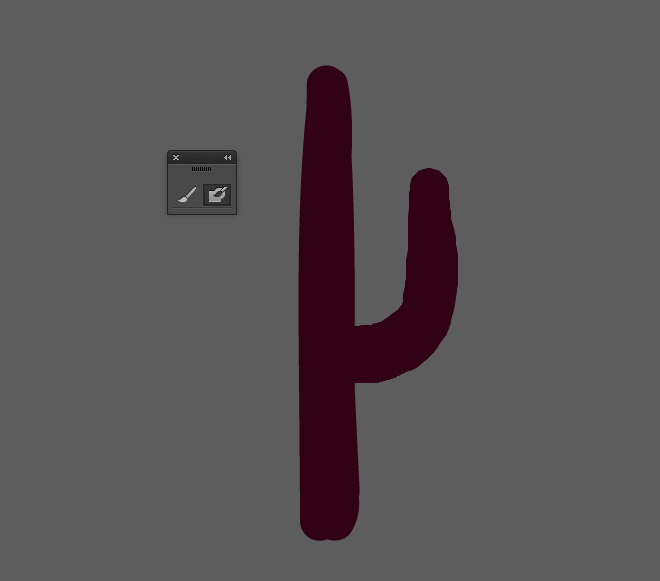
Click the foreground shape to loads its fill colour, then select the Blob Brush. Enlarge the brush size with the ] key, then draw a simple cactus shape somewhere beyond the edge of the artboard.
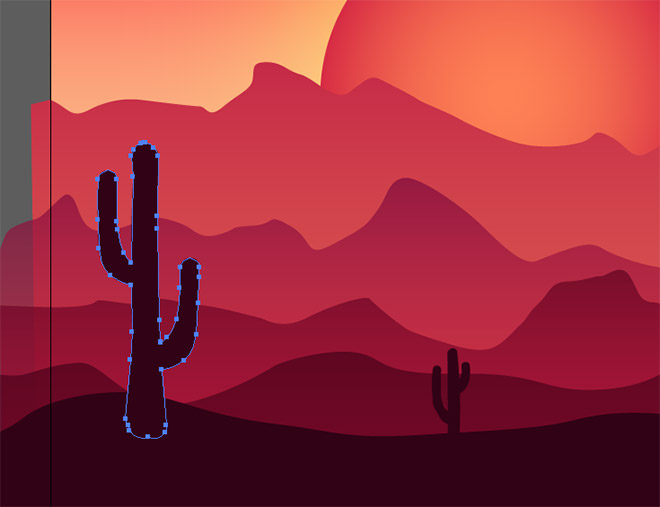
Move the cactus shape into place within the foreground area. The solid colour used for all these shapes produces a cool silhouette effect.

Currently some elements extend beyond the edge of the artboard. Draw a temporary rectangle that matches exactly with the artboard dimensions, then with everything selected, choose Make Clipping Mask from the right click menu.
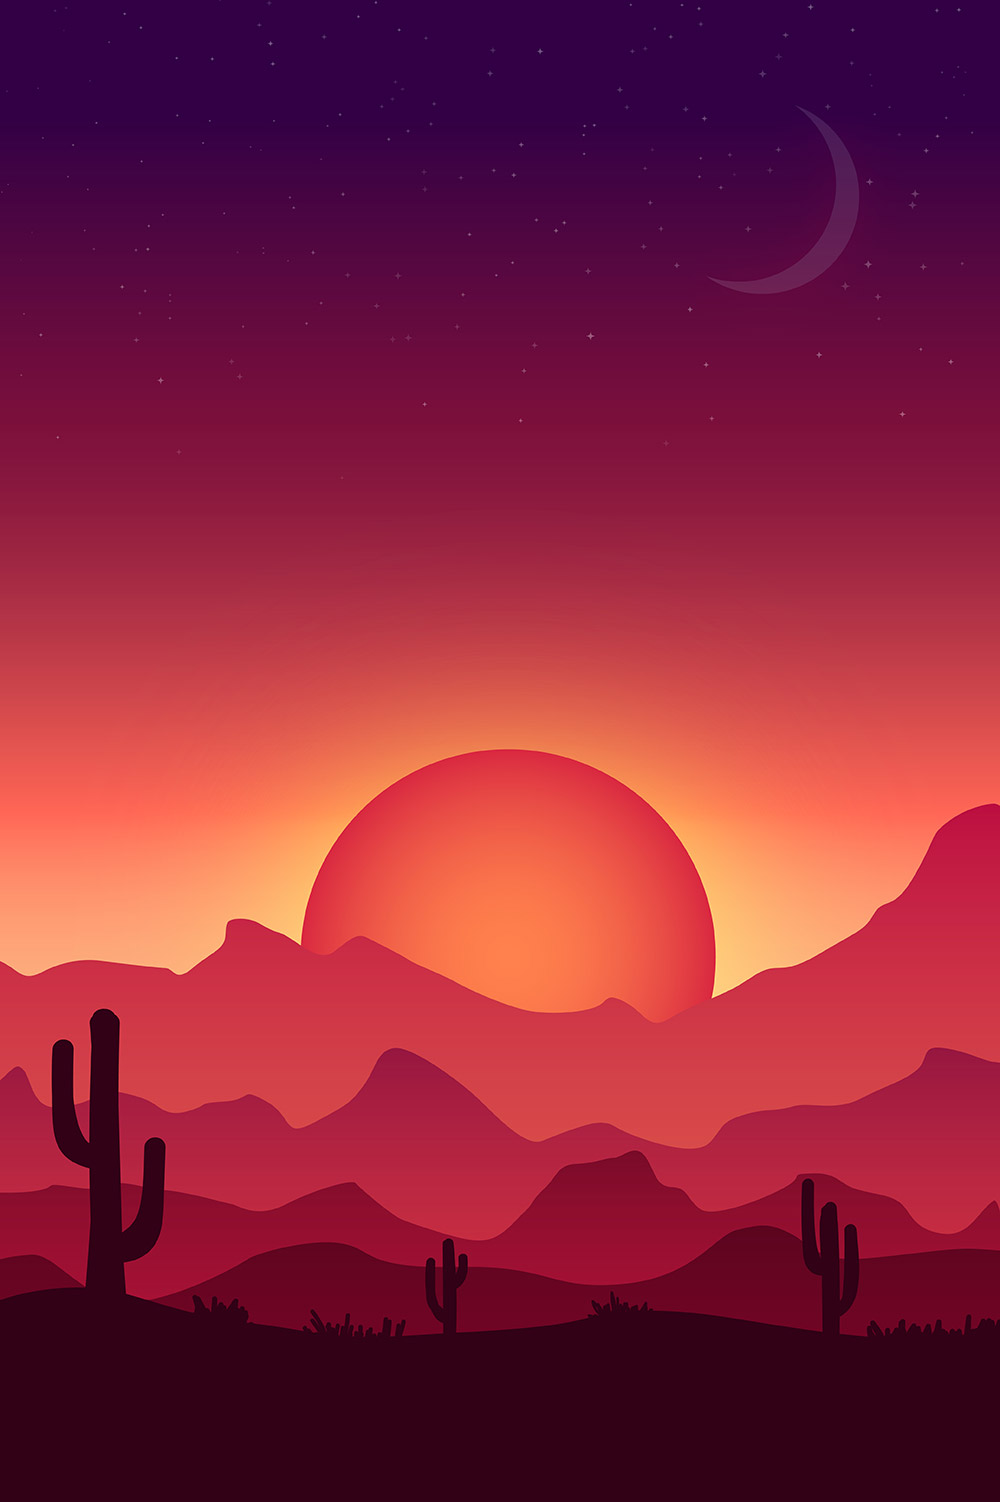
The result is an illustrated landscape scene that is brought to life with vibrant gradients and colours. Being vector elements means the shapes could be moved around to tweak the composition or the colours easily changed. The same scene could even be duplicated to create a series of artworks depicting different times of day from dawn ’til dusk!

Great tutorial..
I like it.
Fun! I’m going to try this later today.
I actually just started a school project that’ll entail drawing a mountain landscape – perfect timing! I will definitely be referencing this as I go! :)
No way same here :D Thank you learning while I gooo !
This is superb! I was looking for a tutorial on vector illustration. Thanks a lot for sharing. I learned pretty new stuff while creating the illustration :)
hy please provide us the video tutorial. thanks
Longtime fan, first time commenting. Just a two part astronomical nitpick: 1) The lit side of the moon would be pointing towards the sun, and 2) stars wouldn’t be visible through the dark of the moon.
Very interesting tutorial! I did my first really cool work in AI! Thanks!))
Interesting, Again, Chris! Color, Star, Moon and outer glow everything are perfect to make another copy.
Wow what a great share
Thanks Chris
agood funcction
Enjoyed this tutorial very much, thanks for sharing!
I want to learn AI, this article very helpful.
Nice tutorial brother
Very interesting tutorial! I did my first really cool work in AI! Thanks!
amazing online tutorial ..thanks for sharing
The tutorial is great. I show the tutorial to my company employee. They are very impress to seen it. Thanks for sharing a great tutorial.
NIce and very useful article. I would definitely like to try it. Thanks
exactly what I was looking for. :)
lovely and helpful illustrator tutorial … thanks for sharing with us >>
Thanks for sharing this tutorial, I must say your tutorials are great source.