Tutorials
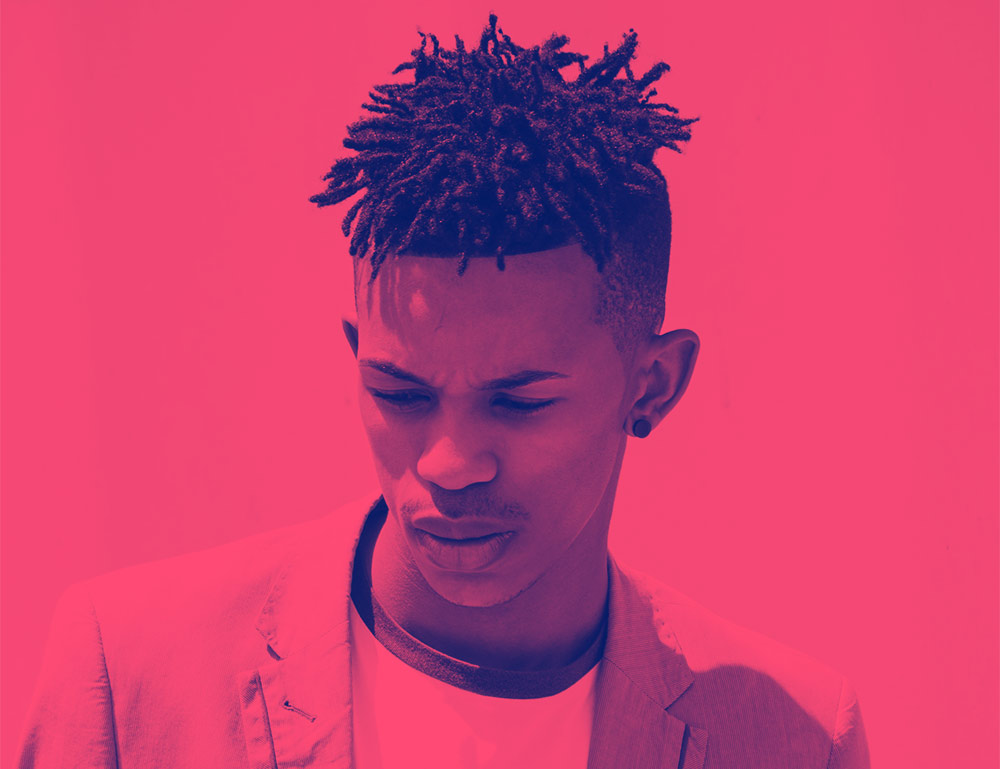
In today’s Photoshop tutorial I’m going to show you 5 ways to create the trendy Duotone look, the colourful photo effect where the shadows and highlights of an image are replaced with vibrant contrasting hues. This effect was popularised by the music app Spotify when it used the duotone effect in its promotional imagery of artists and bands. In this video, I’ll show you a selection of different methods to create the effect. Some are quick and easy, while others provide you with more control over the final result. Stick around to the end to see the easiest method using my FREE Duotone Gradient Presets, which allow you to apply various duotone colour schemes to an image with a single click.
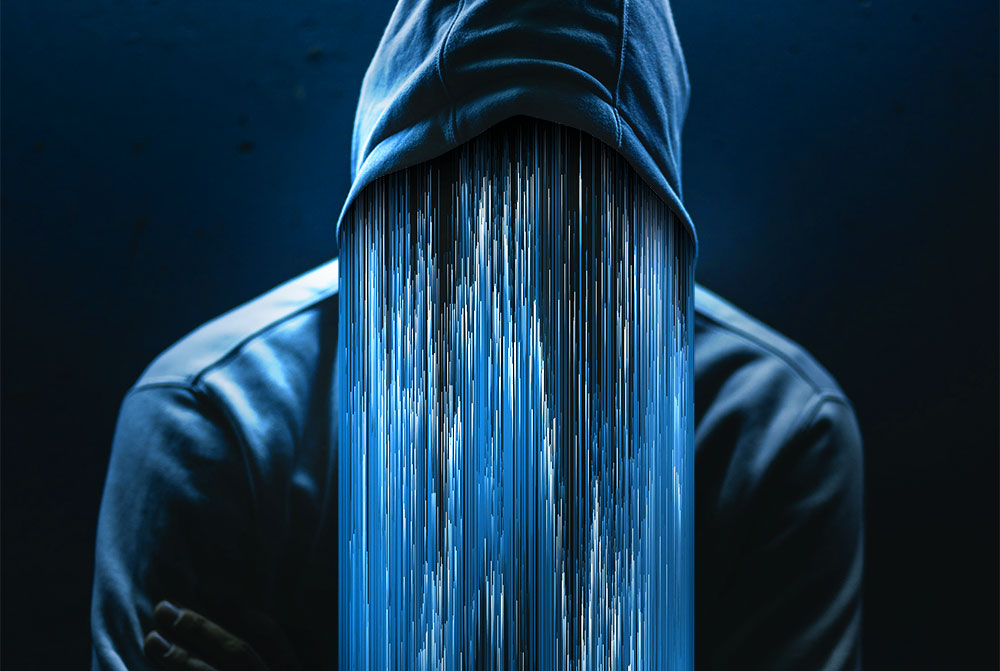
In today’s Photoshop tutorial I’m going to show you how to create an abstract piece of artwork using the pixel sorting effect, where coloured pixels of an image are stretched to create a detailed visual effect. Authentic pixel sorting is a type of glitch art that is usually generated by computer code, but we’ll be replicating the appearance with Photoshop’s built-in filters. If you search for pixel sorting artwork on sites such as Pinterest you’ll see some great examples of this art style where the effect is combined with photographs, usually with these extended pixels creating a melting or drooping appearance, or totally replacing a subject’s entire face to create a surreal image. That’s exactly what we’ll be producing in this tutorial, an abstract art piece that features a hooded figure with long glitchy pixels that extend vertically from his face.
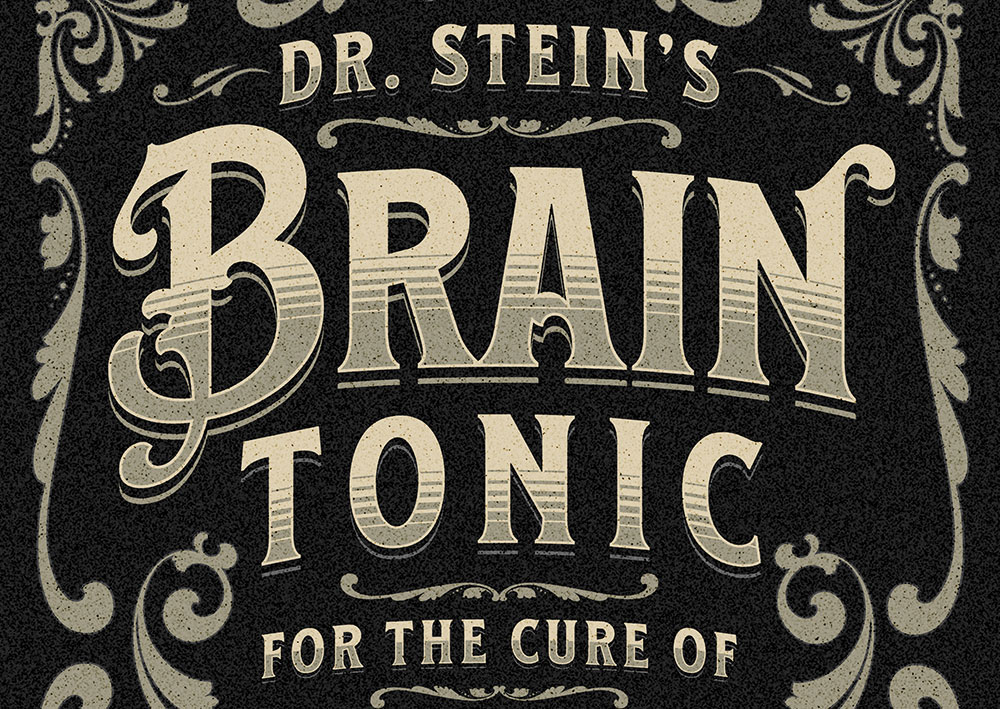
In today’s tutorial I show how to create vintage designs the EASY way with the help of a brilliant new tool from my friends at Kittl. Kittl (formerly Heritage Designer) combines everything you need to create vintage designs into one revolutionary free-to-use tool. I’ll show you how I created the design layout for ‘Brain Tonic’ directly in Kittl using just a selection of the vintage style fonts and ornaments available. It’s a fun label design inspired by some of the whacky miracle cure products that are associated with travelling medicine shows from the Old West.
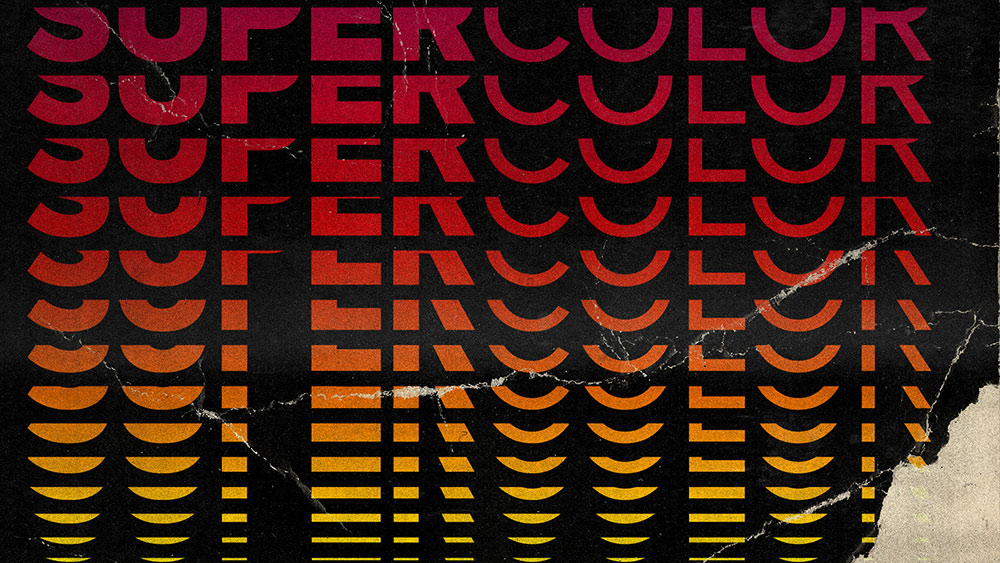
In today’s tutorial I’m going to show you how to create a colourful text effect with several stacked text elements that are progressively spaced further apart and transition through the colour spectrum to produce a rainbow effect. It reminds me of the kind of retro design you might see on an old VHS tape box or an ad for an 80s technology brand. Illustrator’s Blend Tool will be used to create the basic stacking text effect, but I will also show you a trick to alter the spacing of the text with a cool easing effect and show how to give the vector artwork the look of an old, damaged VHS tape box by adding textures in Adobe Photoshop.
In today’s Adobe Illustrator tutorial I’m going to show you my process of converting a rough sketch into a vector illustration by turning one of my old doodles into a cute yeti cartoon character. By tracing the initial sketch with as many basic shapes as possible, we can achieve a simple ‘flat’ illustration style. The addition of colour fills and strokes using a cold palette of pale blue hues really brings the character to life, then I’ll show you an easy shading technique that enhances your illustration while retaining the simplified ‘flat’ vector look.
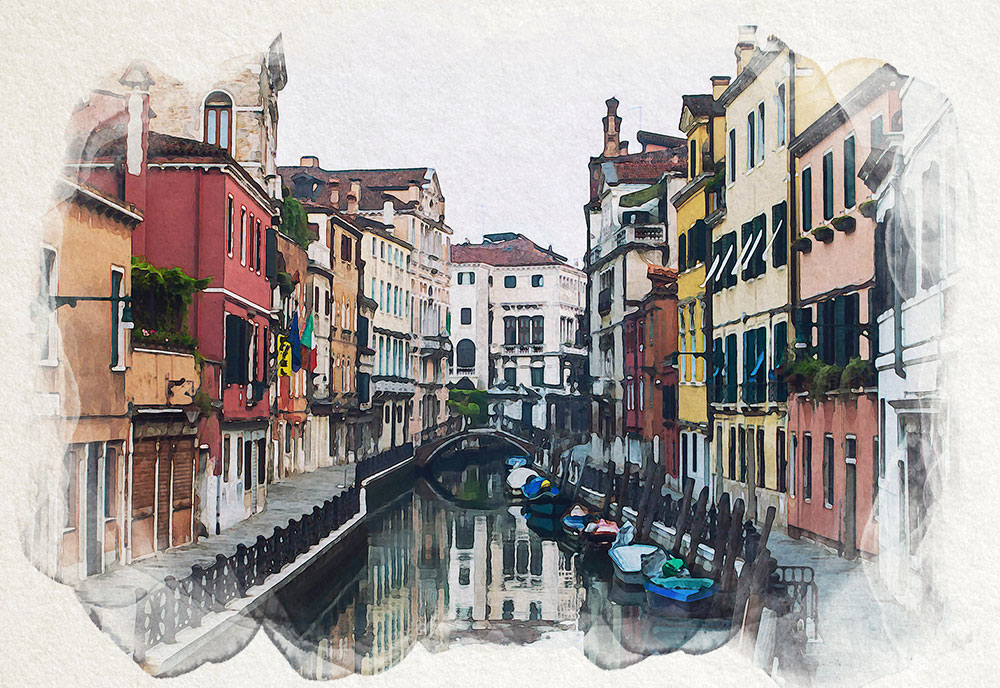
In today’s Photoshop tutorial I’m going to show you a clever combination of Photoshop filters that converts an image into a realistic looking watercolour painting effect. A range of built-in filters will produce the foundations of the effect, then the addition of a paper texture and some finishing touches with a watercolour Photoshop brush pack adds an extra level of realism to produce a convincing final result.